Bottle closure leakage testing determines whether a filled bottle and its applied closure can retain the product under expected filling, storage, handling, and distribution conditions.
For spirits brands, distilleries, bottlers, importers, private-label buyers, and packaging distributors, leakage should not be treated as a closure-only problem. Reliable sealing depends on the complete bottle-and-closure system:
- Bottle neck or internal bore dimensions
- Closure dimensions and manufacturing tolerances
- Liner, gasket, stopper shank, insert, or valve design
- Application torque or insertion conditions
- Spirit type and alcohol by volume
- Fill level and headspace
- Storage orientation
- Temperature and distribution stress
- Secondary packaging
A high-quality closure can still leak when paired with an incompatible bottle finish. A stopper that passes a short inversion test may also fail after vibration, temperature cycling, or prolonged contact with the filling product.
Buyers at the early selection stage can compare Kandacork’s range of spirits bottle closures and stoppers before deciding which sealing system should move into physical testing.
Quick Answer: How Should Spirits Bottle Closures Be Tested?
Bottle closure leakage testing should begin with production-representative bottles, closures, fill conditions, and application equipment.
Start with visual inspection, side-lay testing, and inversion testing. Add removal-torque measurements for threaded caps or pull-out-force measurements for stoppers. Temperature cycling, vibration, pressure-differential, repeated-opening, and product-compatibility tests should only be added when they reflect the intended package and distribution risks.
No single test proves every aspect of closure performance.
| Packaging project | Recommended starting tests | Additional validation |
|---|---|---|
| Bar-top stopper for whisky or rum | Bore and shank measurement, side-lay test, inversion, pull-out force | Temperature cycling, vibration, repeated opening |
| ROPP closure for vodka or gin | Visual inspection, removal torque, inversion | Production capping trial, bridge-break assessment, vibration |
| Screw cap for liqueur | Application torque, liner contact, inversion | Product compatibility, temperature cycling, pressure-differential testing |
| Non-refillable pourer | Inversion, insert retention, valve inspection | Pouring function, repeated opening, transport simulation |
| Decorative stopper | Pull-out force, side-lay test, assembly inspection | Vibration, repeated opening, top-to-shank bond assessment |
What Does Bottle Closure Leakage Testing Evaluate?
Spirits closure testing normally focuses on gross liquid containment, mechanical retention, distribution performance, and material compatibility.
This differs from pharmaceutical container-closure integrity testing, which may focus on maintaining a sterile barrier.
| Performance area | What buyers should evaluate |
|---|---|
| Gross liquid containment | Droplets, wetness, label staining, carton damage, fill loss, or intermittent weeping |
| Mechanical retention | Torque, pull-out force, insertion depth, thread engagement, liner compression, and closure movement |
| Distribution resistance | Performance after vibration, temperature change, impact, air freight, or high-altitude transport |
| Long-term compatibility | Material changes caused by alcohol, flavor components, storage time, or repeated opening |
Torque and pull-out testing support closure evaluation, but neither measurement proves liquid containment by itself.
A screw cap may have acceptable removal torque and still leak because the liner does not contact the bottle sealing surface correctly. A bar-top stopper may pass an initial pull-out test but lose retention after temperature exposure, prolonged compression, or material relaxation.
Four Stages of Bottle Closure Leakage Testing
Buyers do not need to perform every available laboratory test on every project. The program should match the development stage and commercial risk.
| Project stage | Main purpose | Typical output |
|---|---|---|
| Stage 1: Closure screening | Compare initial bottle and closure combinations | Preferred closure construction |
| Stage 2: Engineering validation | Evaluate the selected system under relevant stresses | Approved package specification |
| Stage 3: Pilot-line approval | Confirm filling and closure-application settings | Approved machine parameters |
| Stage 4: Production quality control | Monitor consistency and identify process drift | Lot-release and traceability records |
Stage 1: Closure Screening
Use screening tests to eliminate obvious bottle-and-closure mismatches before committing to tooling or bulk production.
Typical checks include:
- Visual inspection
- Bottle and closure dimensional review
- Upright storage
- Side-lay testing
- Inversion testing
- Initial removal torque
- Initial pull-out force
The main question is:
Does the proposed bottle-and-closure combination show an obvious fit, application, or gross leakage problem?
Screening can identify unsuitable options, but it is not equivalent to final package validation.
Stage 2: Engineering Validation
Engineering validation begins after a preferred closure system has been selected.
Depending on the project, validation may include:
- Temperature cycling
- Vibration testing
- Pressure-differential or altitude simulation
- Actual-product conditioning
- Repeated opening and reclosing
- Post-conditioning torque testing
- Post-conditioning pull-out testing
- Longer-duration side-lay storage
- Complete packaged-product testing
The objective is to confirm that the selected system maintains sealing, retention, opening, and resealing performance under realistic conditions.
Stage 3: Pilot-Line Approval
A closure that performs well in a laboratory may behave differently on production equipment.
Pilot-line testing should reproduce the intended:
- Filling conditions
- Capper or insertion equipment
- Application speed
- ROPP head settings
- Top pressure
- Insertion depth
- Application torque
- Bottle handling
- Secondary packaging
Pilot production is particularly important for ROPP closures, non-refillable systems, and stoppers that require controlled insertion.
The expected output is an approved machine-setting range rather than a single ideal setting.
Stage 4: Production Quality Control
Once the bottle-and-closure specification is approved, routine controls help maintain consistency.
These may include:
- Incoming dimensional inspection
- First-off application checks
- Routine torque or pull-out sampling
- Filled-bottle leakage sampling
- Tamper-evident feature inspection
- Approved-sample comparison
- Lot traceability
- Corrective and preventive action
- Change-control review
Quality-control frequency should reflect the closure structure, order quantity, production variation, and buyer specification. A sample that passed during development does not remove the need for routine production monitoring.
Leakage Risks by Closure Type
Different closures create a seal through different mechanical structures. The test plan should reflect the actual sealing mechanism.
| Closure type | Sealing mechanism | Critical checks | Common leakage risks |
|---|---|---|---|
| Bar-top stopper | Interference between stopper shank and bottle bore | Bore diameter, shank diameter, insertion depth, recovery, pull-out force | Low interference, poor recovery, bore variation, incomplete insertion |
| Screw cap | Thread engagement and liner compression | Application torque, removal torque, liner contact, thread profile | Low torque, cross-threading, damaged sealing land, liner deformation |
| ROPP closure | Aluminum shell formed onto bottle finish | Capping-head setting, top pressure, thread formation, liner contact, bridge break | Incomplete forming, inconsistent pressure, bottle-finish variation |
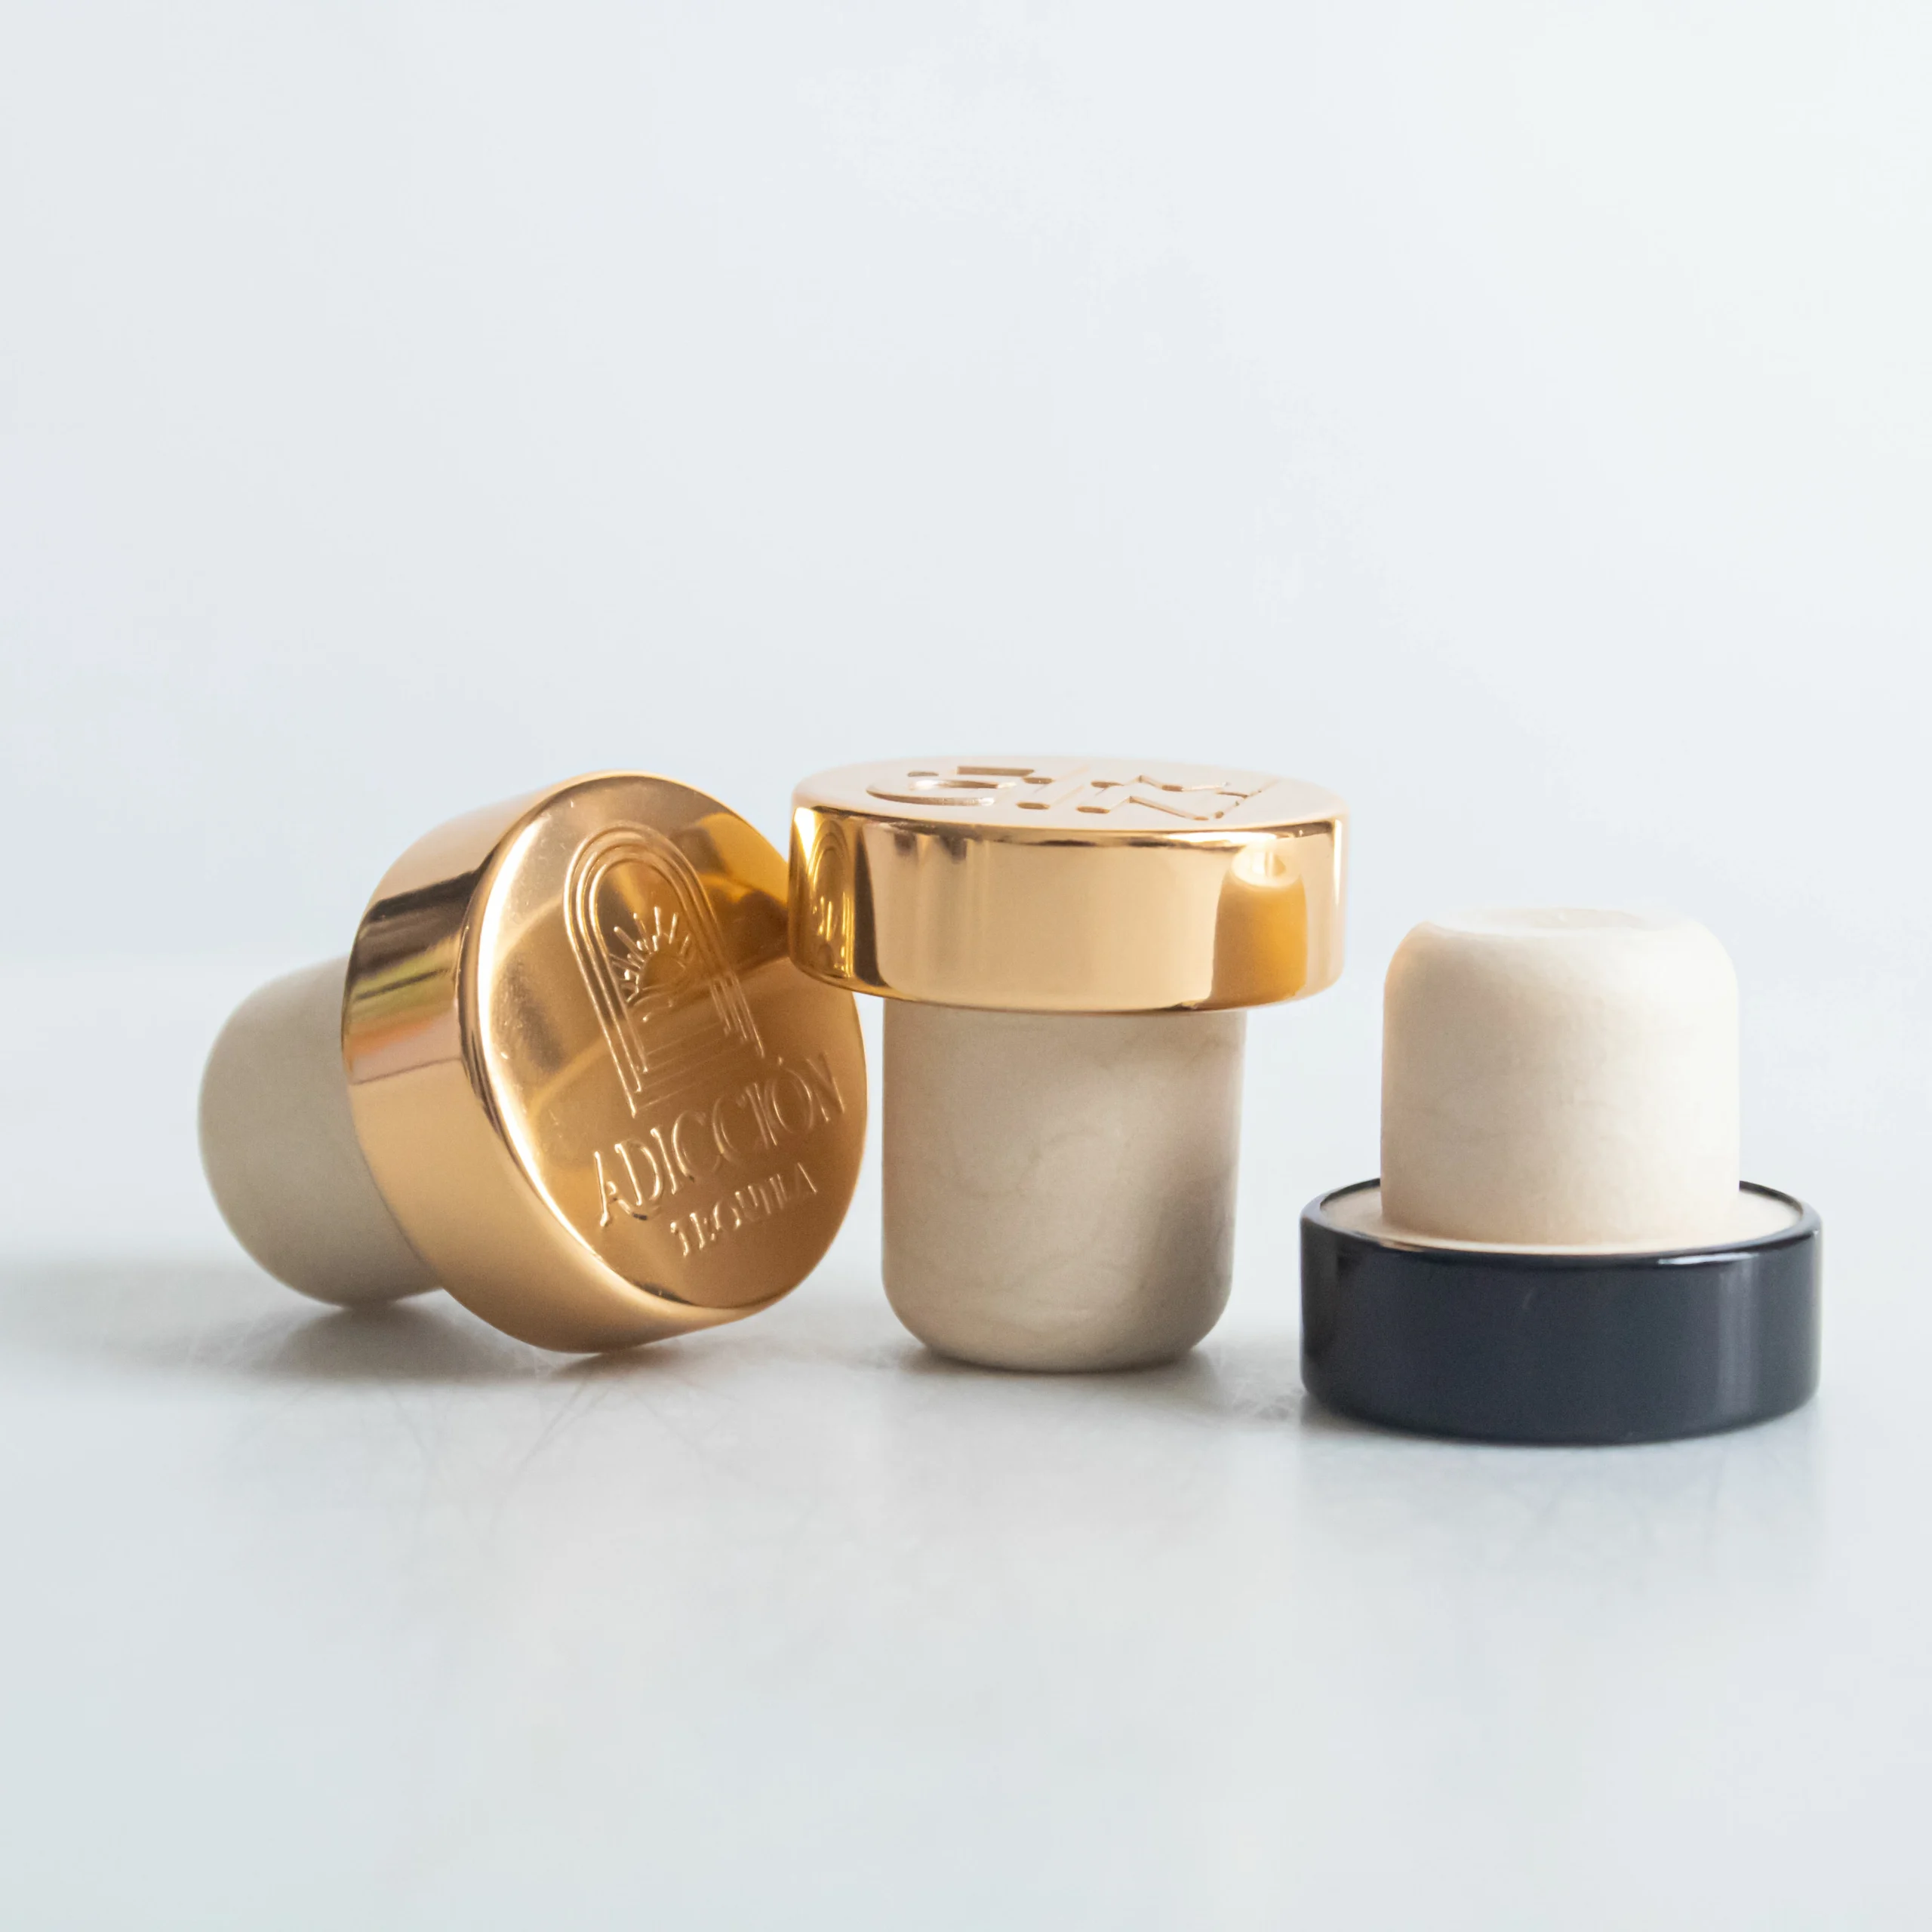
| Decorative stopper | Separate shank, gasket, or sealing ring | Pull-out force, assembly bond, repeated opening, insertion depth | Heavy top movement, weak bonding, shank mismatch |
| Non-refillable closure | Insert, valve, pourer, and shell interfaces | Insert retention, valve operation, pour performance, tamper function | Leakage around insert, valve failure, incomplete assembly |
Bar-Top Stoppers
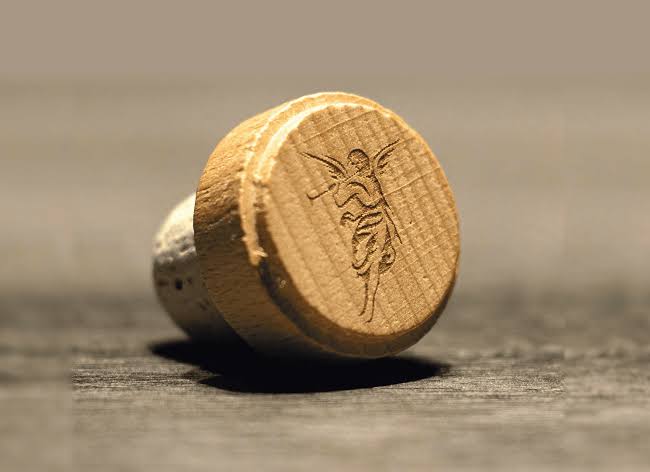
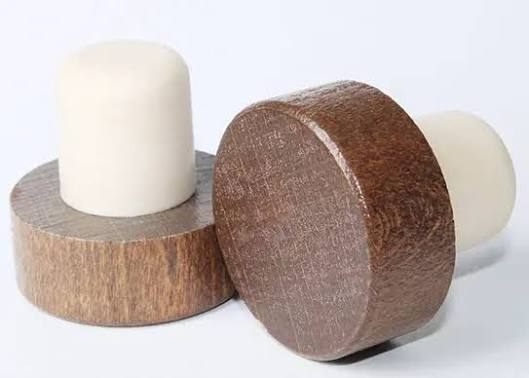
Bar-top stoppers normally seal through controlled interference between the stopper shank and the internal bottle bore.
The shank compresses during insertion and applies outward sealing force against the glass. Relevant variables include:
- Minimum and maximum bottle-bore diameter
- Stopper-shank diameter and tolerance
- Material hardness
- Compression and elastic recovery
- Insertion depth
- Pull-out force
- Alcohol resistance
- Repeated-opening performance
Physical bottle samples are particularly important. A nominal neck specification may not fully represent internal bore variation across bottle molds, cavities, or production lots.
A stopper that is too loose may leak, rotate, or lift during distribution. A stopper that is too tight may deform, require excessive insertion force, or create an unacceptable consumer-opening experience.
Kandacork’s bar-top stopper materials and fit guide provides more detail on stopper structure, shank selection, bottle fit, and sample approval.
Screw Caps
Screw-cap sealing depends on the interaction among the bottle thread, cap thread, sealing surface, liner, and application conditions.
Important checks include:
- Application torque
- Removal torque after a defined settling period
- Thread engagement
- Liner compression
- Sealing-land condition
- Cross-threading
- Opening and resealing behavior
Increasing torque without identifying the failure mechanism can deform the liner, damage the thread, or make the closure difficult to open.
For a more detailed explanation of application torque, removal torque, and torque retention, review the screw cap torque testing guide.
ROPP Closures
Roll-on pilfer-proof closures are formed onto the bottle during application.
Their performance depends on:
- Bottle-finish geometry
- Aluminum shell dimensions
- Liner contact
- Top pressure
- Capping-head adjustment
- Thread formation
- Tamper-band bridge formation
A closure that looks suitable when manually placed on a bottle may perform differently on a production capping head. Final approval should therefore include production-representative capping trials.
Non-Refillable Closures and Pourers
A non-refillable system may contain several functional interfaces:
- Bottle neck to insert
- Insert to outer shell
- Valve to insert
- Pourer to closure
- Tamper band to bottle finish
The outer shell can appear correctly applied while leakage occurs through an internal valve or around the insert.
Testing should therefore include insert retention, pouring function, valve operation, repeated opening, and leakage-location inspection.
Bottle Closure Leakage Test Methods Compared
The correct method depends on the closure type, filling product, project stage, and suspected failure.
| Test method | What it identifies | Typical stage | Result type | Main limitation |
|---|---|---|---|---|
| Visual inspection | Cracks, displaced liners, poor seating, closure damage, visible wetness | Screening and QC | Qualitative | Cannot reliably detect small or intermittent leaks |
| Upright storage | Baseline seal stability | Screening | Qualitative | Applies limited liquid contact to some sealing interfaces |
| Side-lay testing | Leakage during horizontal storage | Screening and validation | Qualitative | Duration and temperature must be controlled |
| Inversion testing | Gross liquid leakage | Screening and QC | Qualitative | Does not reproduce every distribution stress |
| Absorbent-paper inspection | Small amounts of visible weeping | Screening | Qualitative | Can be subjective without controlled conditions |
| Water-immersion bubble testing | Air escape under controlled pressure | Engineering investigation | Qualitative or comparative | Requires suitable fixtures and safe pressure controls |
| Vacuum chamber testing | Leakage under reduced external pressure | Validation | Qualitative or quantitative | Conditions must reflect the actual package risk |
| Torque testing | Application and opening consistency | Pilot line and QC | Quantitative | Does not directly prove liquid containment |
| Pull-out testing | Stopper retention | Validation and QC | Quantitative | Removes the stopper from its tested sealing state |
| Temperature cycling | Expansion, contraction, relaxation, or material change | Validation | Comparative | Requires more time than initial screening |
| Vibration testing | Transport-related loosening or seal damage | Validation | Qualitative or comparative | Requires a defined finished-pack configuration |
| Drop testing | Impact-related package failure | Validation | Qualitative | May combine bottle, closure, and carton failure modes |
| Gravimetric testing | Product or package mass loss | Longer-duration validation | Quantitative | Requires accurate weighing and evaporation controls |
Pressure and vacuum tests on glass bottles should only be performed using guarded equipment, controlled fixtures, documented procedures, and trained personnel.
Test values should not be selected by guesswork or copied from an unrelated bottle, closure, or test instrument.
Fast Method-Selection Guide
- Visible leakage: side-lay and inversion
- Threaded cap: torque and liner contact
- Stopper: bore, insertion depth, and pull-out force
- Transport failure: vibration and temperature exposure
- Air-freight risk: pressure-differential testing
- Material concern: actual-product conditioning
- Valve or pourer issue: insert retention and functional testing
Test values shown in supplier reports should only be accepted when the package configuration, equipment, fill medium, sample quantity, duration, temperature, and acceptance rationale are documented.
Seven-Step Bottle Closure Leakage Testing Protocol
Step 1: Define the Package and Failure Risk
Document the complete package:
- Bottle code and drawing
- Closure code and construction
- Neck finish or internal bore tolerance
- Closure tolerance
- Spirit type and ABV
- Fill level and headspace
- Closure-application method
- Distribution route
- Secondary packaging
Then define the problem the test must evaluate.
Examples include:
- Visible product loss
- Label or carton staining
- Stopper movement
- Low removal torque
- Leakage after transport
- Poor resealing
- Insert or valve malfunction
- Product-compatibility concerns
Testing without a defined failure risk often produces data that is difficult to interpret.
Step 2: Select Representative Samples
Avoid testing only ideal reference pieces.
Where practical, include samples from:
- Multiple bottle molds or cavities
- Different glass-production lots
- Multiple closure-production cavities
- More than one closure lot
- Actual application equipment
Sample quantity should reflect the test purpose, expected variation, commercial risk, and required confidence.
A small development comparison is not equivalent to engineering validation or production-lot acceptance.
Step 3: Condition, Fill, and Apply the Closure
Record component storage and conditioning before filling.
Unusually hot, cold, recently molded, or improperly stored components may behave differently from normal production materials.
Water can be suitable for preliminary gross-leak screening. However, it may not reproduce the wetting behavior, solvent action, or material interaction of the intended spirit.
Final approval should use the actual product or a technically justified simulant when alcohol concentration, flavor components, or contact time may affect the closure.
Apply the closure under controlled, production-representative conditions.
For screw caps and ROPP closures, record capping settings. For stoppers, record the insertion method and depth.
Step 4: Record Baseline Measurements
Depending on the closure, record:
- Bottle neck or bore dimensions
- Closure dimensions
- Application torque
- Initial removal torque
- Insertion depth
- Initial pull-out force
- Closure height
- Filled-package mass
- Tamper-band condition
- Assembly photographs
These results provide a reference for post-conditioning comparison.
Step 5: Run Orientation Tests
Evaluate the filled package in the positions relevant to storage and distribution:
- Upright
- On its side
- Inverted
Record:
- Duration
- Temperature
- Fill medium
- Storage orientation
- Leakage location
- Closure movement
- Label or carton staining
Descriptions such as “stored overnight” are not repeatable unless the actual duration and environmental conditions are documented.
Step 6: Apply Relevant Distribution Stress
Select stresses based on the real supply chain:
- Temperature cycling
- Vibration
- Reduced pressure
- Impact
- Extended storage
- Repeated opening
- Secondary-pack compression
Where carton design, bottle contact, dividers, or pallet configuration may affect performance, test the complete packaged product rather than the bottle alone.
Step 7: Inspect, Remeasure, and Classify the Failure
After exposure, inspect for:
- Liquid around the neck
- Wet labels or cartons
- Closure loosening
- Stopper lift or rotation
- Reduced removal torque
- Reduced pull-out force
- Liner displacement
- Shank deformation
- Valve malfunction
- Tamper-band damage
- Package mass loss
Classify the likely cause:
- Bottle dimensional variation
- Closure dimensional variation
- Material behavior
- Application setting
- Product interaction
- Transport stress
- Secondary-pack design
- Equipment or operator variation
This converts testing into a root-cause and corrective-action process rather than a simple pass/fail exercise.
Buyer note: A short inversion test may identify immediate gross leakage, but it may not reproduce bottle-tolerance variation, material relaxation, vibration, or temperature-related closure movement.
For a broader explanation of bottle, liner, stopper, and capping variables, see the guide to preventing spirits bottle closure leakage.
How Should Pass/Fail Criteria Be Set?
Acceptance criteria should be measurable, documented, and specific to the approved bottle-and-closure combination.
Possible requirements include:
- No visible liquid leakage
- No wetting of absorbent test material
- No continuous bubbles from the closure interface under the agreed test
- No cap, stopper, insert, or valve movement
- No unacceptable package mass loss
- No permanent liner displacement
- No damaged threads or tamper-evident components
- Removal torque within the approved project range
- Pull-out force within the approved project range
- Acceptable opening and resealing performance
There is no universal torque, pressure, stopper interference, or pull-out-force value suitable for every spirits bottle.
The correct limits depend on:
- Bottle geometry
- Closure construction
- Material formulation
- Liner or shank design
- Filling product
- Application equipment
- Consumer-opening requirements
- Distribution conditions
Example Project Acceptance Sheet
| Test item | Agreed condition | Acceptance requirement | Approval |
|---|---|---|---|
| Visual inspection | Immediately after application | No damaged shell, displaced liner, incomplete seating, or damaged shank | Pass/Fail |
| Side-lay test | Defined duration and temperature | No visible product at the closure interface | Pass/Fail |
| Inversion test | Defined duration | No droplets or wet absorbent material | Pass/Fail |
| Removal torque | After defined settling period | Within the approved project specification | Pass/Fail |
| Pull-out force | Before and after conditioning | Within the approved project specification | Pass/Fail |
| Vibration test | Approved finished-pack configuration | No leakage, loosening, or closure movement | Pass/Fail |
| Reclosure test | After defined opening cycles | No unacceptable leakage or loss of function | Pass/Fail |
The buyer, closure supplier, bottle supplier, filler, and testing party should agree on the relevant conditions and approval responsibilities.
Relevant Standards and Their Limitations
Standards should be selected according to their stated scope. Mentioning a recognized organization does not automatically make its method applicable to every spirits closure.
| Standard or organization | Relevant use | Important limitation |
|---|---|---|
| ASTM D5094/D5094M-24 | Gross liquid leakage for specified rigid or semi-rigid container systems | Scope should be reviewed before applying it to unthreaded bar-top stoppers |
| ASTM D6653/D6653M | Pressure-differential and high-altitude transport risk | Does not replace complete closure validation |
| ISTA | Distribution simulation for complete packaged products | Procedure should match the actual parcel, pallet, truck, or air-distribution system |
| Cetie | Glass finishes, ROPP application, bar-top stoppers, and spirits packaging | Guidance must still be applied to the actual bottle, closure, and application process |
USP <1207> | Pharmaceutical package-integrity concepts | Intended for sterile pharmaceutical packaging, not as a direct spirits requirement |
| FDA food-contact resources | Material identity, intended use, and contact conditions | Compliance must be confirmed for the specific formulation and use case |
Buyers should verify the current edition and scope before including any standard in a test plan, supply agreement, or purchase specification.
What Should Buyers Ask a Closure Supplier?
A technically capable closure supplier should request more than the required color, decoration, and quantity.
Information Buyers Should Submit
Provide:
- Bottle drawing
- Physical bottle samples
- Neck finish or internal bore dimensions
- Bottle tolerance range
- Required closure type
- Liner, shank, gasket, insert, or valve requirements
- Spirit category and ABV
- Fill temperature and headspace
- Capping or insertion method
- Production speed
- Destination market
- Distribution route
- Estimated order quantity
- Known leakage concern
Evidence Buyers Should Request
Depending on the project, ask for:
- Dimensional inspection report
- Bottle-and-closure compatibility review
- Torque or pull-out results
- Leakage-test method and results
- Material declaration
- Food-contact documentation
- Product-compatibility evidence
- Lot traceability
- Approved-sample retention
- Change-control procedure
- Corrective-action process
Information Buyers Should Verify
Ask:
- Which equipment was used?
- Is it calibrated?
- How many samples were tested?
- Which bottle and closure lots were included?
- Were closures hand-applied or applied on production equipment?
- What fill medium was used?
- What were the test duration and temperature?
- How were acceptance limits selected?
- How were failures documented?
- Are photographs and raw measurements available?
A report stating only “passed leak test” has limited value without the method, sample source, test conditions, results, and acceptance criteria.
Kandacork’s closure sealing and leakage testing service helps buyers review bottle fit, closure structure, filling conditions, and appropriate test directions before bulk production.
Common Leakage Symptoms and Likely Causes
| Observation | What to investigate |
|---|---|
| Bar-top stopper leaks during side storage | Bottle-bore variation, low shank interference, poor recovery, or incomplete insertion |
| Stopper seals but is difficult to remove | Excessive interference, high material hardness, or excessive insertion depth |
| Screw cap leaks after several days | Torque relaxation, poor liner compression, thread mismatch, or damaged sealing land |
| ROPP results vary between bottles | Capping-head adjustment, bottle-finish variation, liner contact, or incomplete thread formation |
| Leakage occurs only after vibration | Low retention, closure loosening, unstable insert, or inadequate secondary-pack restraint |
| Leakage occurs after temperature cycling | Differential expansion, liner relaxation, material shrinkage, or product incompatibility |
Corrective action should address the verified root cause.
Increasing torque or stopper diameter without diagnosis may reduce one leakage symptom while creating excessive opening force, liner damage, stopper deformation, or filling-line problems.
Buyer Checklist Before Bulk Approval
Before approving mass production, confirm that:
- The bottle and closure specifications are approved.
- Representative production samples have been tested.
- The actual product or a justified simulant has been selected.
- Production application conditions have been reproduced.
- Torque, pull-out, and leakage acceptance limits are documented.
- Relevant storage and distribution risks have been evaluated.
- Approved samples and test records are retained.
- Revalidation and change-control requirements are agreed.
Revalidation should be considered after changes to the bottle, closure, material, liner, application equipment, filling product, or distribution route.
How Kandacork Supports Bottle and Closure Evaluation
Kandacork Closures & Stoppers supports spirits brands, distilleries, private-label buyers, bottlers, importers, and packaging distributors evaluating:
- Bar-top stoppers
- Synthetic stoppers
- Screw caps
- ROPP closures
- Decorative stoppers
- Non-refillable systems
- Pourer closures
Depending on the project, support can include bottle-to-closure compatibility review, stopper-shank and bottle-bore assessment, sealing-surface review, torque or pull-out evaluation, sample development, and pre-production leakage-risk assessment.
For buyers coordinating the bottle, closure, decoration, and export packaging as one project, Kandacork Glass also provides integrated spirits packaging support across the complete packaging system.
The objective is not simply to find a closure that fits one bottle sample. It is to develop an approved bottle-and-closure system that can be evaluated against documented technical and commercial requirements.
Frequently Asked Questions
What is the best bottle closure leakage test for spirits?
There is no single best test for every package. Begin with representative filled bottles, controlled side-lay and inversion tests, and closure-specific torque or pull-out measurements. Add temperature, vibration, pressure-differential, or compatibility tests according to the actual package risks.
Is torque testing the same as leakage testing?
No. Torque testing measures application or opening behavior, while leakage testing evaluates product containment. A cap can have acceptable removal torque and still leak because of poor liner contact, bottle-finish damage, or thread mismatch.
How do you test a bar-top stopper for leakage?
Measure the bottle bore and stopper shank, apply the stopper consistently, and record insertion depth and pull-out force. Run upright, side-lay, and inverted tests. Add temperature cycling, vibration, and repeated-opening checks when these conditions reflect the intended use.
Should spirits bottles be tested with water or the actual product?
Water can be used for preliminary gross-leak screening. Final approval should use the intended spirit or a justified simulant when alcohol concentration, flavor components, wetting behavior, or contact time may affect the closure.
How many bottle and closure samples should be tested?
There is no universal quantity. The sampling plan should reflect the test purpose, expected bottle and closure variation, commercial risk, and required confidence. Screening, engineering validation, pilot production, and lot acceptance require different sample plans.
What information should buyers send with a closure RFQ?
Send the bottle drawing, physical samples, neck or bore tolerances, required closure type, spirit and ABV, filling method, distribution route, documentation requirements, estimated quantity, and known leakage concerns.