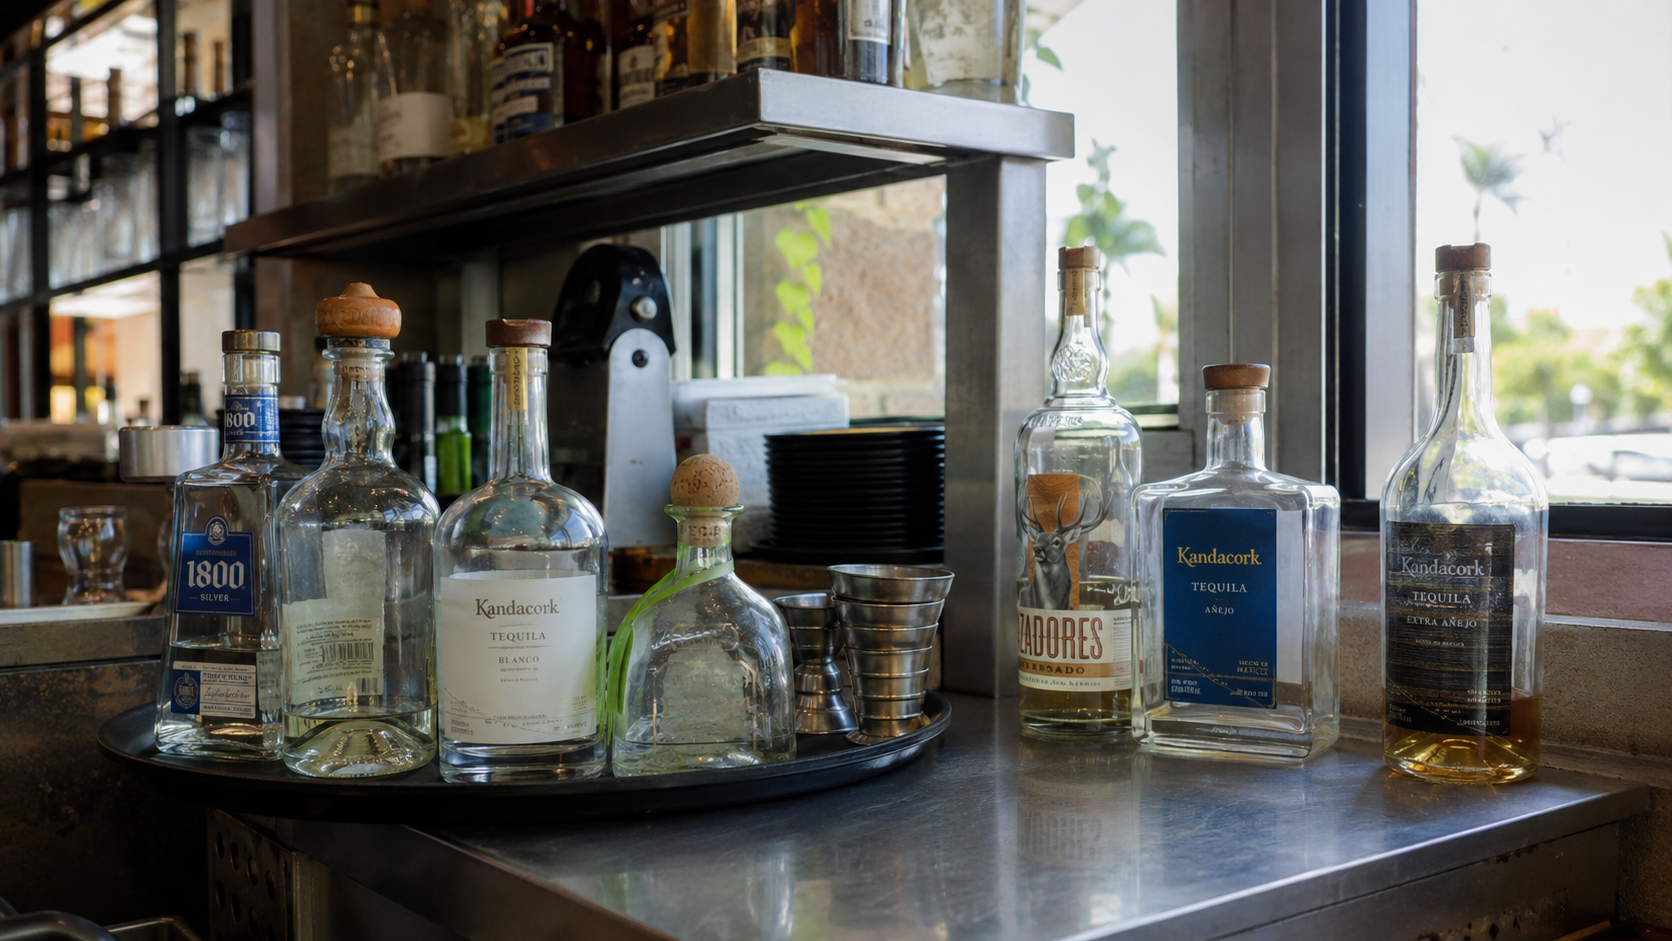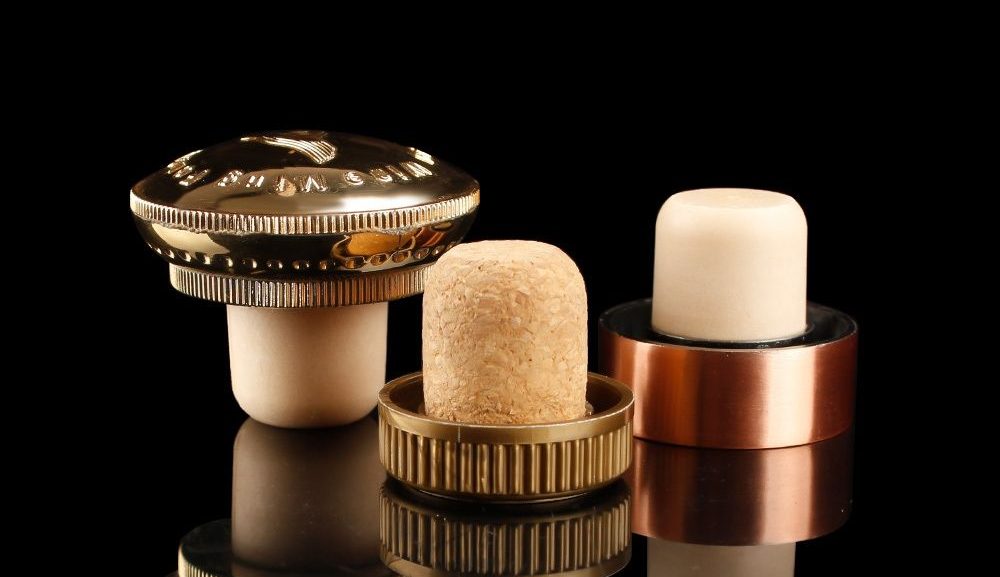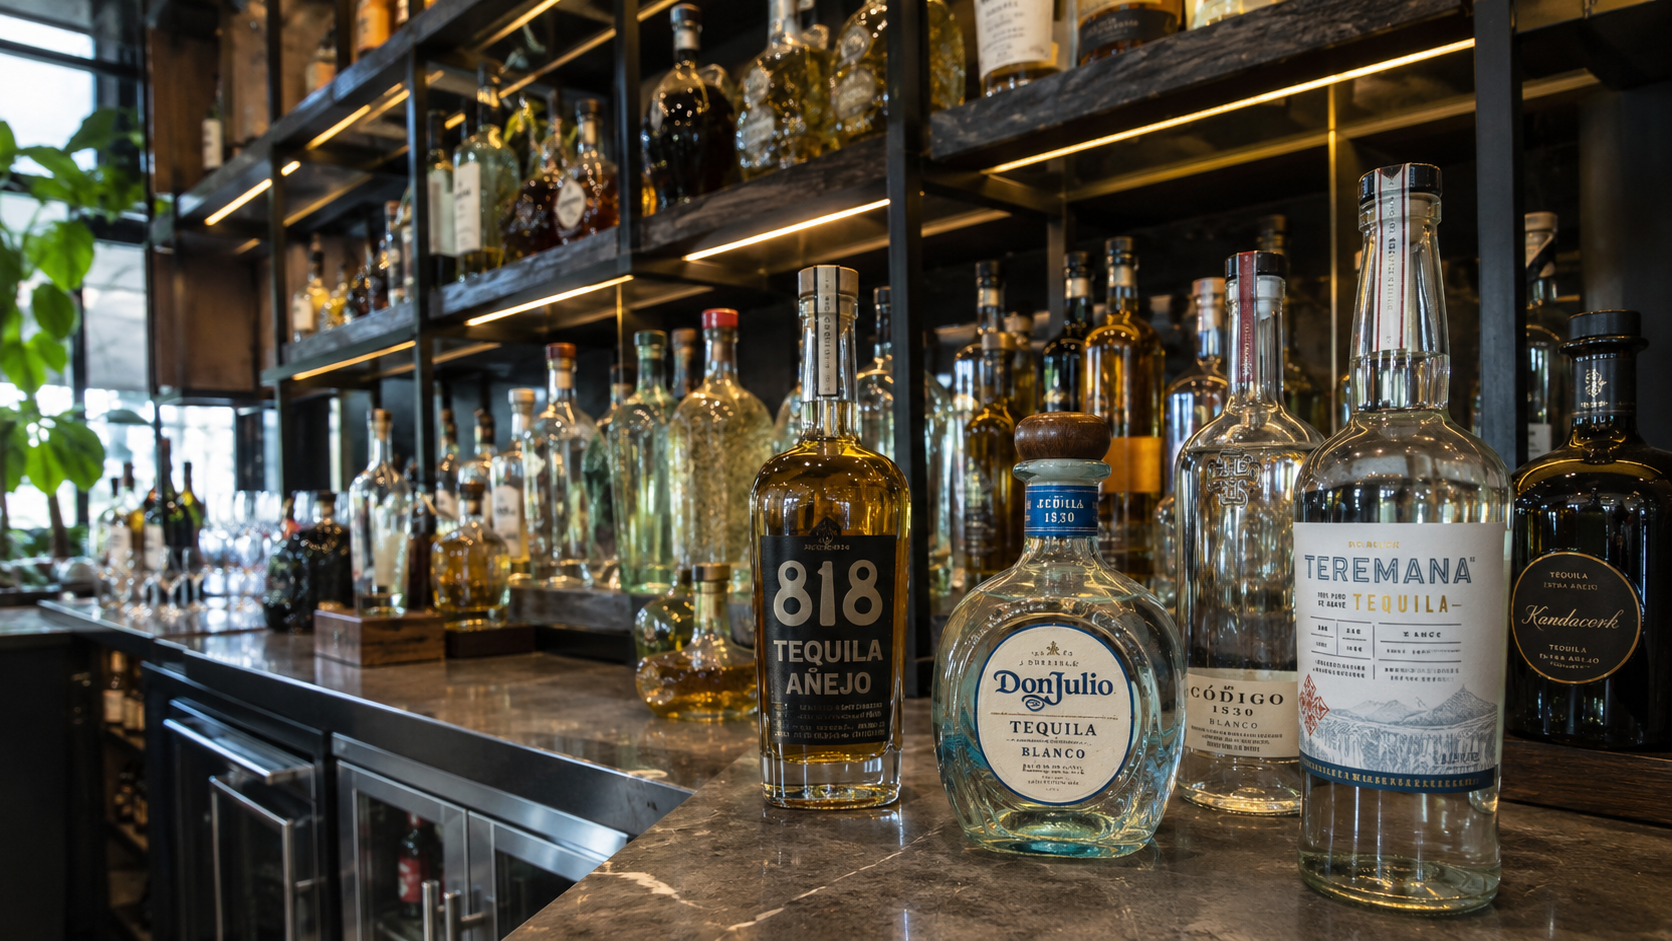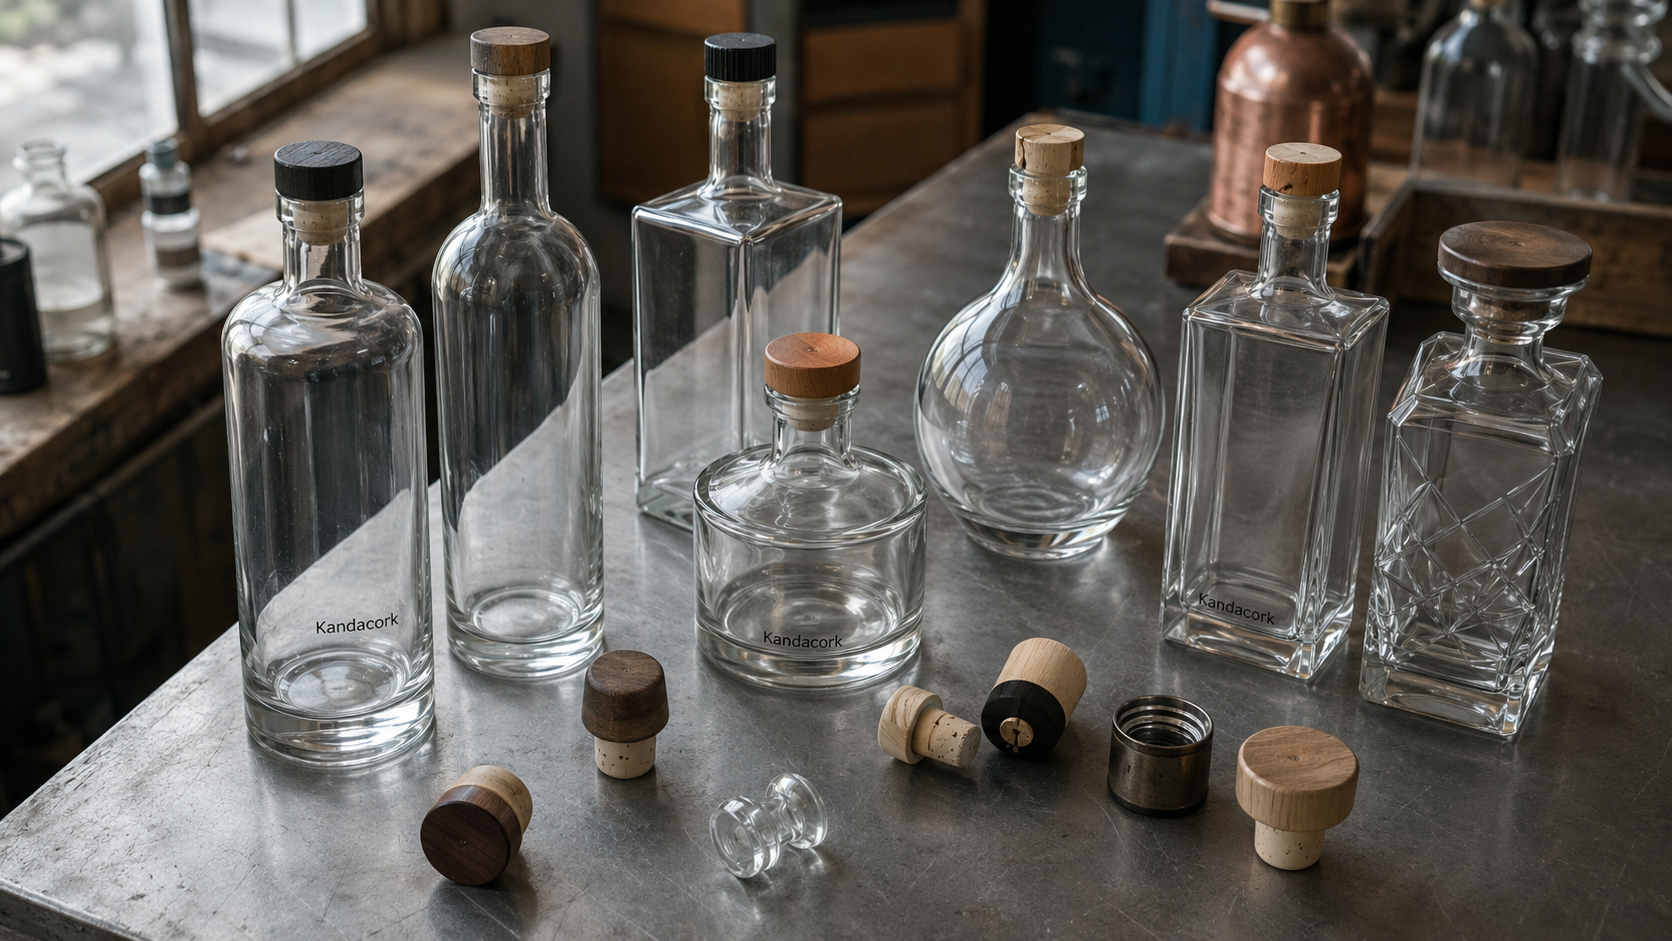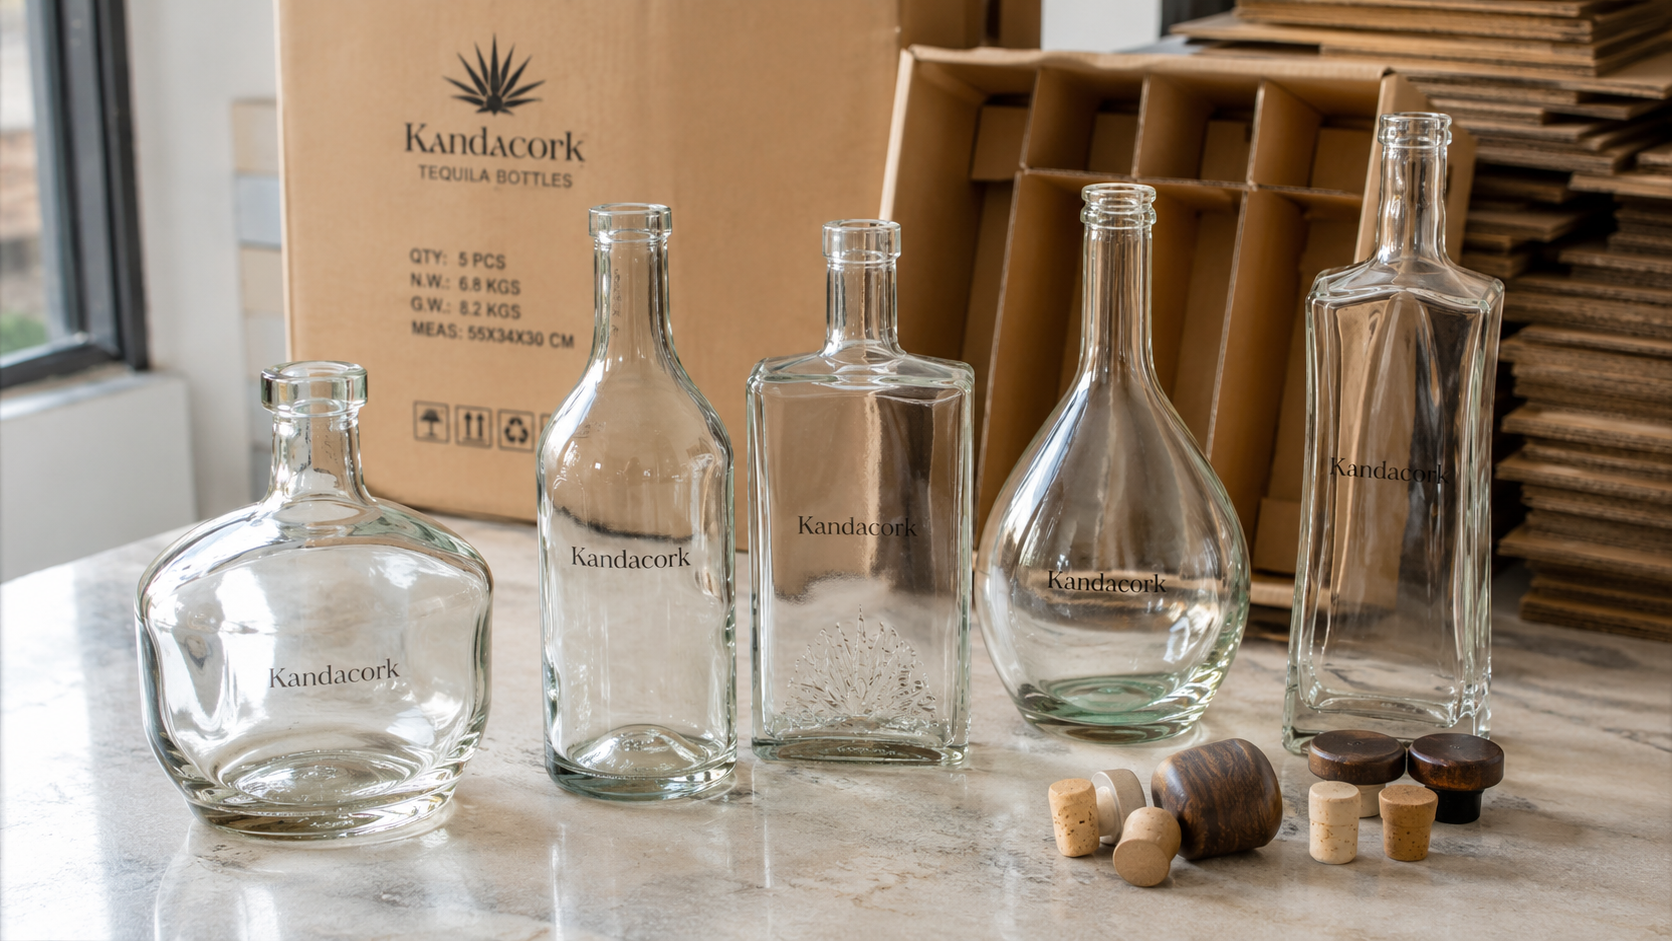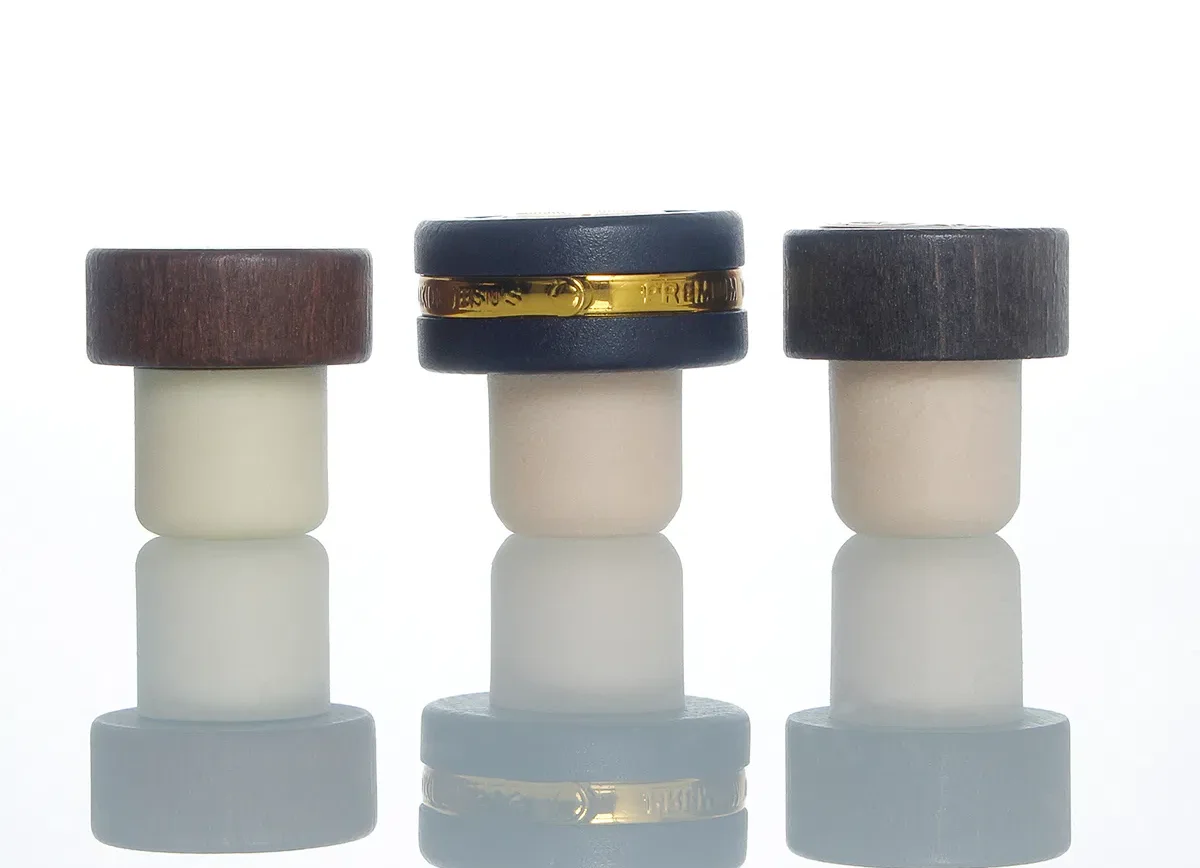
Testing bar-top stopper leakage for spirits bottles requires more than inserting one stopper into one empty bottle.
A closure may feel secure during a manual fit check but still leak after filling, warm storage, vibration, pressure changes, or repeated opening. Before approving a bulk order, buyers should validate the complete packaging system: the bottle neck, stopper shank, decorative top, adhesive, spirit, fill level, application method, and final shipping package.
Buyers comparing closure constructions can begin by reviewing Kandacork’s range of bar-top stoppers and spirits bottle closures before selecting production-intent samples for testing.
Quick Answer
To perform a bar-top stopper leak test before a bulk order:
- Measure the bottle neck and stopper.
- Check dry fit and seating height.
- Fill and condition representative samples.
- Test bottles upright, tilted, and inverted.
- Apply realistic temperature and pressure stress.
- Simulate transportation in the final packaging.
- Measure opening, bond strength, and resealing performance.
Approve the closure only when production-representative bottles and stoppers meet documented pass/fail criteria.
A short inversion test can reveal an obvious mismatch, but it does not prove that the closure is ready for commercial production.
Why Hand Fit Does Not Prove Leak Resistance
A hand-fit test only shows how one closure behaves in one bottle under dry, static conditions. Commercial leakage risk is mainly affected by bottle-neck variation, shank recovery, filling conditions, and distribution stress.
Bottle-neck variation
The mouth diameter shown on a bottle drawing may not represent the complete internal neck profile.
The bore can:
- Narrow below the mouth
- Widen below the mouth
- Contain a local constriction
- Have an internal glass seam
- Be oval rather than round
- Vary between mold cavities and production lots
A stopper may grip at the bottle mouth while losing sealing contact farther down the neck. A lower pinch point can create the opposite problem: the stopper seals but becomes too difficult to remove.
These issues are explored in more detail in Kandacork’s guide to bar-top stopper fit problems.
Shank compression and recovery
Natural cork, micro-agglomerated cork, synthetic polymers, and coated shanks recover differently after insertion.
Temperature, alcohol exposure, storage time, surface treatment, and repeated opening can change the grip between the shank and bottle neck.
For this reason, there is no universal rule stating that every stopper should be a fixed amount larger than the bottle opening.
Filling and distribution stress
Fill temperature, limited headspace, warm warehouses, vibration, altitude changes, and repeated case handling can increase pressure or movement at the closure.
A bottle that remains dry during a short room-temperature test may still leak during export transportation or after storage in a warm distribution center.
What to Prepare Before Testing
Testing should use bottles and stoppers that represent normal commercial variation—not only perfect development samples.
Bottle samples
Prepare:
- The technical bottle drawing
- At least three physical bottles for an initial review
- Bottles from representative production lots
- Samples from different mold cavities, when available
- Minimum and maximum neck dimensions, if supplied by the glass manufacturer
The final sample quantity should reflect the order volume, bottle variability, product value, and distribution risk.
Stopper samples
Record:
- Shank material
- Shank diameter
- Shank length
- Dimensional tolerances
- Surface treatment or coating
- Decorative top material
- Adhesive construction
- Intended insertion depth
- Target seating height
- Stopper lot number
Filling and distribution conditions
Document:
- Spirit type
- Alcohol by volume
- Fill volume
- Fill temperature
- Target headspace
- Manual or automatic application
- Expected storage orientation
- Destination markets
- Shipping method
- Expected temperature range
- Target shelf life
Control the test conditions
Use the same insertion method, seating depth, conditioning time, orientation, temperature, test duration, weighing instrument, and inspection procedure for every sample group.
Record any deviation before comparing results.
| Test stage | Key records | Primary purpose |
|---|---|---|
| Dimensional inspection | Neck profile, ovality, shank dimensions | Identify geometric mismatch |
| Dry-fit test | Insertion, alignment, seating height | Screen obvious fit problems |
| Filled leakage test | Orientation, duration, seepage, mass change | Evaluate liquid tightness |
| Temperature test | Stopper movement, deformation, leakage | Identify thermal risks |
| Transport simulation | Pack condition and leakage | Evaluate distribution performance |
| Mechanical test | Pull force, torque, bond integrity | Confirm usability and construction |
| Final review | Pass/fail result and corrective action | Approve, revise, or reject |
Seven-Step Bar-Top Stopper Leak Test
Step 1: Measure the Bottle and Stopper
Begin with a visual and dimensional inspection.
Check the bottle finish for:
- Chips or cracks
- Internal glass seams
- Ridges or constrictions
- Contamination
- Ovality
- Differences between samples
Measure the internal neck diameter at several depths within the stopper insertion zone. At each depth, measure in at least two directions to identify ovality.
A single reading at the bottle mouth does not describe the complete sealing area.
Inspect the stopper for:
- Shank diameter and length
- Cracks or voids
- Uneven coatings
- Decorative-top alignment
- Loose components
- Adhesive overflow
- Inconsistent surface finish
Assign each bottle and stopper a sample identification number. Any failure should be traceable to the bottle lot, stopper lot, and original measurements.
The ISO 9727 cork stopper test methods cover principles related to dimensions, recovery after compression, extraction force, liquid tightness, and capillarity. Their scope should be checked before applying individual methods to a reusable bar-top construction.
Adjust the inspection for the closure material
| Closure construction | Additional validation focus |
|---|---|
| Natural cork | Use broader sampling to represent natural variation |
| Micro-agglomerated cork | Verify binder and high-ABV compatibility |
| Synthetic shank | Check temperature response and compression set |
| Coated or hybrid shank | Inspect coating integrity and delamination |
| Heavy decorative top | Add head-to-shank torque or bond testing |
Material specifications help define the test plan, but they do not replace bottle-specific validation.
Step 2: Check Dry Fit and Seating
Insert the stopper using the planned manual tool or bottling equipment.
Record:
- Insertion effort
- Stopper alignment
- Final seating height
- Visible gaps
- Rocking or lateral movement
- Immediate stopper rise
- Shank damage
- Decorative-top coverage
A stopper that inserts with very little resistance may not create sufficient radial contact with the bottle neck.
A stopper that requires excessive force can cause:
- Difficult consumer opening
- Shank damage
- Stress on the adhesive joint
- Decorative-top separation
- Inconsistent bottling-line application
If the stopper feels loose, tilted, unstable, or excessively tight, inspect the internal neck profile before changing only the shank diameter.
Dry fit is a screening step. It does not prove liquid tightness.
Step 3: Fill and Condition Representative Samples
Use the intended spirit whenever practical.
Water can support an initial visible-leak screen, but it may not reproduce the effects of alcohol on:
- Cork binders
- Synthetic polymers
- Coatings
- Pigments
- Adhesives
- Surface treatments
For compatibility testing, use the actual beverage or a validated simulant that represents the relevant alcohol concentration and physical properties.
Before conditioning, record:
- Test liquid
- Alcohol by volume
- Fill volume
- Fill temperature
- Initial bottle mass
- Initial seating height
- Application method
- Application time
Review the complete closure construction for its intended food-contact conditions. This includes the shank, adhesive, coating, pigments, and any components that may contact the beverage or bottle finish.
Supplier documentation should correspond to the intended alcohol level, temperature, market, and conditions of use.
Allow samples to stabilize for the period defined in the test protocol before applying additional stress.
Step 4: Test Bottles Upright, Tilted, and Inverted
Different orientations reveal different failure modes.
Upright test
Use upright storage to identify:
- Stopper rise
- Seating-height change
- Moisture around the bottle neck
- Odor
- Pressure-related movement
Tilt test
Place the bottle at a controlled angle so the liquid remains in contact with the closure.
Tilt testing can reveal slow capillary seepage that does not appear during upright storage.
Controlled inversion test
Invert bottles for a defined period based on the expected handling and distribution risk.
Use absorbent material beneath or around the closure to make minor seepage easier to detect.
After each stage, inspect and record:
- Liquid droplets
- Wetting around the shank
- Capillary tracks
- Staining
- Odor
- Stopper movement
- Material swelling
- Bottle-mass change
Use the same orientation, temperature, duration, and inspection procedure for every sample group.
A sample passes this stage when it shows no visible seepage, unacceptable mass loss, stopper movement, structural damage, or secondary-packaging contamination under the agreed conditions.
Brands that need help designing a project-specific procedure can use Kandacork’s sealing and leakage testing support to review bottle fit, test conditions, and sample results before production.
Step 5: Apply Temperature and Pressure Stress
Select conditions that reflect likely filling, warehousing, transportation, retail, and consumer-storage environments.
A project-specific sequence may include:
- Ambient conditioning
- Warm storage
- Cool storage
- Warm-to-cool transition
- Cool-to-warm transition
- Return to ambient temperature
Inspect samples during and after conditioning.
Record:
- Visible seepage
- Stopper lift
- Seating-height change
- Shank deformation
- Surface cracking
- Material softening
- Decorative-top movement
- Bottle-mass change
- Change in extraction behavior
Temperature changes can affect the liquid, headspace, shank elasticity, coating, and adhesive joint simultaneously.
Reduced external pressure may also be relevant for airfreight or distribution through high-altitude regions.
Test conditions should reflect the actual project risk rather than using arbitrary extreme temperatures that the finished package will never encounter.
Step 6: Simulate Transport in the Final Packaging
Test bottles in the packaging intended for commercial shipment.
Include the actual:
- Carton
- Dividers
- Gift box
- Protective sleeves
- Labels
- Capsules
- Pallet arrangement
Depending on the distribution route, testing may include:
- Vibration
- Impact
- Repeated handling
- Case compression
- Temperature conditioning
- Orientation changes
The ISTA packaged-product test procedures include integrity, partial-simulation, and general-simulation approaches for different package weights and distribution environments. Select the procedure according to the shipping mode, package configuration, and route risk.
After transport simulation, inspect:
- Closure leakage
- Wet dividers
- Stained labels
- Damaged gift boxes
- Product odor inside the carton
- Stopper rotation
- Head-to-shank separation
- Abrasion
- Bottle-to-bottle contact
A minor intermittent leak can become commercially serious when it damages premium decoration or neighboring bottles.
Step 7: Measure Opening and Resealing Performance
Leak resistance must be balanced with consumer usability.
Evaluate:
- Initial twist torque
- Vertical extraction force
- Combined twist-and-pull behavior
- Consumer opening feel
- Decorative-top stability
- Reseating effort
- Seating height after reuse
- Leakage after repeated opening
- Final extraction force
Consumers often remove a bar-top stopper with a combined twist-and-pull motion. The test method should reflect that behavior when practical.
For additional guidance on opening resistance, test variables, and sample approval, see Kandacork’s bar-top stopper pull-out force testing guide.
When the bottle is intended to be resealed, complete the specified number of opening cycles and repeat the leakage test.
A stopper may pass its initial test but lose grip after repeated use because of permanent compression set or insufficient material recovery.
Vacuum-decay testing may provide non-destructive integrity screening for suitable filled packages. It should supplement—not replace—temperature, transport, extraction, and resealing tests.
How to Set Pass/Fail Criteria
Agree on acceptance criteria before testing begins.
| Test item | Approval principle |
|---|---|
| Visible leakage | No droplets, seepage, wetting, or staining |
| Bottle-mass change | Within the project’s validated tolerance |
| Stopper movement | No unacceptable rise, tilt, rotation, or ejection |
| Seating height | Within the signed specification |
| Extraction force | Within the approved functional range |
| Twist performance | Consistent and suitable for the target consumer |
| Resealing | No leakage after the specified opening cycles |
| Head-to-shank bond | No looseness, rotation, or separation |
| Material condition | No cracking, swelling, softening, or permanent deformation |
| Sensory result | No unacceptable odor, flavor, or color change |
| Secondary packaging | No leakage-related damage |
There is no universal stopper oversize, extraction-force range, test temperature, or conditioning period suitable for every project.
Limits should reflect:
- Bottle-neck geometry
- Shank material
- Alcohol content
- Filling conditions
- Distribution route
- Consumer expectations
- Finished-package value
Minimum approval matrix
Use a matrix to compare each closure construction across representative bottle lots.
| Sample group | Dry fit | Filled leak | Temperature | Transport | Reuse | Decision |
|---|---|---|---|---|---|---|
| Stopper A / Bottle lot 1 | Record | Record | Record | Record | Record | Approve, revise, or reject |
| Stopper A / Bottle lot 2 | Record | Record | Record | Record | Record | Approve, revise, or reject |
| Stopper B / Bottle lot 1 | Record | Record | Record | Record | Record | Approve, revise, or reject |
Do not release the bulk order because one sample group passes. Confirm that the selected construction performs consistently across the bottle variation expected in production.
Common Failures and Corrective Actions
| Failure | Possible cause | How to confirm it | Corrective action |
|---|---|---|---|
| Immediate leakage during inversion | Shank too small or incomplete neck contact | Measure the bore at several depths | Test another diameter or shank length |
| Leakage after warm storage | Liquid expansion, limited headspace, or material softening | Compare seating height and mass before and after conditioning | Review fill level, temperature, and material |
| Stopper rises after filling | Neck taper, internal pressure, or insufficient grip | Map the neck profile and measure movement | Adjust geometry, insertion depth, or filling conditions |
| Stopper is difficult to remove | Shank too large or internal pinch point | Compare neck profile and extraction force | Reduce the diameter or revise insertion depth |
| Stopper becomes loose after reuse | Permanent compression set | Run repeated opening cycles | Compare alternative shank materials |
| Decorative top separates | Insufficient adhesive strength | Conduct controlled torque or pull testing | Review adhesive, curing, and joint design |
| Only some bottles leak | Bottle-mold or production-lot variation | Separate results by mold, cavity, and lot | Expand sampling and tighten glass controls |
| Cartons are stained after transport | Intermittent vibration leakage | Repeat the test in final packaging | Review fit, orientation, and pack design |
Correct the root cause before changing several variables at once. Otherwise, it may be impossible to identify which adjustment improved or worsened performance.
How to Approve the Supplier and Bulk Order
A capable stopper supplier should provide more than a standard size chart or a general claim that the closure is leakproof.
Ask:
- Can the supplier measure the internal neck at several depths?
- Can it test bottles from representative production lots?
- Can it evaluate leakage, extraction force, and head-to-shank integrity?
- Are samples made with production-intent materials and processes?
- Is lot traceability available?
- Is there formal change control and corrective-action support?
For projects involving a new bottle, stopper, decoration, capsule, and export carton, buyers can also coordinate these components through Kandacork’s integrated spirits bottle and packaging projects rather than validating each component in isolation.
Run a production-intent pilot
The pilot should use the intended:
- Bottles
- Stoppers
- Spirit
- Fill conditions
- Application equipment
- Labels
- Capsules
- Cartons
A carefully hand-applied development sample may behave differently from a closure inserted at production speed.
Repeat the critical leakage, temperature, transport, opening, and resealing tests after the pilot.
Sign the specification and golden sample
The approved specification should identify:
- Bottle and stopper codes
- Shank material
- Shank dimensions and tolerances
- Decorative top
- Surface finish
- Adhesive construction
- Seating-height requirement
- Packing method
- Inspection requirements
The buyer and supplier should each retain an approved reference sample.
Define bulk quality control
Agree which characteristics will be inspected during production and before shipment.
These may include:
- Shank dimensions
- Visual quality
- Assembly integrity
- Bond strength
- Extraction performance
- Leakage screening
- Packaging
- Lot identification
Approve the order only after production-intent samples pass the agreed test matrix, the pilot bottling run is completed, and the final specification and golden sample are signed.
What to Send for Samples or a Quote
To receive a useful recommendation from Kandacork Closures & Stoppers, provide:
- Bottle drawing
- At least three representative physical bottles
- Bottle supplier and production status
- Internal neck dimensions, when available
- Spirit category and alcohol content
- Fill level and fill temperature
- Preferred shank material
- Preferred decorative top
- Branding or decoration files
- Application method
- Destination markets
- Shipping method
- Estimated order volume
- Required compliance documents
- Target opening experience
For an initial fit review, submit the drawing, neck information, and physical bottles.
For production-intent testing, request samples for leakage, temperature, extraction, resealing, decoration, and transport evaluation.
For bulk pricing, provide the approved bottle, spirit specification, target materials, annual volume, and destination markets through the Kandacork page to request stopper samples or a quotation.
Frequently Asked Questions
How many bottles should be used in a bar-top stopper leak test?
At least three physical bottles are useful for an initial fit review. Formal validation may require more samples to represent bottle molds, production lots, stopper variation, order size, and distribution risk.
Is an inversion test enough to approve a stopper?
No. Inversion can reveal obvious leakage, but it does not reproduce temperature cycling, vibration, pressure changes, repeated opening, or long-term distribution conditions.
Can water be used instead of the actual spirit?
Water can support preliminary visual screening. Actual spirit or a validated simulant is preferable when evaluating alcohol compatibility, coatings, adhesives, swelling, odor, flavor, and long-term material behavior.
Should the stopper always be larger than the bottle opening?
A stopper normally needs sufficient interference to form sealing contact, but there is no universal oversize value. The correct fit depends on the complete neck profile, shank material, shank length, insertion depth, and acceptable extraction force.
Why do only some bottles leak?
Intermittent leakage may result from mold variation, neck ovality, mixed glass lots, stopper variation, localized defects, or inconsistent application. Separate results by bottle lot, mold cavity, stopper lot, and application condition to identify the pattern.