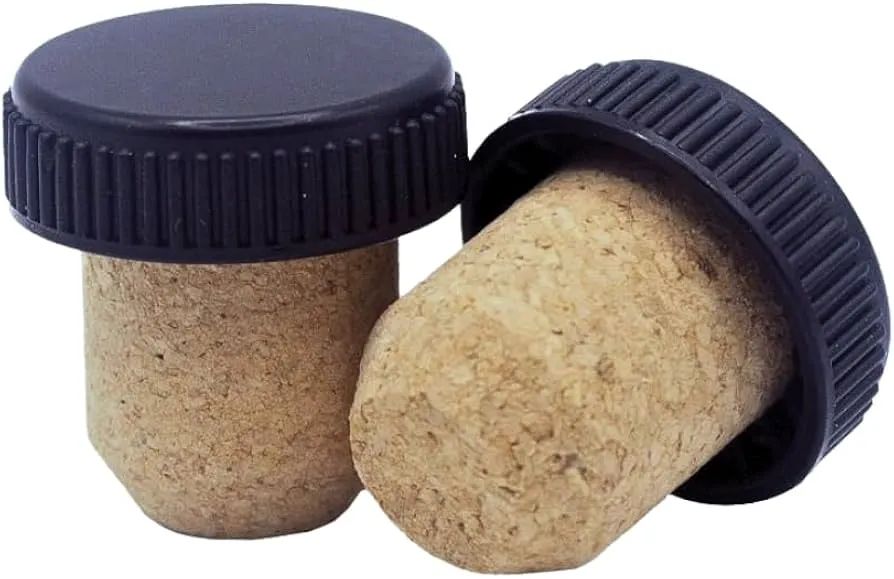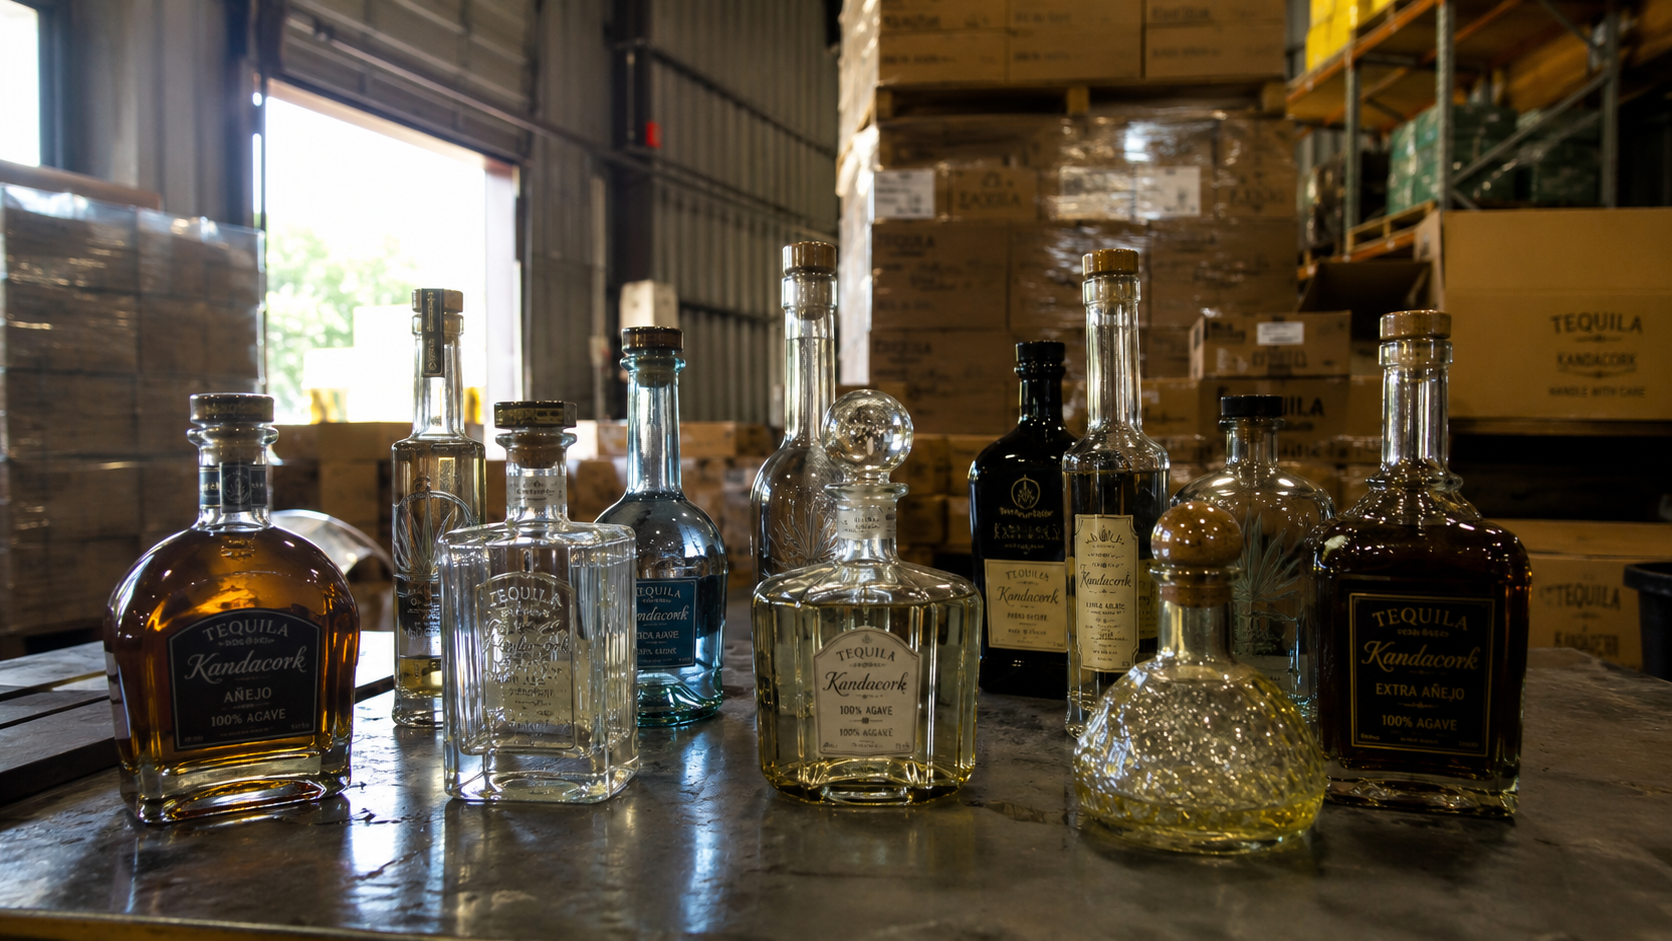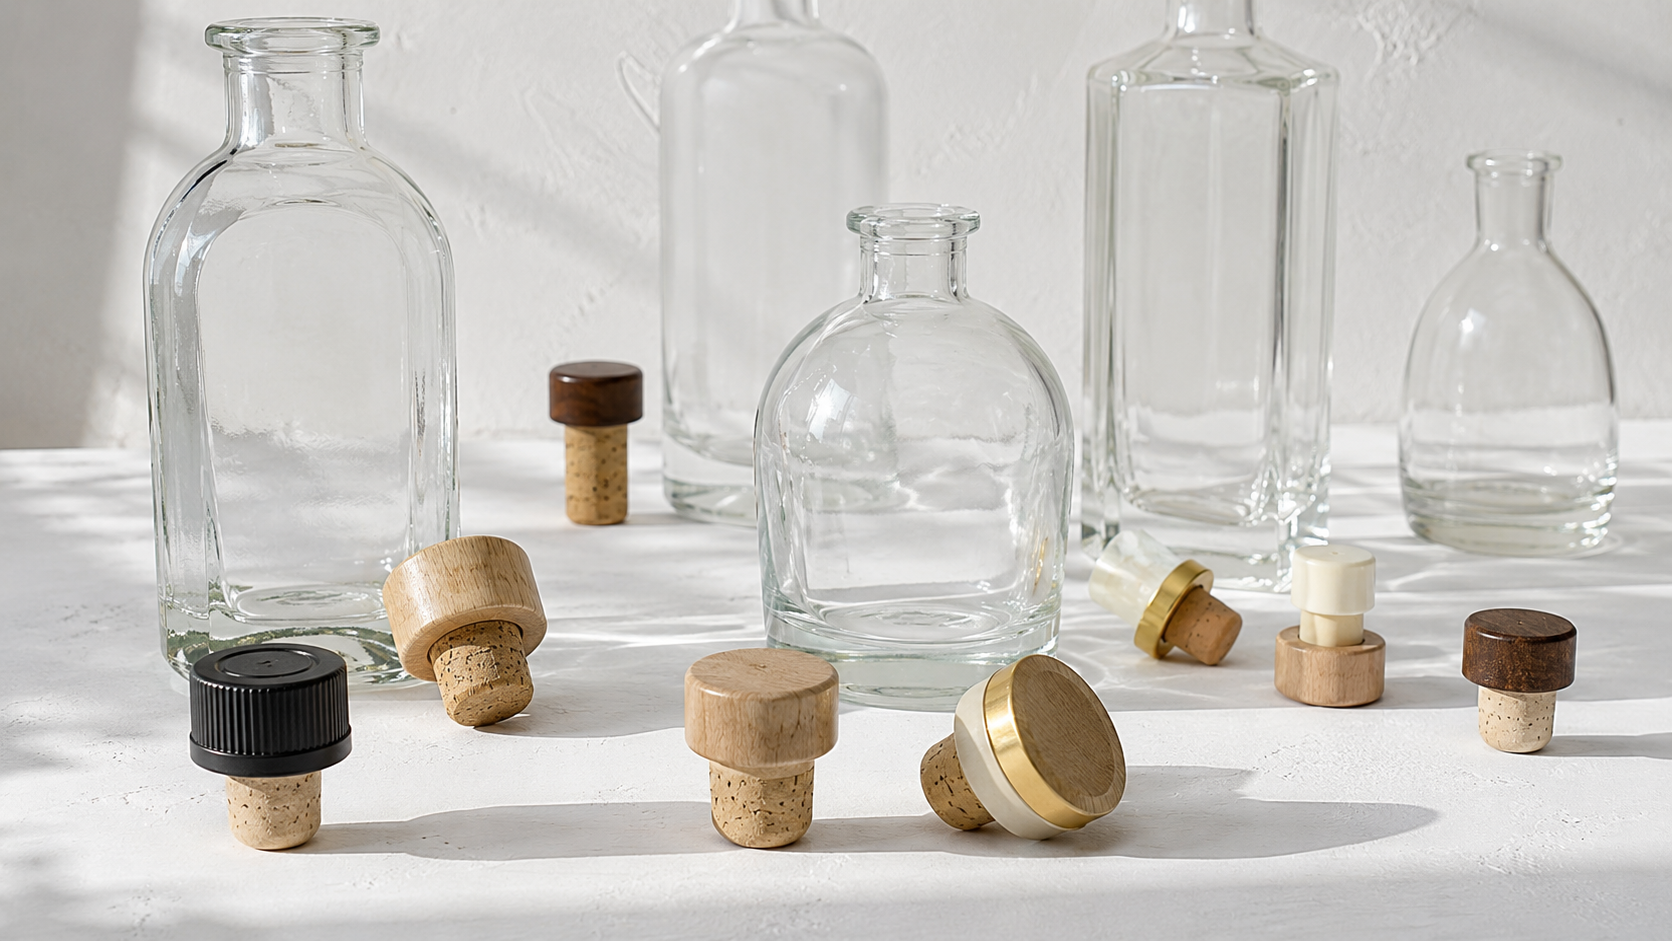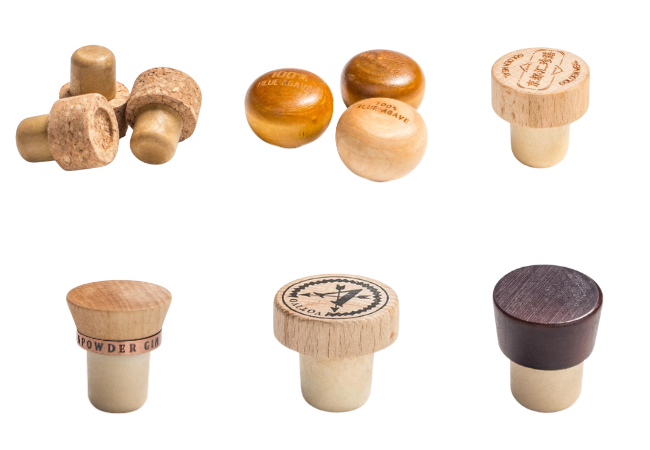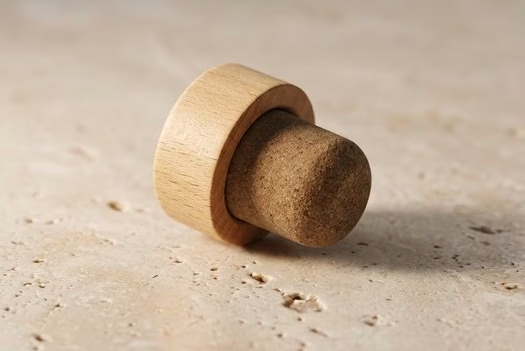
To avoid tight bottle stoppers, measure the bottle’s complete internal neck profile instead of relying only on its nominal opening diameter. The stopper shank diameter, material behavior, sealing length, and surface friction must be compatible with the bottle’s minimum internal bore.
Before bulk production, test representative bottle-and-stopper assemblies for insertion force, pull-out force, leakage, resealing, and performance after storage.
The objective is not to make a closure as tight as possible. A correctly specified bar-top stopper should remain secure during filling and distribution while allowing the consumer to open and reseal the bottle without excessive effort.
Brands comparing materials, head designs, and functional shank options can first review the available custom spirits bottle closures and stoppers before beginning bottle-specific fit testing.
Scope: This guide covers factory-fitted bar-top and T-top stoppers used on spirits bottles. It does not cover screw caps, household bottle caps, or aftermarket wine-preservation stoppers.
Quick Diagnosis: Why Is the Bottle Stopper Too Tight?
A bar-top stopper is usually too tight because it creates excessive compression, friction, or contact area inside the bottle neck.
The point at which the problem occurs can help identify the root cause.
| Symptom | Likely cause | What to measure | Recommended correction | What to retest |
|---|---|---|---|---|
| Difficult to insert from first contact | Oversized shank or undersized bottle mouth | Mouth bore and maximum shank diameter | Reduce interference or trial a more compressible material | Insertion, pull-out, leakage, and resealing |
| Enters normally, then jams deeper in the neck | Internal pinch point, taper, or excessive sealing length | Bore diameter at several depths | Add a taper, reduce the lower shank, or shorten the sealing zone | Insertion profile, pull-out force, and leakage |
| Only some bottles are too tight | Glass ovality, mold variation, or tolerance accumulation | Bottles from different molds and batches | Review glass tolerances or design for greater variation | Multi-mold and multi-batch compatibility |
| Becomes tighter after storage | Material recovery, friction changes, temperature, or product interaction | Conditioned pull-out force | Change material, surface treatment, or profile | Storage, leakage, and product compatibility |
| Stopper sits too high | Excessive insertion resistance or incorrect machine setting | Insertion force and seating height | Adjust closure fit or insertion equipment | Line consistency and leakage |
| Cork dust or polymer shavings appear | Excessive compression, rough glass, or misalignment | Bore surface, shank condition, and equipment alignment | Reduce interference and correct alignment | Insertion and visual inspection |
| Decorative top separates | Pull-out force exceeds bond strength | Extraction force and top-to-shank bond strength | Reduce resistance and strengthen bonding | Force, storage, and repeated opening |
| Smaller stopper opens easily but leaks | Insufficient radial sealing pressure | Leakage and stopper movement | Change material or profile rather than reducing diameter further | Full sealing and distribution validation |
This diagnostic process prevents buyers from changing the stopper size before determining whether the real problem comes from the bottle, closure material, shank design, or bottling process.
Is the 1 mm Bar-Top Sizing Rule Always Correct?
No. Selecting a stopper shank approximately 1 mm larger than the bottle opening can be useful for initial sampling, but it is not a universal production specification.
The same nominal interference can produce different insertion and opening forces. A more detailed explanation of compression, sealing pressure, and neck-bore interaction is available in this guide to how bar-top stoppers fit spirits bottle necks.
| Condition | Possible result |
|---|---|
| Low-density natural cork | May compress relatively easily |
| High-hardness synthetic stopper | May generate excessive insertion and pull-out force |
| Long cylindrical shank | Creates more contact area and friction |
| Short tapered shank | Produces more gradual compression |
| Bottle with a deep pinch point | Stopper begins normally and then becomes stuck |
| Bottle with high ovality | Produces uneven compression around the shank |
| Rough stopper or glass surface | Increases friction despite acceptable dimensions |
| Stopper at maximum tolerance and bottle at minimum bore | Creates the tightest production combination |
Consider this simplified tolerance example:
- Bottle internal bore: 18.4–18.8 mm
- Stopper shank diameter: 19.1–19.5 mm
The loosest assembly creates 0.3 mm of interference. The tightest creates 1.1 mm.
Both components may meet their individual drawings, yet the assembled packages can produce significantly different opening forces.
The correct stopper specification must consider:
- Minimum bottle bore
- Maximum stopper diameter
- Neck ovality
- Internal taper
- Stopper hardness or density
- Compression and recovery
- Surface friction
- Sealing length
- Insertion depth
- Storage conditions
A bar-top closure should therefore be selected according to measured package performance rather than a nominal sizing rule alone.
Four Causes of Excessive Stopper Tightness
1. Dimensional interference is too high
Bar-top and T-top closures normally use an interference fit. The stopper shank is slightly larger than the bottle’s internal bore, allowing the material to compress against the glass and create a seal.
When this interference is excessive, it can cause:
- High insertion pressure
- Stopper folding or shaving
- Inconsistent seating height
- Excessive pull-out force
- Sudden release during opening
- Decorative top separation
- Surface damage to the stopper
Reducing the shank diameter may improve opening, but it must be done in controlled increments. An excessive reduction can reduce radial sealing pressure and cause leakage, loose seating, or poor resealing.
Every dimensional correction should therefore be followed by both opening-force and sealing validation.
2. The bottle neck has an irregular internal profile
The bottle mouth is not always the narrowest point inside the neck.
Common internal irregularities include:
- Pinch points
- Ovality
- Conicity
- Bell-shaped bores
- Mold-related restrictions
- Glass accumulation
- Sudden diameter changes
A stopper that enters easily and then jams at a specific depth has probably reached a restricted section of the bore.
The internal diameter should be measured at several defined depths, such as:
- At the bottle mouth
- Approximately 3–5 mm below the mouth
- At the midpoint of the sealing zone
- Near the bottom of the intended insertion depth
At each depth, take measurements in two perpendicular directions. This identifies ovality that may not be visible from a single reading.
Testing should also include bottles from several molds or production lots. One selected bottle cannot represent normal commercial glass variation.
ISO 9727-1 provides useful reference principles for dimensional measurement and ovality assessment of cylindrical cork stoppers. A bar-top project may require a customized inspection method, but measurements should still be repeatable and linked to defined locations.
3. The stopper material or contact design is unsuitable
Two stoppers with the same nominal diameter may produce different opening forces because their materials do not compress, recover, or slide against glass in the same way.
The functional shank, decorative head, bond, and entry profile each influence how the assembled closure performs. Buyers unfamiliar with these parts can review the main bar-top stopper components and their functions.
| Factor | Effect on stopper fit |
|---|---|
| Higher hardness | May reduce the ability to accommodate bottle variation |
| Greater compressibility | May improve insertion across variable bottle bores |
| Stronger diameter recovery | May increase contact pressure after storage |
| Higher surface friction | Can increase both insertion and extraction force |
| Greater dimensional consistency | May reduce stopper-to-stopper variation |
| Longer sealing length | Increases total glass-to-stopper contact |
Natural cork, micro-agglomerated cork, synthetic cork, and engineered polymers should not be expected to perform identically at the same diameter.
A harder synthetic stopper may require a different interference range from a more compressible cork-based stopper. Similarly, a long cylindrical shank may produce more resistance than a shorter tapered design.
Possible corrections include:
- Reducing the maximum shank diameter
- Adding a controlled taper
- Shortening the sealing zone
- Reducing the lower shank diameter
- Adding an entry chamfer
- Adjusting rib geometry
- Reviewing the surface treatment
- Changing material hardness or density
ISO 9727-4 describes a method for determining diameter recovery after compression in cylindrical cork stoppers. Recovery is relevant because a compressed stopper may continue pressing against the bottle neck after insertion.
However, methods developed for straight wine corks should be treated as technical references, not copied directly into reusable bar-top acceptance specifications.
4. The insertion process is incorrect
A correctly designed stopper can still become too tight when it is inserted incorrectly.
Production-related causes include:
- Bottle and stopper misalignment
- Excessive insertion pressure
- Incorrect insertion speed
- Over-insertion
- Worn guide components
- Damaged bottle mouths
- Contaminated necks
- Unstable bottle presentation
- Inconsistent manual application
The Australian Wine Research Institute’s closure-application guidance identifies equipment alignment, insertion depth, temperature, and application conditions as important variables in cylindrical closure performance. Although bar-top spirits closures require project-specific methods, the same process-control principles remain relevant.
To determine whether the problem comes from the components or the bottling line, compare:
- Hand-inserted laboratory samples
- Line-inserted samples
- Unfilled assemblies
- Filled assemblies
- Immediate test results
- Results after conditioned storage
If laboratory samples perform correctly but line-applied samples become too tight, the process settings should be investigated before changing the stopper tooling.
Six-Step Bottle-and-Stopper Compatibility Test
Step 1: Select representative bottles
Use commercial bottle samples from several molds or production lots whenever possible.
Collect:
- Bottle drawing
- Neck-finish drawing
- Internal bore specification
- Minimum and maximum tolerances
- Mold or batch identification
- Representative physical bottles
Prototype bottles can support early development, but final approval should use bottles that reflect commercial production variation.
Step 2: Build the internal neck profile
Measure the bottle bore at several defined depths across the intended stopper insertion zone.
Record:
- Minimum internal diameter
- Maximum internal diameter
- Ovality
- Taper
- Pinch-point depth
- Usable insertion depth
The stopper seals against the internal bore. External neck-finish dimensions cannot replace these measurements.
A neck-profile drawing or measurement table is more useful than a single catalog dimension because it shows where excessive resistance is likely to occur.
Step 3: Inspect the stopper
Measure the functional shank rather than evaluating only the decorative top.
Important dimensions include:
- Maximum and minimum shank diameter
- Shank diameter at defined heights
- Sealing length
- Taper
- Ovality
- Entry chamfer
- Total closure height
- Decorative top alignment
For synthetic and engineered polymer stoppers, also record the specified hardness or material grade.
For cork-based components, relevant controls may include dimensions, density, moisture, surface condition, and recovery.
Step 4: Compare controlled sample variants
Do not approve the first stopper that can be inserted.
Compare controlled options such as:
- Two or three shank diameters
- Different hardness levels
- Cylindrical and tapered profiles
- Alternative sealing lengths
- Different materials
- Different surface treatments
Each trial should change as few variables as possible. This makes it easier to identify whether the problem is caused by diameter, profile, material behavior, or friction.
Brands that already have a bottle drawing or physical bottle can use a structured spirits bottle closure matching service to compare shank dimensions, materials, insertion depth, and opening feel before custom tooling or bulk production.
Step 5: Measure force and sealing performance
Manual descriptions such as “too tight” or “acceptable” should be supported by measurable test results.
| Test | What it identifies | Minimum information to record |
|---|---|---|
| Insertion force | Mouth restriction, deep pinch point, deformation, or equipment variation | Peak force, force profile, insertion speed, and final depth |
| Pull-out force | Consumer opening resistance and consistency | Peak force, average, variation, failure mode, and conditioning period |
| Leakage | Insufficient radial sealing pressure | Orientation, duration, temperature, and pass/fail result |
| Resealing | Performance after repeated use | Number of opening cycles and result |
| Bond strength | Risk of decorative top separation | Failure load and failure location |
ISO 9727-5 describes a method for determining the maximum extraction force of cylindrical cork stoppers. Its principles can support method development, but the method primarily addresses straight corks inserted into bottle necks.
A reusable spirits bar-top stopper requires a project-specific force window based on:
- Bottle geometry
- Stopper material
- Shank profile
- Decorative top size and grip
- Target consumer
- Sealing requirements
- Intended opening experience
There is no single pull-out-force target suitable for every spirits closure.
Reducing opening force is not an improvement if the stopper begins to leak. After any material or dimensional adjustment, repeat leakage, transport, and resealing tests.
Where product contact may affect performance, use the actual spirit or a validated simulant under defined storage conditions.
Step 6: Approve the golden sample
Retain the approved bottle-and-stopper assembly as a physical production reference.
The approval package should include:
- Bottle drawing
- Stopper drawing
- Material specification
- Dimensional tolerances
- Test methods
- Insertion-force criteria
- Pull-out-force criteria
- Seating-height standard
- Leakage requirements
- Bond-strength requirements
- Appearance and decoration standard
- Packaging requirements
- Change-control procedure
Future production batches can then be compared against an agreed reference rather than subjective terms such as “tight,” “loose,” or “premium feel.”
Illustrative Troubleshooting Example
The following example is illustrative and does not represent a specific Kandacork customer project.
A spirits bottle had a nominal internal bore of 18.5 mm, while physical samples measured between 18.2 and 18.7 mm. The original synthetic closure used a 19.4 mm cylindrical shank with a 16 mm sealing length.
Several samples entered normally but became difficult to insert approximately 10 mm below the bottle mouth.
Multi-depth measurements identified a pinch point in bottles from one glass mold. The relatively hard cylindrical shank created additional resistance when it reached this restricted section.
The development trial compared a smaller cylindrical shank, a tapered lower section, a lower-hardness material, and a shorter sealing zone.
A tapered profile reduced resistance near the pinch point while maintaining contact closer to the bottle mouth. The revised design would still require pull-out-force, leakage, resealing, storage, and bond-strength testing before production approval.
The example demonstrates why nominal diameter alone cannot define bottle-and-stopper compatibility.
What Should a Stopper Supplier Be Able to Test?
A supplier addressing excessive stopper tightness should be able to support measurable diagnosis rather than recommend a size from a catalog alone.
| Supplier capability | Evidence to request |
|---|---|
| Bottle-neck and stopper measurement | Neck-profile and dimensional inspection report |
| Insertion, extraction, and leakage testing | Defined test method and recorded results |
| Material and production control | Material specification, tolerances, and batch records |
| Sample revision and approval | Revision history and approved golden sample |
| Compliance support | Applicable food-contact documents and traceability information |
The test method should define the fixture, sample size, speed, conditioning period, and failure criteria.
Relevant production controls may include:
- Stopper dimensions
- Material hardness or density
- Surface treatment
- Compression recovery
- Formulation consistency
- Sensory inspection
- Batch traceability
Food-contact requirements depend on the stopper material, beverage, contact conditions, and destination market. Confirm the current requirements for each project rather than assuming that one declaration applies globally.
When the bottle, stopper, bottle decoration, and export packaging are being developed together, coordinating them through an integrated spirits packaging program can reduce the risk of treating the glass, closure, and decorative components as disconnected specifications.
What to Send for a Stopper Fit Review
For a more useful technical evaluation, provide:
- Bottle and neck-finish drawings
- Representative physical bottles
- Spirit type and alcohol concentration
- Existing stopper sample and dimensions
- Description of the tightness problem
- Filling and insertion method
- Target opening and resealing experience
- Decorative top requirements
- Order quantity, target market, and launch schedule
Photos or short videos can also show whether the problem involves insertion resistance, uneven seating, stopper deformation, glass variation, or decorative top separation.
Frequently Asked Questions
How do you avoid tight bottle stoppers?
Measure the complete internal bottle-neck profile, select the stopper according to the minimum bore and material behavior, and validate representative samples through insertion-force, pull-out-force, leakage, resealing, and conditioned-storage testing.
Should a bar-top stopper always be 1 mm larger than the bottle opening?
No. The 1 mm rule is only a preliminary sizing reference. The correct interference depends on bottle tolerances, neck geometry, stopper hardness, compression behavior, sealing length, surface friction, and the desired opening force.
Why are only some bottle stoppers too tight?
The most likely causes are glass-mold variation, neck ovality, minimum bore dimensions, stopper dimensional variation, or inconsistent material properties. Separate samples by bottle and stopper batch, then compare dimensional measurements with force-test results.
Can a tight stopper be corrected without changing the decorative top?
Usually, yes. The functional shank can often be revised through a smaller diameter, different hardness, shorter sealing length, tapered profile, or alternative material while retaining the existing decorative top.
What pull-out force should a spirits bottle stopper have?
There is no universal pull-out-force value for every spirits closure. The acceptable range should be established for the specific bottle, stopper construction, decorative top, target consumer, sealing requirement, and intended opening experience.