Quick Answer
Bottle neck height affects how far a stopper shank can enter a spirits bottle, how much sealing compression is created, and whether the closure sits correctly on the finish. A reliable stopper fit depends on mouth inner diameter, inner bore profile, usable insertion depth, shank diameter, shank height, material elasticity, top weight, and leakage testing.
Mouth ID is only the starting point. A stopper does not seal only at the bottle opening; it seals along the inserted shank contact zone. That means the internal bore at 10 mm, 15 mm, 20 mm, or 25 mm depth may matter more than the mouth measurement alone.
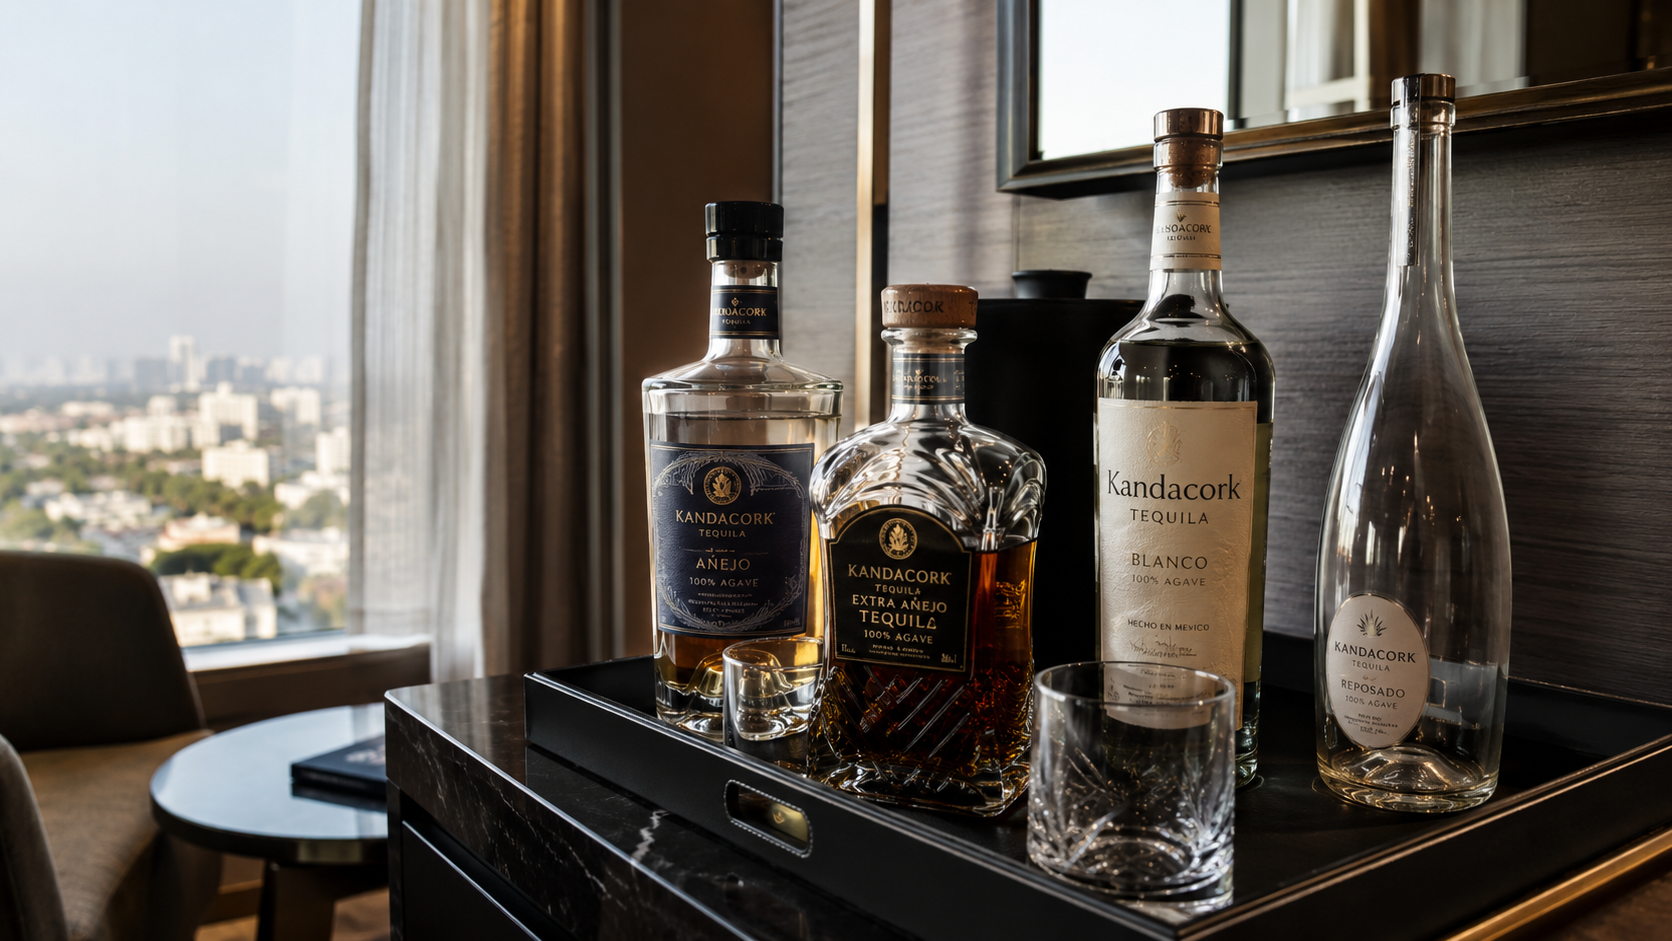
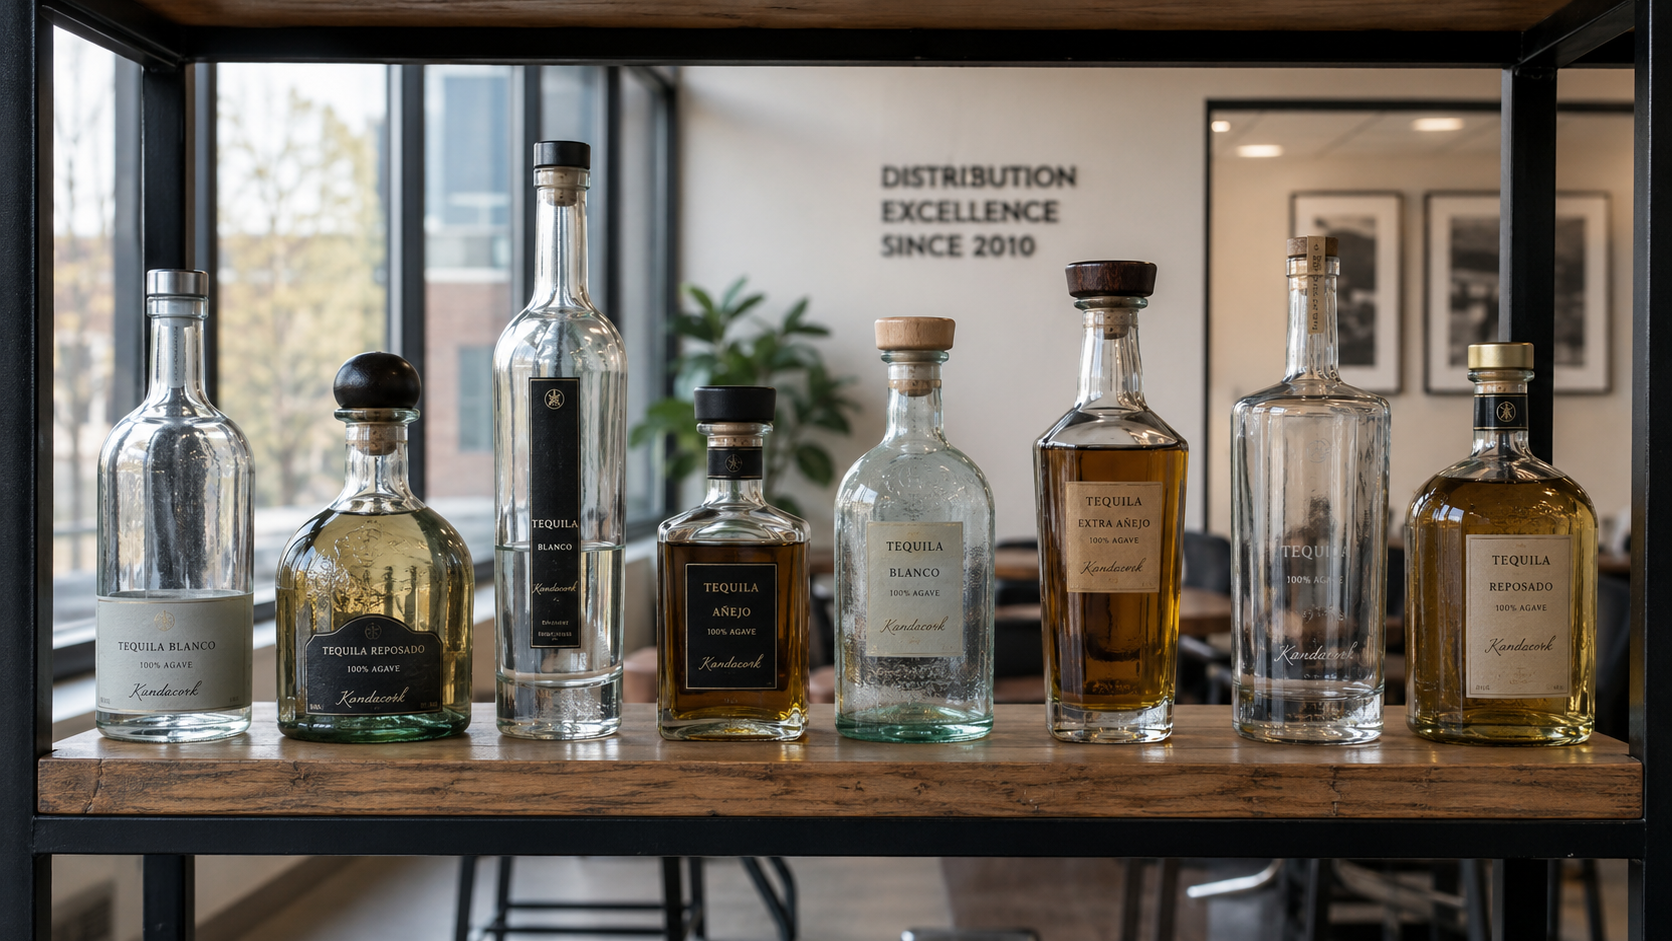
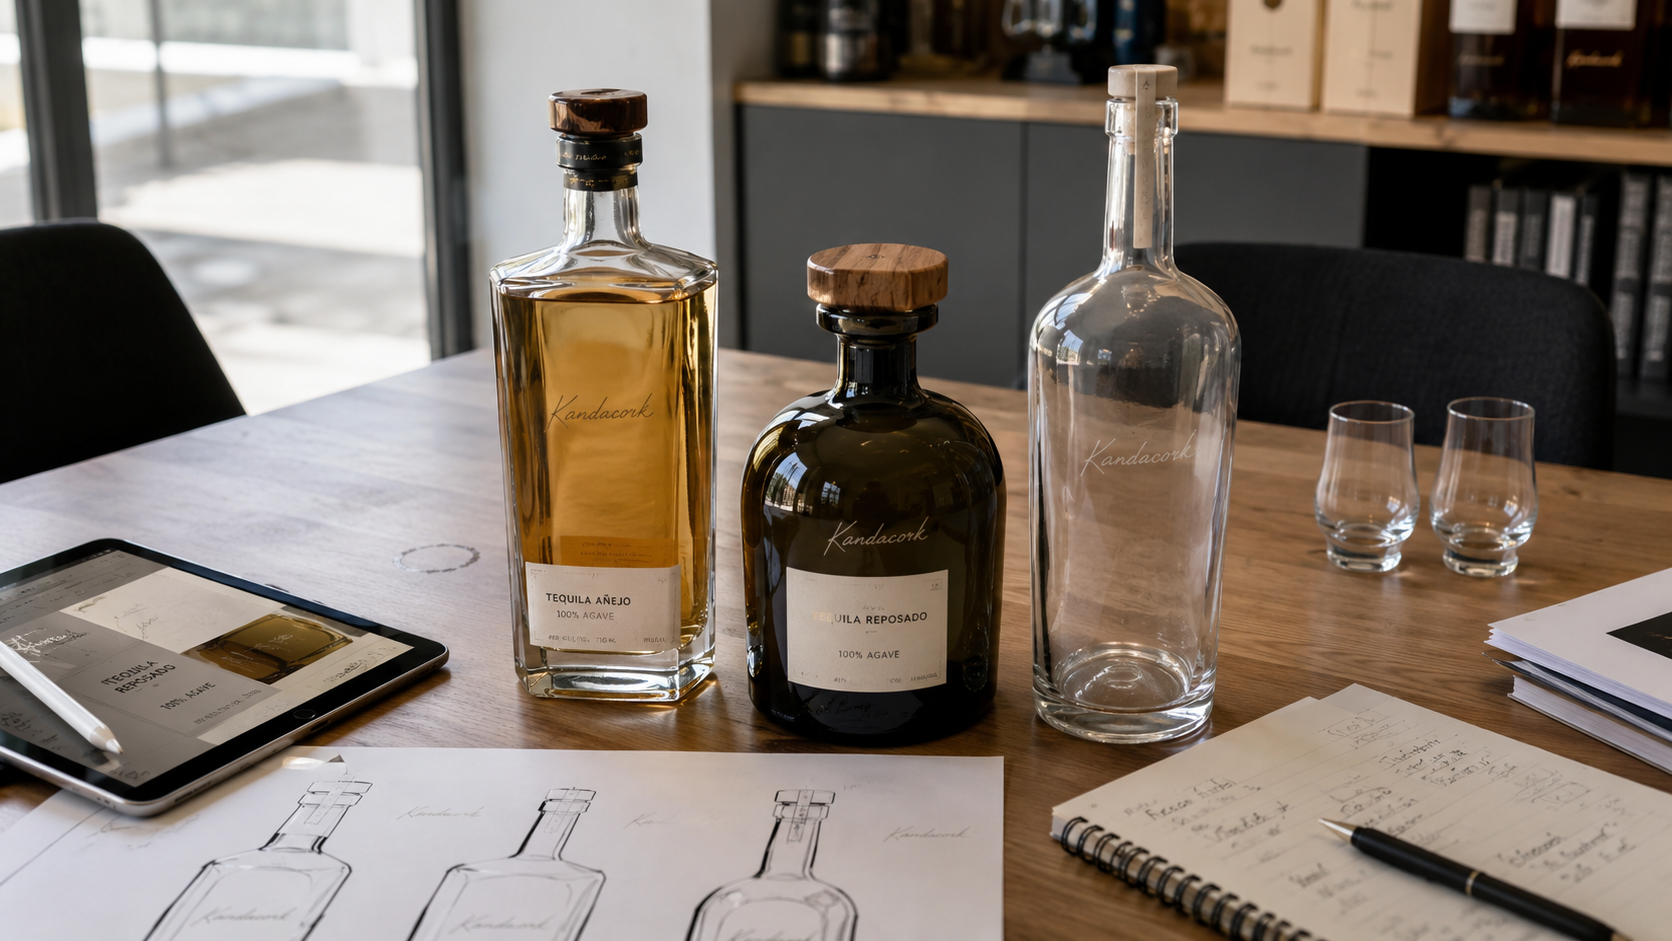
This guide from Kandacork Closures & Stoppers focuses on bottle neck height, usable internal neck depth, stopper insertion depth, sample testing, and quotation preparation for spirits brands, distilleries, bottlers, importers, distributors, and private label buyers.
What Bottle Neck Height Means for Stopper Fit
Bottle neck height is the vertical area of the bottle neck or finish where the closure interacts with the container. In standard packaging terminology, the H dimension is commonly used to describe neck finish height. Other measurements, such as T, E, I, and S dimensions, help define how a closure fits a bottle or container.
For spirits stoppers, however, the outside finish height is only part of the decision. The more important question is: how much usable internal neck depth is available for the stopper shank?
A bottle may have a tall visual neck but a short usable sealing zone because the internal bore narrows, widens, or reaches the shoulder quickly. Another bottle may have a shorter neck but a straight internal bore that accepts a properly sized stopper shank.
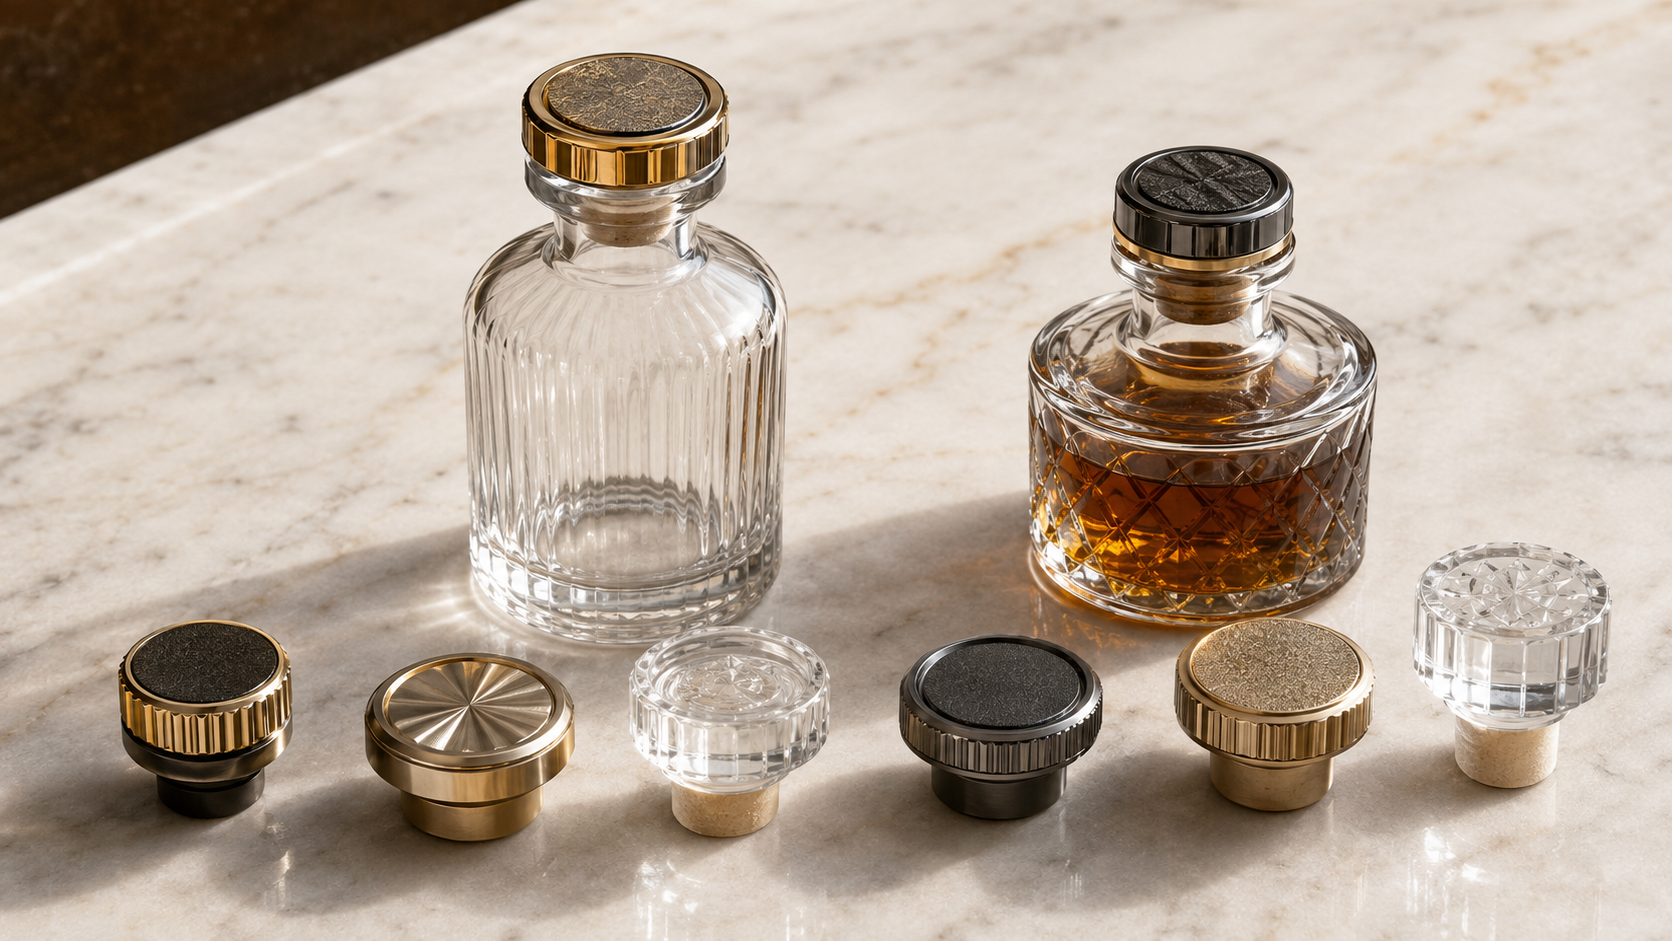
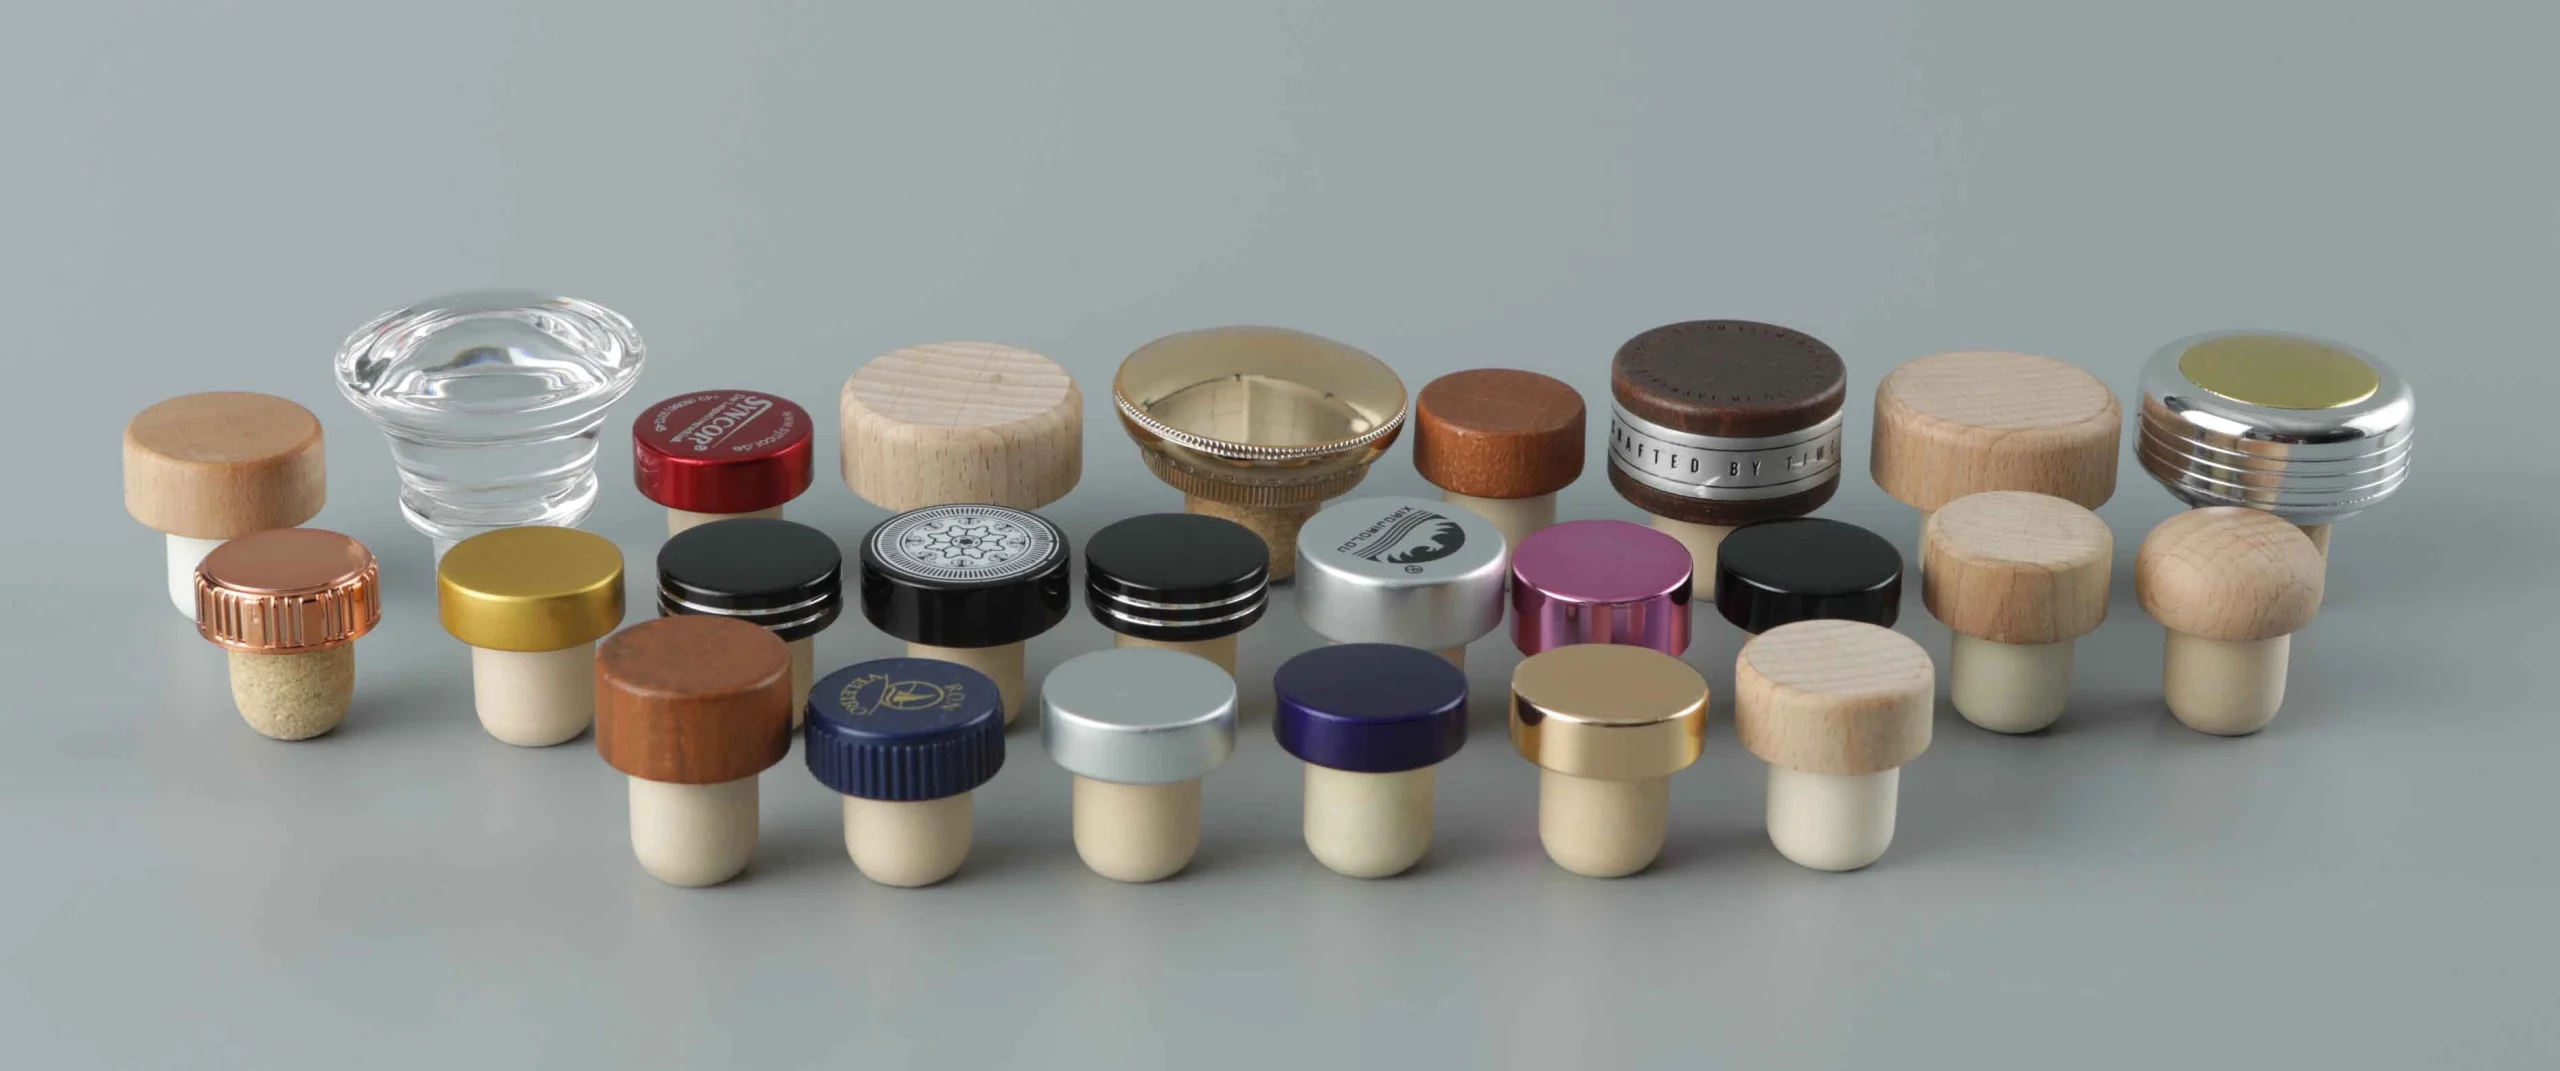
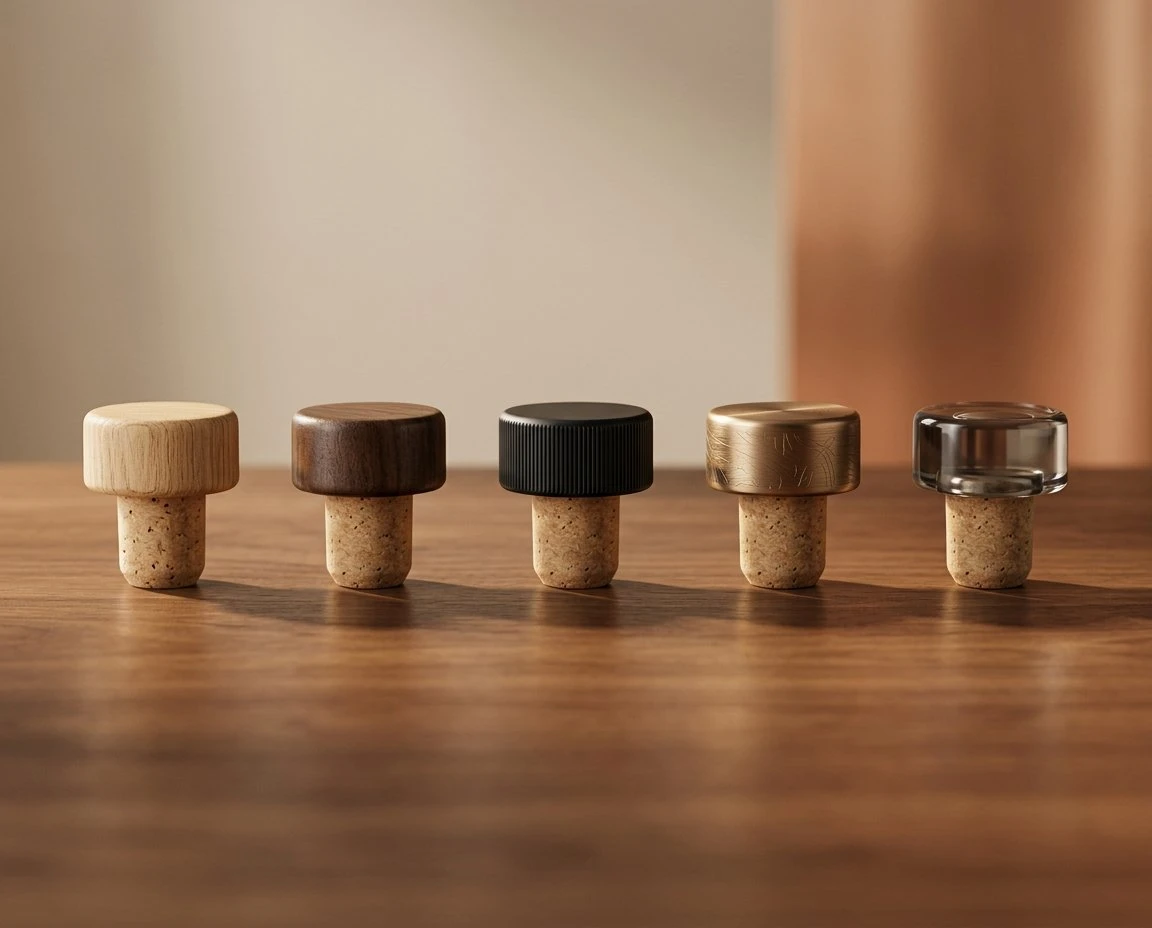
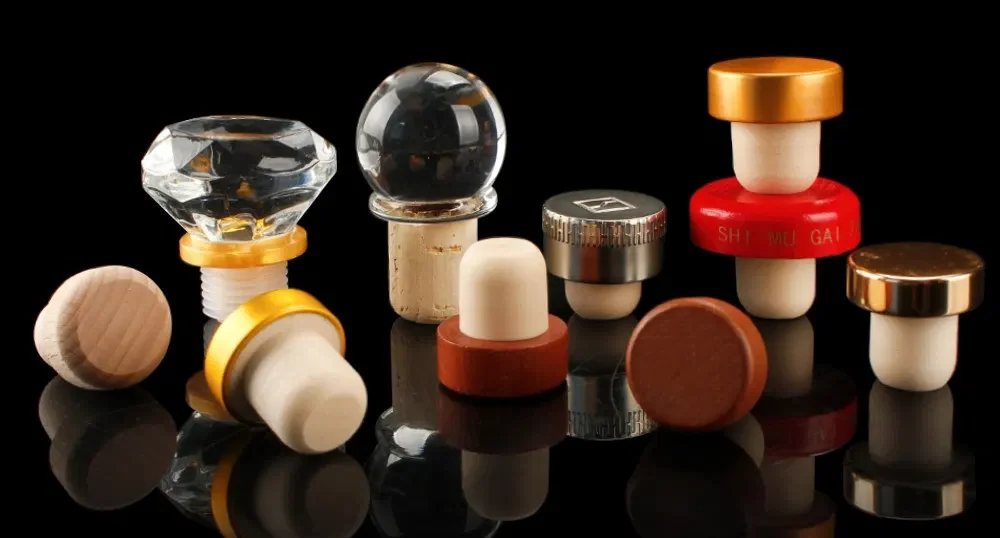
This is why stopper selection should not be based only on catalog mouth sizes such as 18.5 mm or 21.5 mm. The bottle and stopper should be evaluated as a complete closure system. Buyers comparing stopper structures, cap options, and premium bottle finishing can start with Kandacork’s range of custom spirits bottle closures and stoppers.
Figure: Bottle neck height vs. usable internal depth
Alt text: Bottle neck height compared with usable stopper insertion depth inside a spirits bottle neck.
Neck Finish Height vs. Usable Internal Neck Depth
Neck finish height describes the external finish area of the bottle. It affects closure seating, capsule fit, shrink sleeve compatibility, top alignment, and shelf appearance.
Usable internal neck depth describes the practical space inside the bottle neck where the stopper shank can enter and seal. This is especially important for bar-top corks, synthetic stoppers, TPE inserts, plastic inserts, and custom spirits closures.
Stopper insertion depth affects:
- Sealing pressure inside the bottle neck
- Pull-out feel when the consumer opens the bottle
- Leakage resistance during storage and shipping
- Whether the stopper head sits evenly on the finish
- Whether the shank bottoms out or over-compresses
Technical bottling references such as the Australian Wine Research Institute’s closure guidance connect insertion depth with performance factors such as extraction force, ullage, and leakage risk. Although wine closures and spirits bar-top stoppers are different, the same packaging principle applies: insertion depth must be controlled and tested before bulk production.
Key Bottle Neck Measurements Before Choosing a Stopper
A single mouth measurement is not enough. The inside of the bottle neck may narrow, widen, taper, or become oval below the opening. For a broader explanation of how bar-top stoppers seal against the internal bore, see Kandacork’s related guide on how bar-top stoppers fit spirits bottle necks.
Before choosing a stopper, confirm these measurements:
| Measurement | What It Means | Buyer Risk If Ignored |
|---|---|---|
| Mouth inner diameter | Internal opening at the top of the bottle | Stopper may be too loose or too tight |
| Inner diameter at depth | Bore size where the shank actually seals | Stopper may jam, leak, or tilt |
| Neck finish height | External height of the finish area | Stopper head may not seat correctly |
| Usable internal neck depth | Practical insertion space inside the neck | Shank may be too long or too short |
| Ovality | Difference between widest and narrowest bore direction | Uneven compression or leakage |
| Taper | Bore narrows or widens down the neck | Simple sizing rules may fail |
| Outer neck diameter | External bottle top size | Top diameter and capsule fit may be affected |
| Shoulder transition | Where the neck widens into the bottle body | Long shanks may bottom out |
For custom spirits packaging, Kandacork recommends sending both bottle drawings and physical samples. Drawings are useful, but real bottles reveal mold variation, glass tolerance, wall thickness, ovality, and internal bore changes.
Figure: Mouth ID vs. bore at insertion depth
Alt text: Bottle mouth inner diameter compared with inner bore measurements at stopper insertion depth.
Stopper Insertion Depth: What It Controls
Sealing Pressure
A stopper shank seals by creating controlled compression against the internal glass wall. If compression is too low, the stopper may feel loose or leak. If compression is too high, the stopper may be hard to insert, difficult to remove, or unstable after repeated opening.
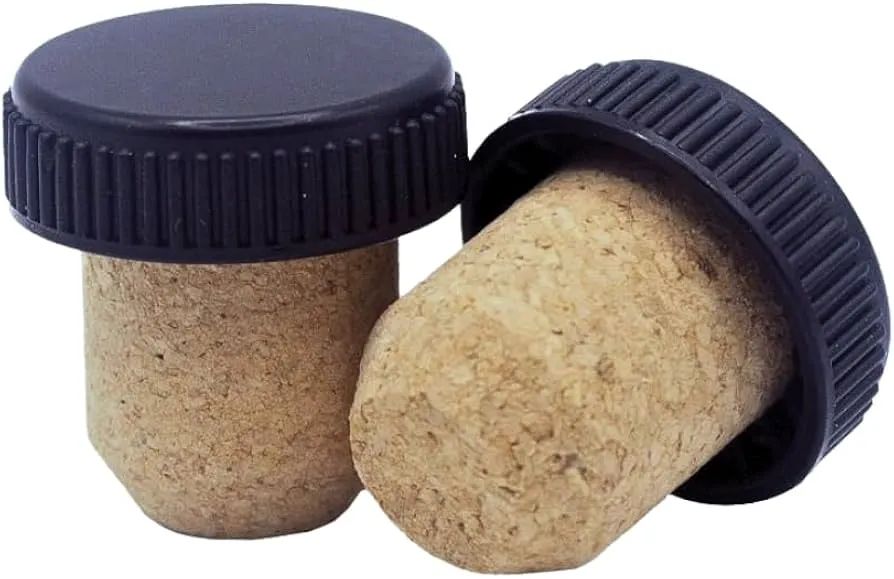
Different materials respond differently to compression. Natural cork, micro-agglomerated cork, synthetic cork, plastic, and TPE inserts can behave very differently even when the shank diameter is the same.
Pull-Out Feel
For premium spirits, opening feel is part of the brand experience. A stopper should feel secure during transport and retail display, but it should not require excessive force to remove.
A heavy metal, glass, or oversized wooden top can increase leverage during handling. For this reason, pull-out feel should be tested with the final top material, not only with a temporary sample shank.
Leakage Resistance
Leakage can happen even if the stopper feels tight at the mouth. The lower part of the shank may not be sealing correctly if the bottle neck widens below the opening. Leakage can also be affected by fill level, temperature change, vibration, top weight, or over-insertion.
For export orders, gift boxes, e-commerce packaging, and premium spirits, samples should be tested under realistic handling conditions before bulk approval.
Shelf Appearance
The stopper head should sit straight, stable, and consistent on the bottle finish. If the stopper sits too high, the package can look unfinished. If it sits too low, the head may press against the finish, interfere with a capsule, or look poorly matched to the bottle.
A good stopper fit should satisfy both technical performance and premium presentation.
Why the +1 mm Rule Is Only a Starting Point
Many bar-top stopper guides suggest choosing a shank around 1 mm larger than the bottle mouth inner diameter. This can be useful for early estimation.
For example, if the bottle mouth ID is 18.5 mm, a 19.5 mm shank may be considered as a first trial. If the mouth ID is 21.5 mm, a 22.5 mm shank may be tested.
But the +1 mm rule is not a final specification.
It may work when the bottle neck is straight, round, and consistent. It may fail when the neck narrows below the mouth, widens below the mouth, has ovality, or uses a shank material with different hardness or elasticity.
For B2B spirits packaging, final stopper approval should be based on:
- Mouth inner diameter
- Inner bore at multiple depths
- Usable insertion depth
- Shank diameter
- Shank height
- Stopper material
- Top weight
- Pull-out feel
- Leakage test results
- Real production bottle samples
Expert Note from Kandacork
In sample development, one of the most common fit issues is not the mouth diameter itself. It is the difference between the mouth ID and the bore diameter lower inside the neck. For heavy-top spirits closures, Kandacork recommends checking both insertion stability and pull-out feel with the final top material before approval.
Figure: Stopper shank sealing zone
Alt text: Bar top stopper shank sealing zone inside a spirits bottle neck.
How to Measure Bottle Neck Height and Insertion Depth
1. Review Bottle Drawings
Ask the bottle supplier for the neck finish drawing, internal diameter, external diameter, finish height, and tolerance range. For custom bottles, also request details about mold variation and production tolerances.
2. Measure the Mouth Inner Diameter
Use calipers or an internal bore gauge to measure the mouth opening. Do not rely only on catalog labels such as “18.5 mm bottle” or “21.5 mm bottle,” because actual production bottles can vary.
3. Measure Inner Bore at Multiple Depths
Measure the internal diameter at practical insertion points, such as 5 mm, 10 mm, 15 mm, 20 mm, and 25 mm below the mouth. If the shank is longer, measure deeper.
This step shows whether the internal neck is straight, tapered, restricted, or widened below the opening.
4. Check Taper and Ovality
Measure the bore in at least two directions. If one direction is wider than the other, the neck is oval. Ovality can cause uneven compression, stopper tilt, or leakage.
Taper is also important. If the bore narrows lower down, the stopper may become too tight. If the bore widens lower down, the stopper may feel secure at first but fail during leakage testing.
5. Test Real Stopper Samples
After choosing a trial shank size, test real samples in actual production bottles. Check insertion feel, stopper head seating, tilt, extraction feel, leakage, temperature exposure, and shipping stability.
Do not approve bulk production from drawings only. For engineered insert projects, Kandacork’s plastic stopper bottle neck fit guide explains how shank size, bottle bore, and leak testing work together before bulk closure orders.
Stopper Materials by Bottle Neck Condition
The best stopper material depends on bottle geometry, brand positioning, budget, production volume, and opening experience. Instead of choosing material only by appearance, buyers should match the material to the bottle neck condition and project risk.
| Material / Top Type | Better When | Watch Out For |
|---|---|---|
| Natural cork shank | Premium spirits need traditional cork feel and natural appearance | Natural variation requires stricter QC and sample testing |
| Micro-agglomerated cork shank | Buyer wants cork appearance with better dimensional consistency | Confirm density, compression, and pull-out feel |
| Synthetic cork shank | High-volume private label or repeat production needs stable sizing | Confirm consumer opening feel and brand perception |
| Plastic or TPE insert | Neck profile is difficult or sealing performance must be engineered | Confirm hardness, food-contact requirements, and long-term fit |
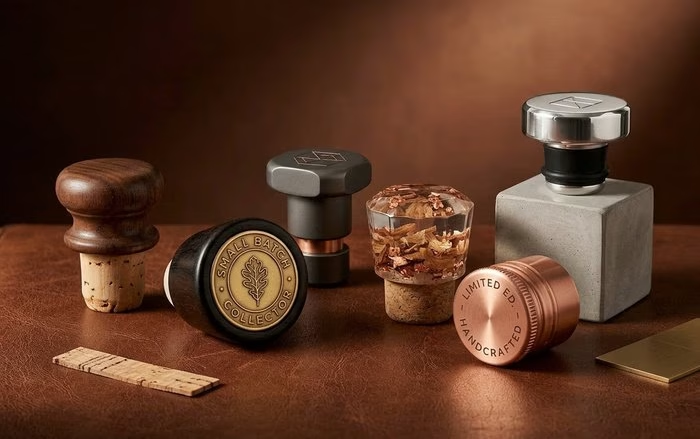
| Wooden top | Craft, natural, or premium brand positioning matters | Test with the final shank and finish treatment |
| Metal top | Luxury visual impact and heavier closure feel are required | Test vibration, leverage, and shipping stability |
| Glass top | Decanter-style premium presentation is required | Requires careful handling and precise fit control |
| Plastic top | Cost-effective, lightweight, or promotional packaging is needed | Confirm color matching, logo decoration, and perceived value |
The shank controls most of the sealing function. The top controls much of the consumer experience. Both should be evaluated together.
Common Fit Problems and Quick Fixes
| Problem | Likely Cause | What to Check |
|---|---|---|
| Stopper sits too high | Shank too long, bore too tight, usable neck depth too short | Shank height, inner diameter at depth, insertion target |
| Stopper feels loose | Shank too small, bore too wide, shallow insertion | Mouth ID, lower bore, pull-out force |
| Stopper is hard to remove | Oversized shank, deep insertion, hard material | Shank diameter, material hardness, taper |
| Stopper tilts | Ovality, uneven finish, heavy top | Bore roundness, top balance, insertion pressure |
| Stopper leaks | Poor lower contact, bore variation, temperature, or vibration | Leakage test, temperature test, production bottle samples |
These issues are easier to solve during sample development than after bulk production. If a bottle has unusual neck geometry, handmade variation, ceramic construction, or a heavy decorative top, test more samples before approval.
Figure: Common stopper insertion problems
Alt text: Common stopper insertion problems including loose fit, high seating, tilt, and leakage.
When Should You Request Stopper Samples?
You should request stopper samples before bulk quotation approval if the bottle is custom molded, handmade, ceramic, imported from a new supplier, or different from the original drawing. Samples are also important when the mouth ID varies between bottles, the internal bore changes below the opening, or the stopper uses a heavy metal, glass, or oversized wooden top.
Sample testing is especially important for export shipments, e-commerce packaging, gift boxes, premium spirits launches, and private label projects where leakage or poor opening feel could damage the brand.
For higher-risk projects, send Kandacork the bottle drawing plus several physical bottles from the real production batch. If possible, include bottles from different molds or cartons so the fit test reflects actual production variation.
Testing Checklist Before Bulk Production
Before approving a stopper order, confirm:
- Bottle drawing and physical samples reviewed
- Mouth inner diameter measured
- Inner bore measured at multiple depths
- Taper and ovality checked
- Usable insertion depth confirmed
- Shank diameter and shank height selected
- Stopper material and top material confirmed
- Insertion feel and pull-out force tested
- Leakage and temperature exposure tested
- Final sample and tolerance range approved
This checklist helps align the spirits brand, bottle supplier, closure supplier, filling plant, importer, and distributor before production begins. Buyers planning a complete bottle, closure, decoration, and export packaging program can also review Kandacork Glass for broader custom spirits packaging support.
What to Send Kandacork for Sample Development or Quotation
To speed up sample matching and quotation, send Kandacork the following information:
| Category | Information Needed |
|---|---|
| Bottle information | Capacity, bottle material, glass supplier, neck drawing, mouth ID, ID by depth, finish height, 5–10 physical bottle samples |
| Product information | Whiskey, gin, vodka, tequila, rum, brandy, liqueur, or other spirits type |
| Closure information | Top material, shank material, shank diameter, shank height, target insertion depth |
| Decoration | Logo, embossing, engraving, printing, color matching, metal plating, wood finish |
| Testing | Leakage test, insertion feel, pull-out force, temperature exposure, shipping simulation |
| Order details | Quantity, destination market, packaging method, lead time, MOQ, quotation target |
With this information, Kandacork can recommend a suitable stopper structure, prepare trial samples, estimate tooling needs, and provide a more accurate quotation.
Need a faster fit review? Send your bottle drawing, 5–10 physical samples, preferred stopper material, and target order quantity to Kandacork for custom bar-top stopper development and fit testing.
Kandacork Custom Stopper Development Workflow
Kandacork supports spirits packaging buyers from technical fit review to bulk closure production.
- Bottle review: The buyer sends drawings, bottle samples, and project requirements.
- Technical evaluation: Kandacork checks neck height, inner bore profile, insertion depth, shank material, and top design.
- Sample testing: Trial stoppers are tested for fit, seating, tilt, pull-out feel, and leakage resistance.
- Bulk confirmation: After approval, Kandacork confirms tolerances, QC standards, packaging, lead time, and export requirements.
This workflow helps reduce the risk of stopper mismatch, leakage, delayed filling, and rework costs.
FAQ
What is the difference between bottle neck height and stopper insertion depth?
Bottle neck height describes the vertical neck or finish area of the bottle. Stopper insertion depth describes how far the stopper shank enters the internal neck bore. Both affect fit, sealing pressure, leakage resistance, and appearance.
How do I choose the right stopper size for a spirits bottle?
Start with the mouth inner diameter, then measure the internal bore at several depths. Use the shank diameter as a starting point, but confirm final sizing through sample insertion, pull-out feel, and leakage testing.
Is the +1 mm stopper rule always correct?
No. The +1 mm rule is only a starting estimate. It may fail when the bottle neck is tapered, oval, handmade, short, or inconsistent. Final approval should be based on real bottle samples.
Can a stopper leak even if it feels tight?
Yes. A stopper can feel tight at the mouth but still leak if the lower sealing zone is loose, the bore widens below the opening, or shipping and temperature conditions change internal pressure.
When should I send bottle samples to Kandacork?
Send bottle samples when the bottle is custom molded, handmade, ceramic, imported from a new supplier, or used with a heavy decorative stopper. Samples are also recommended before export orders, gift box launches, e-commerce packaging, and bulk quotation approval.
Can Kandacork customize stopper size, material, and logo?
Yes. Kandacork can support custom spirits stopper development, including shank sizing, material selection, wooden tops, metal tops, glass tops, plastic tops, logo decoration, color matching, sample testing, and bulk quotation.