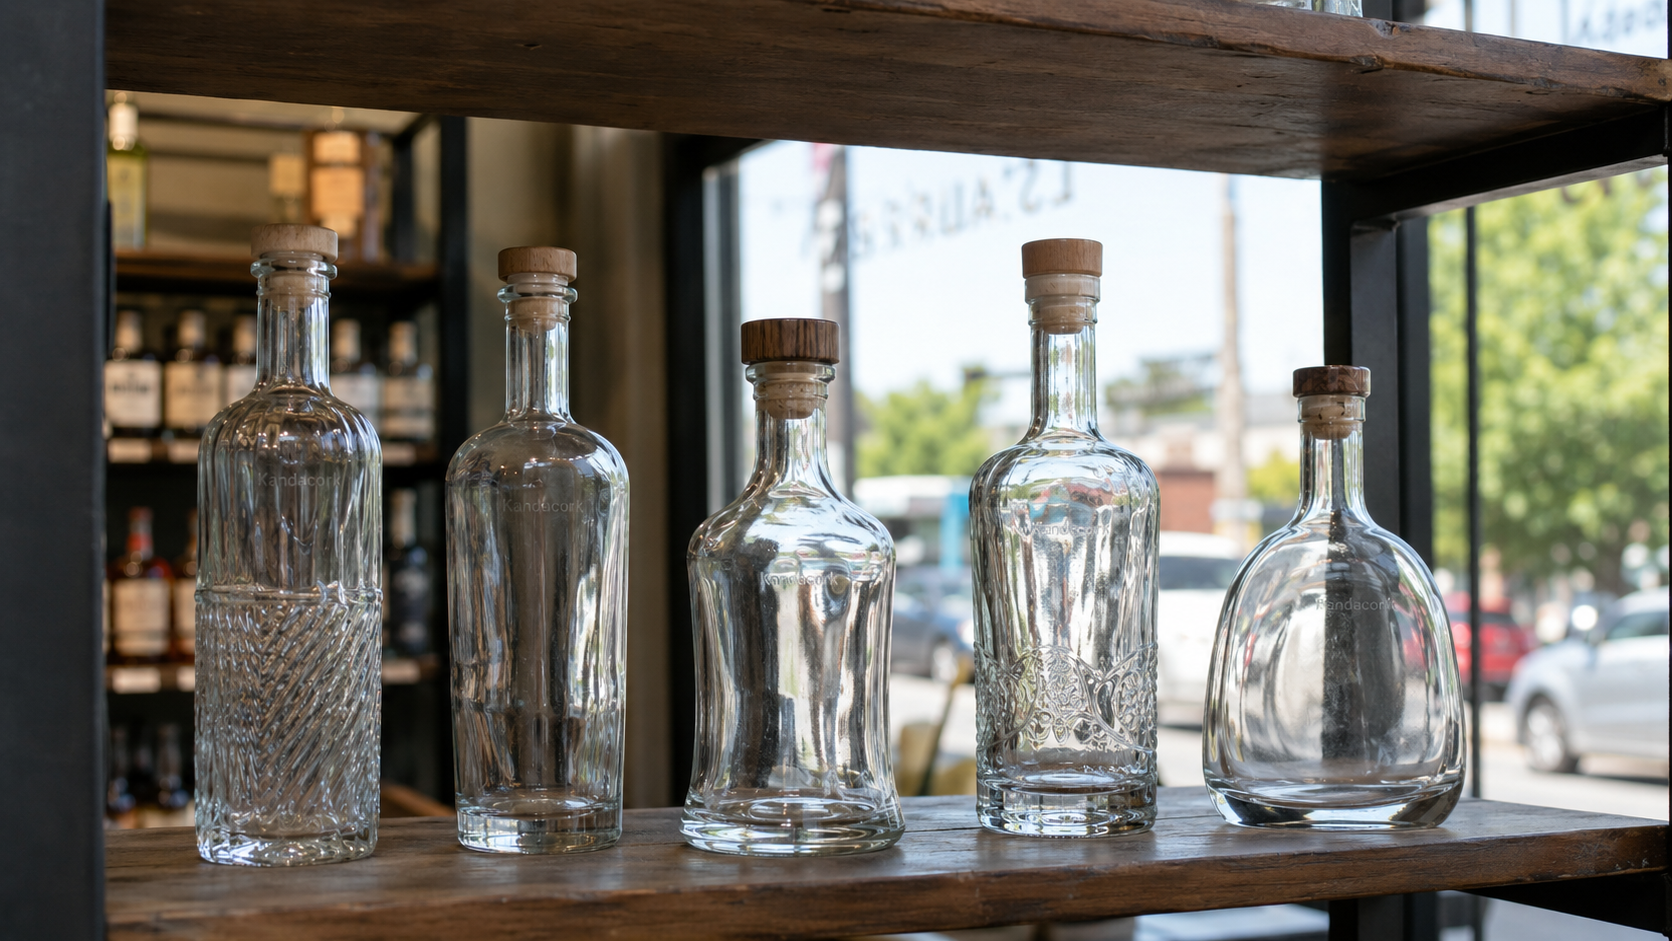
Loose bottle stoppers usually result from an undersized shank, an irregular internal bottle neck, insufficient material recovery, incorrect insertion or pressure generated after filling.
To avoid loose bottle stoppers, measure the production bottle at several neck depths, compare nearby stopper sizes and validate extraction force, leakage and filled-package performance before bulk approval.
A drawing or nominal neck diameter can help select initial samples. It cannot confirm long-term retention, stopper pop-up, repeated resealing or transport performance. Buyers developing new packages should compare suitable custom bar-top stopper options only after confirming the actual bottle-neck geometry and application conditions.
Why Is My Bottle Stopper Loose?
Start with the observed failure rather than assuming that the stopper is too small.
| Observed problem | Likely cause | How to confirm it | Recommended action |
|---|---|---|---|
| Stopper removes with very little resistance | Undersized shank or insufficient recovery | Measure the internal neck and test extraction force | Increase interference or evaluate another material grade |
| Stopper is difficult to insert but loose after seating | A neck pinch point followed by a wider bore | Measure the neck at several depths | Modify shank length or profile and review bottle geometry |
| Some bottles are loose and others are tight | Bottle ovality or production variation | Measure bottles across lots and mold cavities | Tighten glass tolerances or develop a more tolerant stopper |
| Stopper becomes loose after storage | Compression set, temperature exposure or material aging | Repeat extraction testing after conditioning | Adjust the material, dimensions or storage conditions |
| Stopper rises after filling | Internal pressure, limited headspace or excessive recovery | Test filled bottles at different temperatures and fill levels | Adjust filling conditions, insertion depth or stopper design |
| Bottle leaks during horizontal transport | Insufficient sealing contact or dimensional variation | Conduct horizontal and inverted leakage tests | Increase sealing length or optimize the shank profile |
| Decorative top rotates while the shank remains secure | Weak adhesive or mechanical connection | Perform torque and axial-pull testing | Improve surface preparation, adhesive or mechanical locking |
| Stopper loosens after repeated opening | Inadequate resealing recovery | Conduct repeated opening and resealing cycles | Change the material grade or shank geometry |
Do not automatically increase the stopper diameter. A larger shank may raise insertion force without correcting an irregular neck, limited sealing length or pressure-related pop-up.
A Five-Step Loose Stopper Diagnosis
1. Is the stopper loose before filling?
An immediately loose stopper usually points to the neck dimensions, shank geometry or material recovery.
2. Does the problem affect every bottle?
When only some bottles are affected, investigate bottle-to-bottle variation, ovality and different mold cavities.
3. Does retention change after 24 to 72 hours?
Delayed looseness may indicate compression set, temperature effects, material conditioning or interaction with the filled product.
4. Does the stopper rise as the bottle warms?
Review the fill level, available headspace, product temperature, storage temperature and insertion depth.
5. Is the shank moving, or only the decorative top?
A moving shank indicates a bottle-and-closure compatibility problem. A rotating or wobbling top usually indicates an assembly failure.
Five Main Causes of Loose Bottle Stoppers
1. Bottle Neck Geometry
The internal neck—not the outside appearance of the bottle finish—controls how a bar-top stopper is compressed and retained.
Important variables include:
- Minimum and maximum internal diameter
- Ovality
- Internal taper or conicity
- Local pinch points
- Entry radius
- Usable sealing length
- Bore expansion below the opening
A bottle can have a narrow entrance and a wider section below it. The stopper may feel difficult to insert as it passes the narrow area, then provide insufficient retention after reaching the wider section.
This condition cannot be identified from one measurement at the bottle mouth. Buyers who need a deeper explanation of bore compression, shank interference and pull-out resistance can review how bar-top stoppers fit spirits bottle necks.
Internal dimensions may also vary among production lots and mold cavities. Compatibility testing should therefore use multiple commercial production bottles rather than one prototype or showroom sample.
2. Stopper Dimensions
Stopper fit depends on the complete shank geometry.
The closure specification should control:
- Shank diameter
- Shank length
- Shank taper
- Insertion depth
- Top seating height
- Assembly concentricity
The shank needs enough interference to remain secure, but not so much that it becomes difficult to insert or open.
A short shank may provide inadequate sealing contact even when its diameter appears suitable. An oversized stopper may deform, slow the bottling line or produce excessive opening force.
Final approval should consider insertion, retention, leakage and consumer usability together.
3. Material Recovery
A stopper material must recover after being compressed into the bottle neck.
Natural cork, micro-agglomerated cork and synthetic stopper materials can all perform effectively when correctly specified, but they differ in:
- Dimensional consistency
- Compression recovery
- Compression set
- Temperature response
- Moisture sensitivity
- Product compatibility
- Repeated-opening performance
ISO 9727-4:2007 describes a method for measuring the diameter recovery of cylindrical cork stoppers after compression. The standard applies to cylindrical cork stoppers intended to be completely inserted into a bottle neck, so bar-top spirits closures still require package-specific testing and acceptance criteria.
Test the actual production-grade material proposed by the supplier. General descriptions such as “natural cork” or “synthetic stopper” do not provide enough information to predict retention.
4. Filling and Application Conditions
A closure may fit correctly in an empty bottle and still rise, loosen or leak after filling.
| Process variable | Possible effect | Recommended check |
|---|---|---|
| Excessive fill level | Increased internal pressure | Confirm fill height and available headspace |
| Product temperature increase | Liquid expansion and stopper movement | Conduct filled-bottle temperature cycling |
| Wet or contaminated neck | Unstable insertion friction | Reproduce actual production neck conditions |
| Shallow insertion | Insufficient sealing contact | Define and control final seating depth |
| Misaligned insertion | Uneven compression or shank damage | Inspect the application head and bottle positioning |
| Inconsistent application force | Variable retention across bottles | Conduct a bottling-line trial |
| Immediate packing | Retention may not have stabilized | Inspect performance at defined time intervals |
Testing an empty bottle at room temperature does not represent the complete commercial package.
5. Top-to-Shank Assembly
A loose decorative top is not necessarily a sealing failure.
Glass, aluminum, zinc-alloy and other heavy tops create leverage when the consumer pulls or twists the closure. A weak adhesive joint, limited bonding area, contaminated surface or off-center assembly can allow the top to move while the stopper shank remains sealed.
Evaluate the assembly through:
- Axial-pull testing
- Torque testing
- Repeated opening
- Temperature conditioning
- Alignment inspection
The specification should define both attachment performance and acceptable top concentricity. Procurement teams comparing head materials, shank structures and bonding interfaces can use this bar-top stopper components guide to review the complete closure rather than the visible top alone.
How to Measure the Internal Bottle Neck
Measure the internal neck throughout the stopper’s intended engagement zone.
Measure at Several Depths
A practical plan may include measurements at:
- The bottle mouth
- 2.5 mm below the mouth
- 5 mm below the mouth
- 7.5 mm below the mouth
- 10 mm below the mouth
- The intended end of the stopper shank
The exact depths should reflect the bottle and closure design.
Measure in Two Directions
At each depth, take one reading and rotate the measuring tool by approximately 90 degrees.
The difference between the readings indicates ovality.
For example, a nominal 18.5 mm bore could measure:
- 18.30 mm in one direction
- 18.75 mm in the perpendicular direction
Using only the average value would hide an important compatibility risk.
Measure Multiple Production Bottles
Use bottles from different:
- Cartons
- Production dates
- Glass lots
- Mold cavities, where identifiable
The sample should represent expected production variation. Higher-volume or higher-risk projects generally justify a larger validation sample.
For projects where the glass bottle, neck finish and closure are being developed together, early bottle specification and neck-fit planning can reduce the risk of approving a bottle design that later restricts stopper selection.
Record the Neck Profile
| Measurement point | Minimum ID | Maximum ID | Drawing value |
|---|---|---|---|
| Bottle mouth | |||
| Bore at 2.5 mm | |||
| Bore at 5 mm | |||
| Bore at 7.5 mm | |||
| Bore at 10 mm | |||
| Maximum ovality | |||
| Usable sealing length | |||
| Stopper seating height |
Bottle drawings and physical samples should be used together. Neither is sufficient for final approval on its own.
Should a Stopper Be 1 mm Larger Than the Bottle Bore?
A 1 mm difference is a useful sampling starting point, not a universal production specification.
For example, a 19.5 mm shank may be considered for an 18.5 mm nominal internal neck. The final size still depends on:
- Whether 18.5 mm is a minimum, maximum or average
- Measurement depth
- Bottle ovality and taper
- Stopper material and hardness
- Surface treatment
- Shank length
- Insertion depth
- Target extraction force
A better development method is to compare several nearby shank sizes.
Small dimensional changes may produce meaningful differences in:
- Insertion force
- Extraction force
- Leakage resistance
- Seating position
- Resealing behavior
Use the “bore plus 1 mm” guideline to select initial samples—not to approve mass production.
What Cannot Be Approved from a Drawing Alone?
A technical drawing can establish nominal dimensions and tolerances. It cannot confirm:
- Actual extraction force
- Long-term material recovery
- Stopper pop-up after filling
- Filled-bottle leakage
- Repeated resealing
- Top-to-shank durability
- Bottling-line seating consistency
- Performance after temperature or transport exposure
These properties require physical testing with representative production components.
Three-Level Stopper Validation Protocol
Level 1: Dimensional Screening
Use this stage to eliminate unsuitable bottle and stopper combinations.
Check:
- Internal neck profile
- Bottle ovality
- Shank diameter
- Shank length
- Shank taper
- Insertion depth
- Top seating height
- Initial alignment
Prepare several nearby stopper dimensions where necessary.
Level 2: Functional Validation
Compare the most suitable candidates for:
- Insertion force
- Initial extraction force
- Conditioned extraction force
- Upright leakage
- Horizontal leakage
- Inverted leakage
- Repeated opening and resealing
- Top-to-shank axial pull
- Top-to-shank torque resistance
Do not use a universal extraction-force target without validating the actual package.
The correct acceptance range depends on:
- Bottle geometry
- Stopper material
- Insertion depth
- Time after insertion
- Storage conditions
- Intended opening experience
A secure stopper that is excessively difficult to open is not a successful result.
Level 3: Production and Distribution Approval
The final stage should reproduce the commercial system.
Validate:
- Production bottles
- Production-grade stoppers
- Actual spirit
- Commercial fill volume
- Normal filling temperature
- Intended application equipment
- Conditioned storage
- Temperature cycling
- Shipping-case configuration
- Distribution vibration and handling
- The first mass-production lot
Brands that do not have an internal closure laboratory can use a structured bar-top stopper development and fit-testing service to coordinate bottle review, candidate samples, functional checks and pre-production approval.
Record the Test Conditions
Performance data cannot be compared reliably unless the test conditions are controlled.
Record at least:
- Bottle lot
- Stopper lot
- Sample quantity
- Insertion depth
- Time between insertion and testing
- Storage temperature
- Actual product or test liquid
- Bottle orientation
- Pull-test speed
- Test equipment
- Pass/fail criteria
A result without these conditions has limited value when comparing suppliers, stopper sizes or production batches.
Establish a Controlled Golden Sample
After approval, retain a golden sample supported by:
- Bottle drawing
- Stopper drawing
- Material specification
- Dimensional tolerances
- Approved extraction-force range
- Leakage requirements
- Inspection method
- Change-control requirements
A visual reference alone is not enough. The approved package should be supported by measurable technical requirements.
How to Evaluate a Bottle Stopper Supplier
A capable supplier should provide more than a standard size chart.
Evaluate whether the supplier can support:
- Multi-depth bottle-neck measurement
- Custom shank diameters and lengths
- Material and adhesive traceability
- Insertion- and extraction-force testing
- Leakage and temperature testing
- Top-to-shank bond validation
- Golden-sample control
- Production change control
Ask how changes to raw materials, cork or polymer grades, adhesives, treatments and tooling are reviewed before implementation.
A closure can look identical while performing differently after an uncontrolled material or process change.
What Should You Send for Samples or a Quotation?
Standard-Size Sampling
For an initial sample request, provide:
- Nominal bottle neck size
- Physical production bottles
- Spirit type and alcohol percentage
- Preferred stopper material
- Required sample quantity
Common nominal sizes such as 18.5 mm and 21.5 mm can guide initial sampling, but they cannot replace physical package testing.
Custom Bottle Fit Review
For a private-mold or non-standard bottle, provide:
- Bottle technical drawing
- Production bottle samples
- Internal neck measurements, if available
- Fill volume and filling temperature
- Manual or automatic application method
- Preferred shank and top materials
- Decoration requirements
- Initial order quantity and annual forecast
- Destination market
- Required documentation
Loose Stopper Failure Review
For an existing problem, submit matched:
- Acceptable bottles
- Defective bottles
- Acceptable stoppers
- Defective stoppers
Also include the failure timing, filling conditions, storage orientation, temperature, photographs and available test results.
Samples from the same production period are more useful than unrelated components collected at different times.
Frequently Asked Questions
What size stopper fits an 18.5 mm bottle neck?
A stopper around 19.5 mm may be a reasonable initial candidate. The final specification depends on the complete internal neck profile, stopper material, shank length, insertion depth and required extraction force.
Should a stopper always be 1 mm larger than the bottle bore?
No. The 1 mm guideline is a sampling rule, not an automatic production tolerance.
Why does a stopper become loose after storage?
Possible causes include compression set, insufficient recovery, temperature exposure, material aging or interaction with the filled product. Repeat extraction and leakage tests after conditioned storage.
Why does a stopper pop out after filling?
Common causes include limited headspace, product expansion, trapped pressure, shallow insertion or excessive material rebound.
How should extraction force be tested?
Use a controlled pull test with defined bottle specifications, insertion depth, conditioning time, temperature and test speed. Compare initial results with conditioned results.
Can the same stopper fit bottles from different suppliers?
Only when their actual internal neck profiles and production tolerances are compatible. Matching nominal diameter or external appearance does not confirm compatibility.