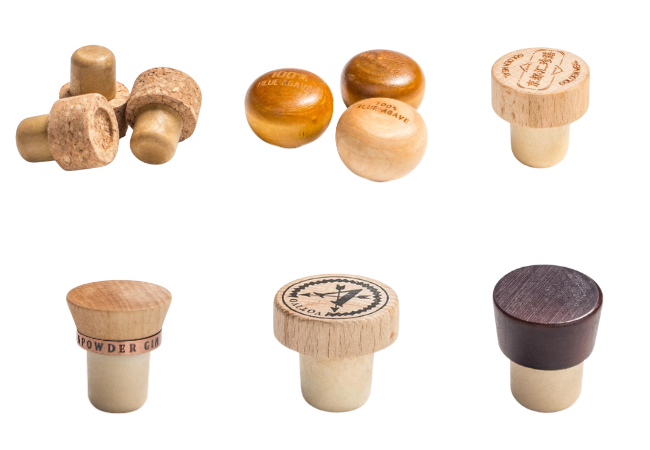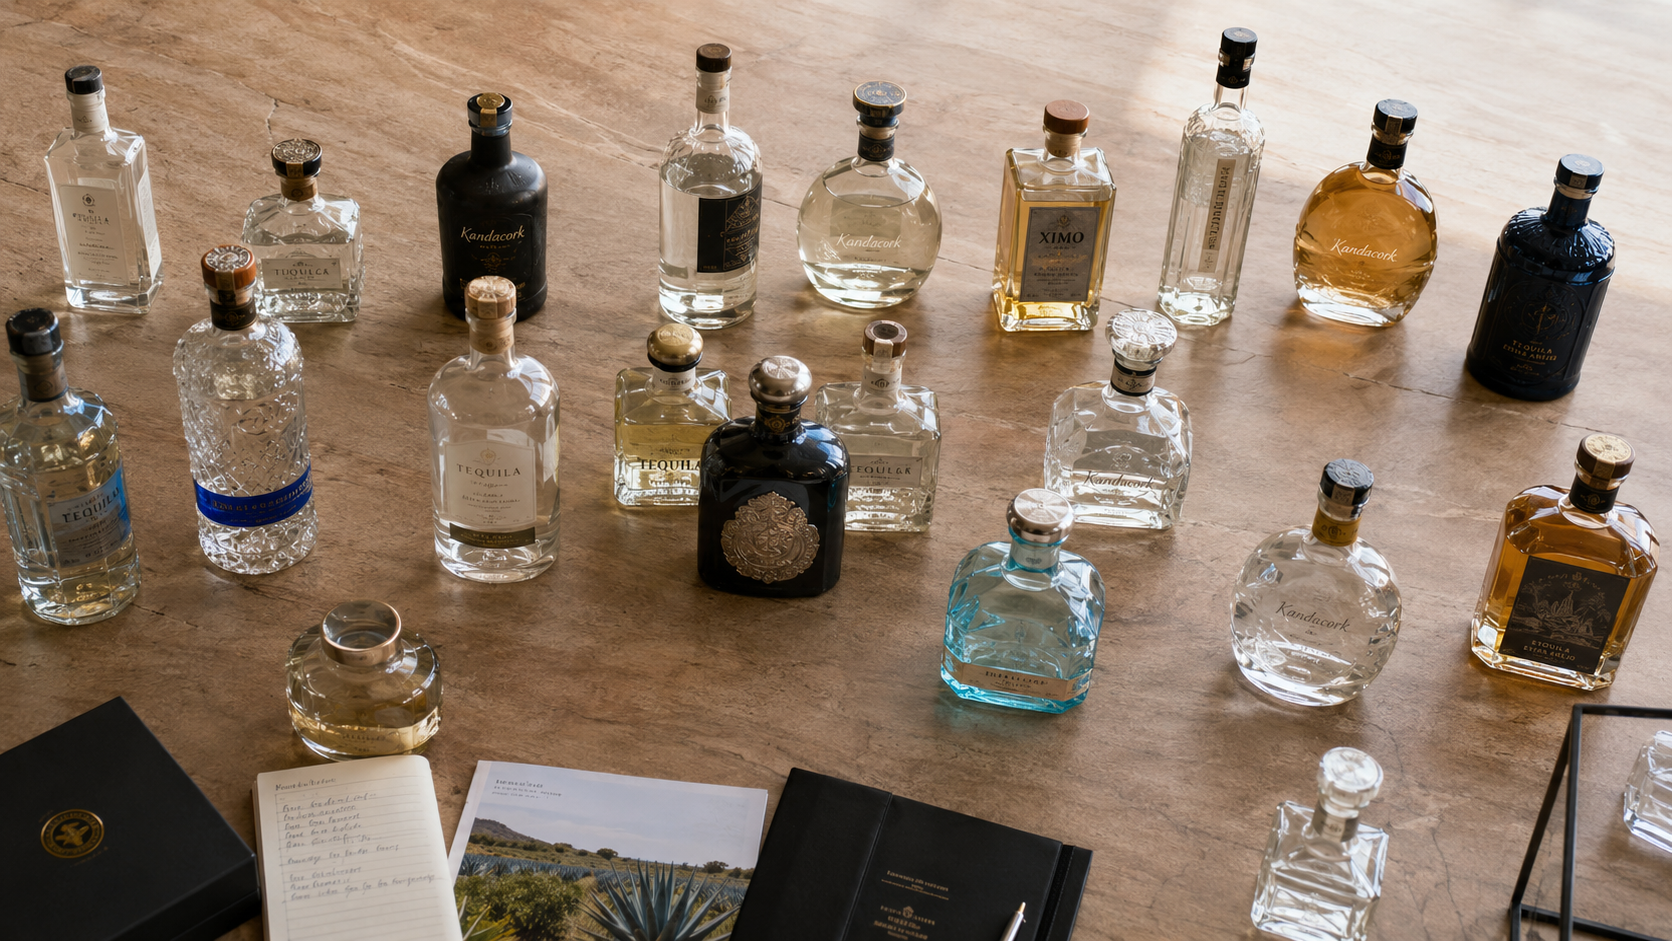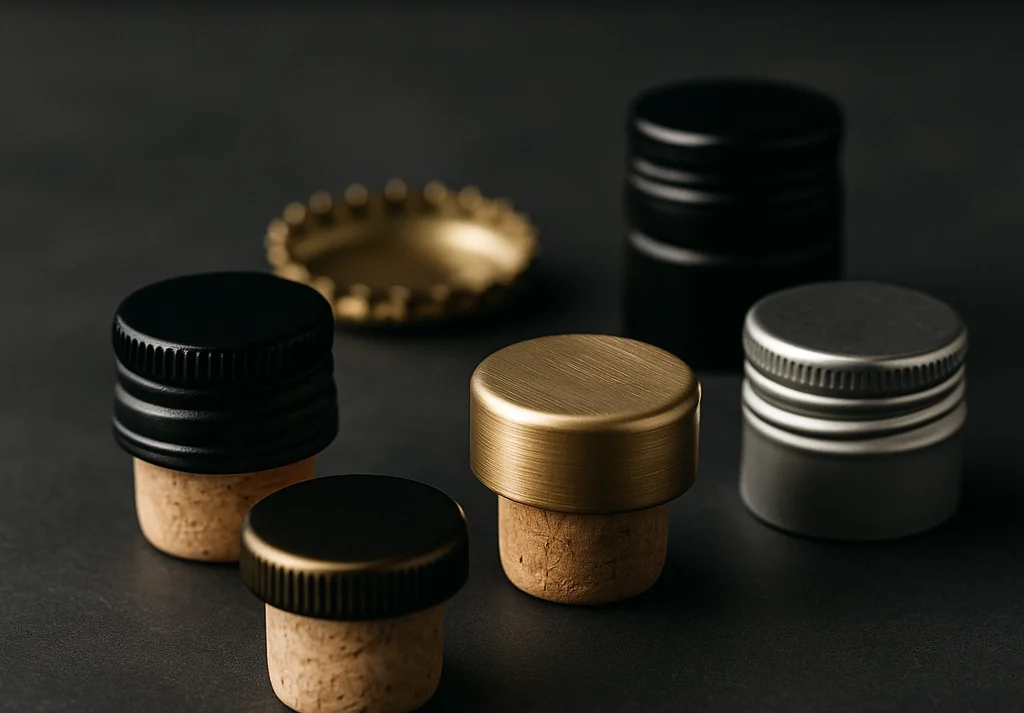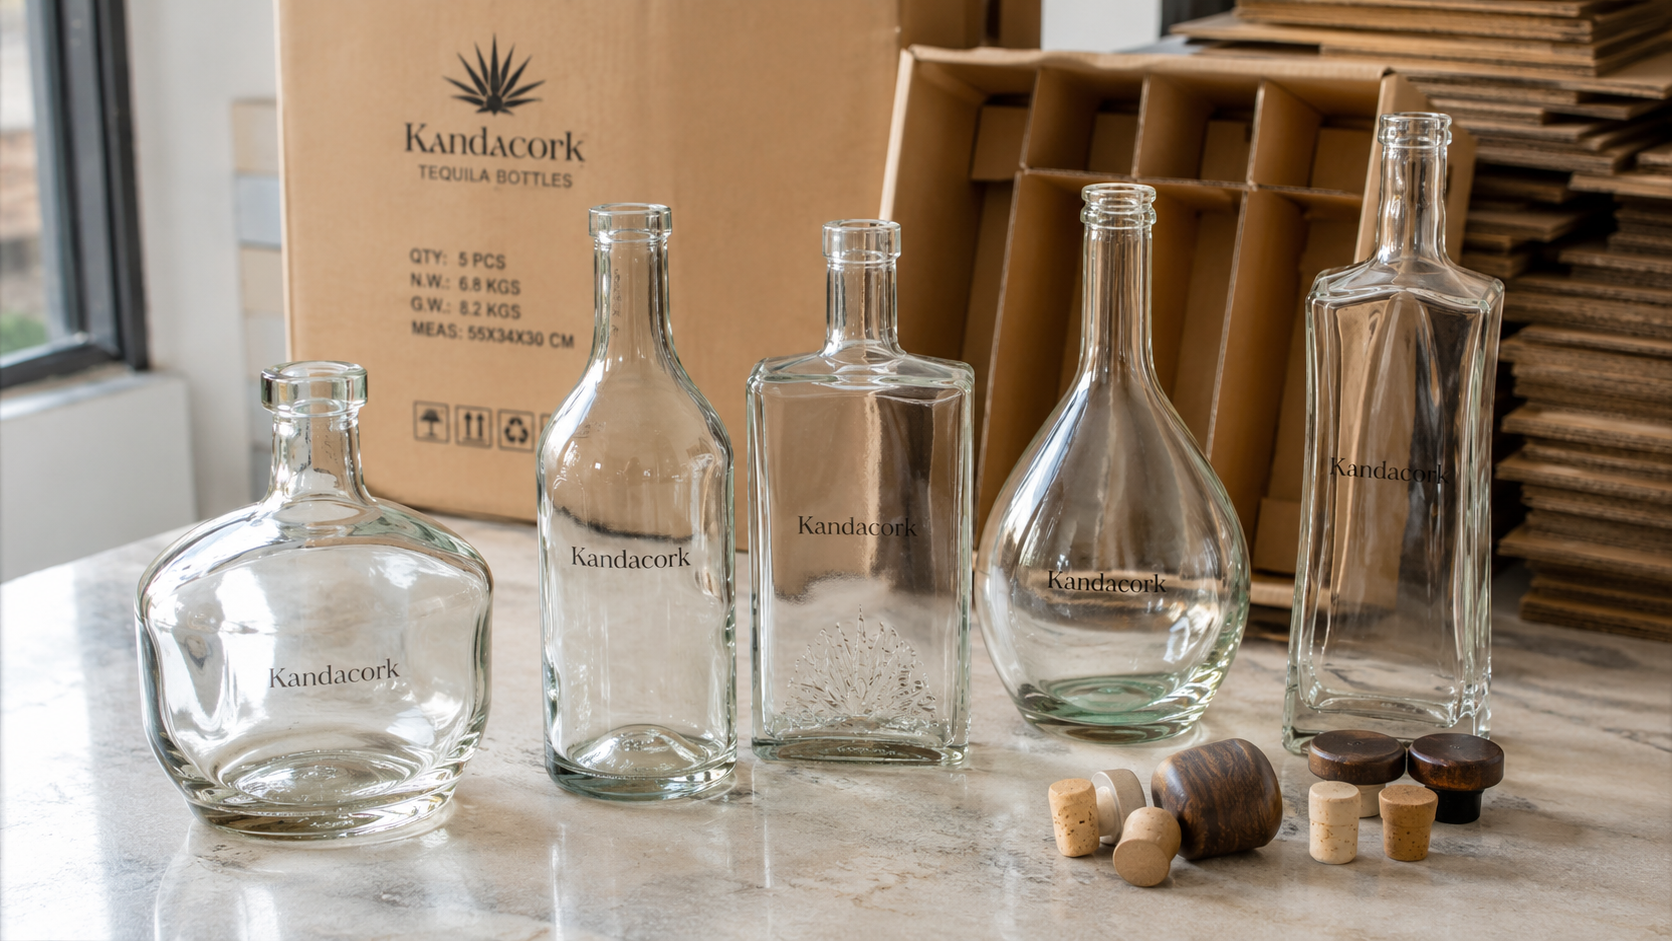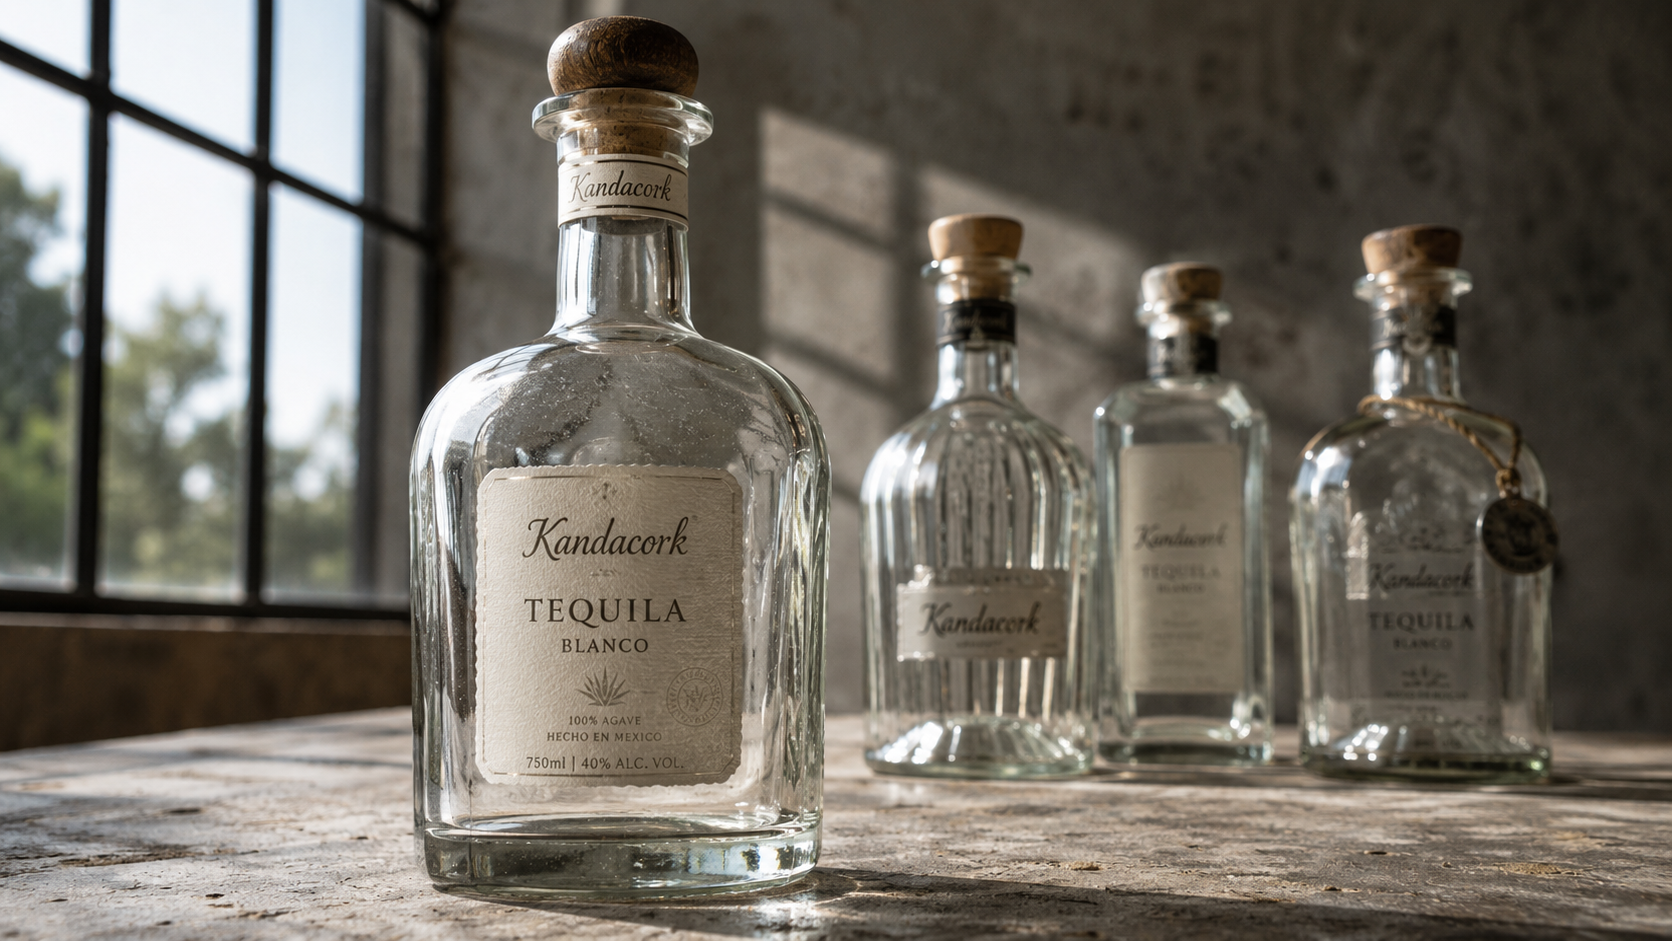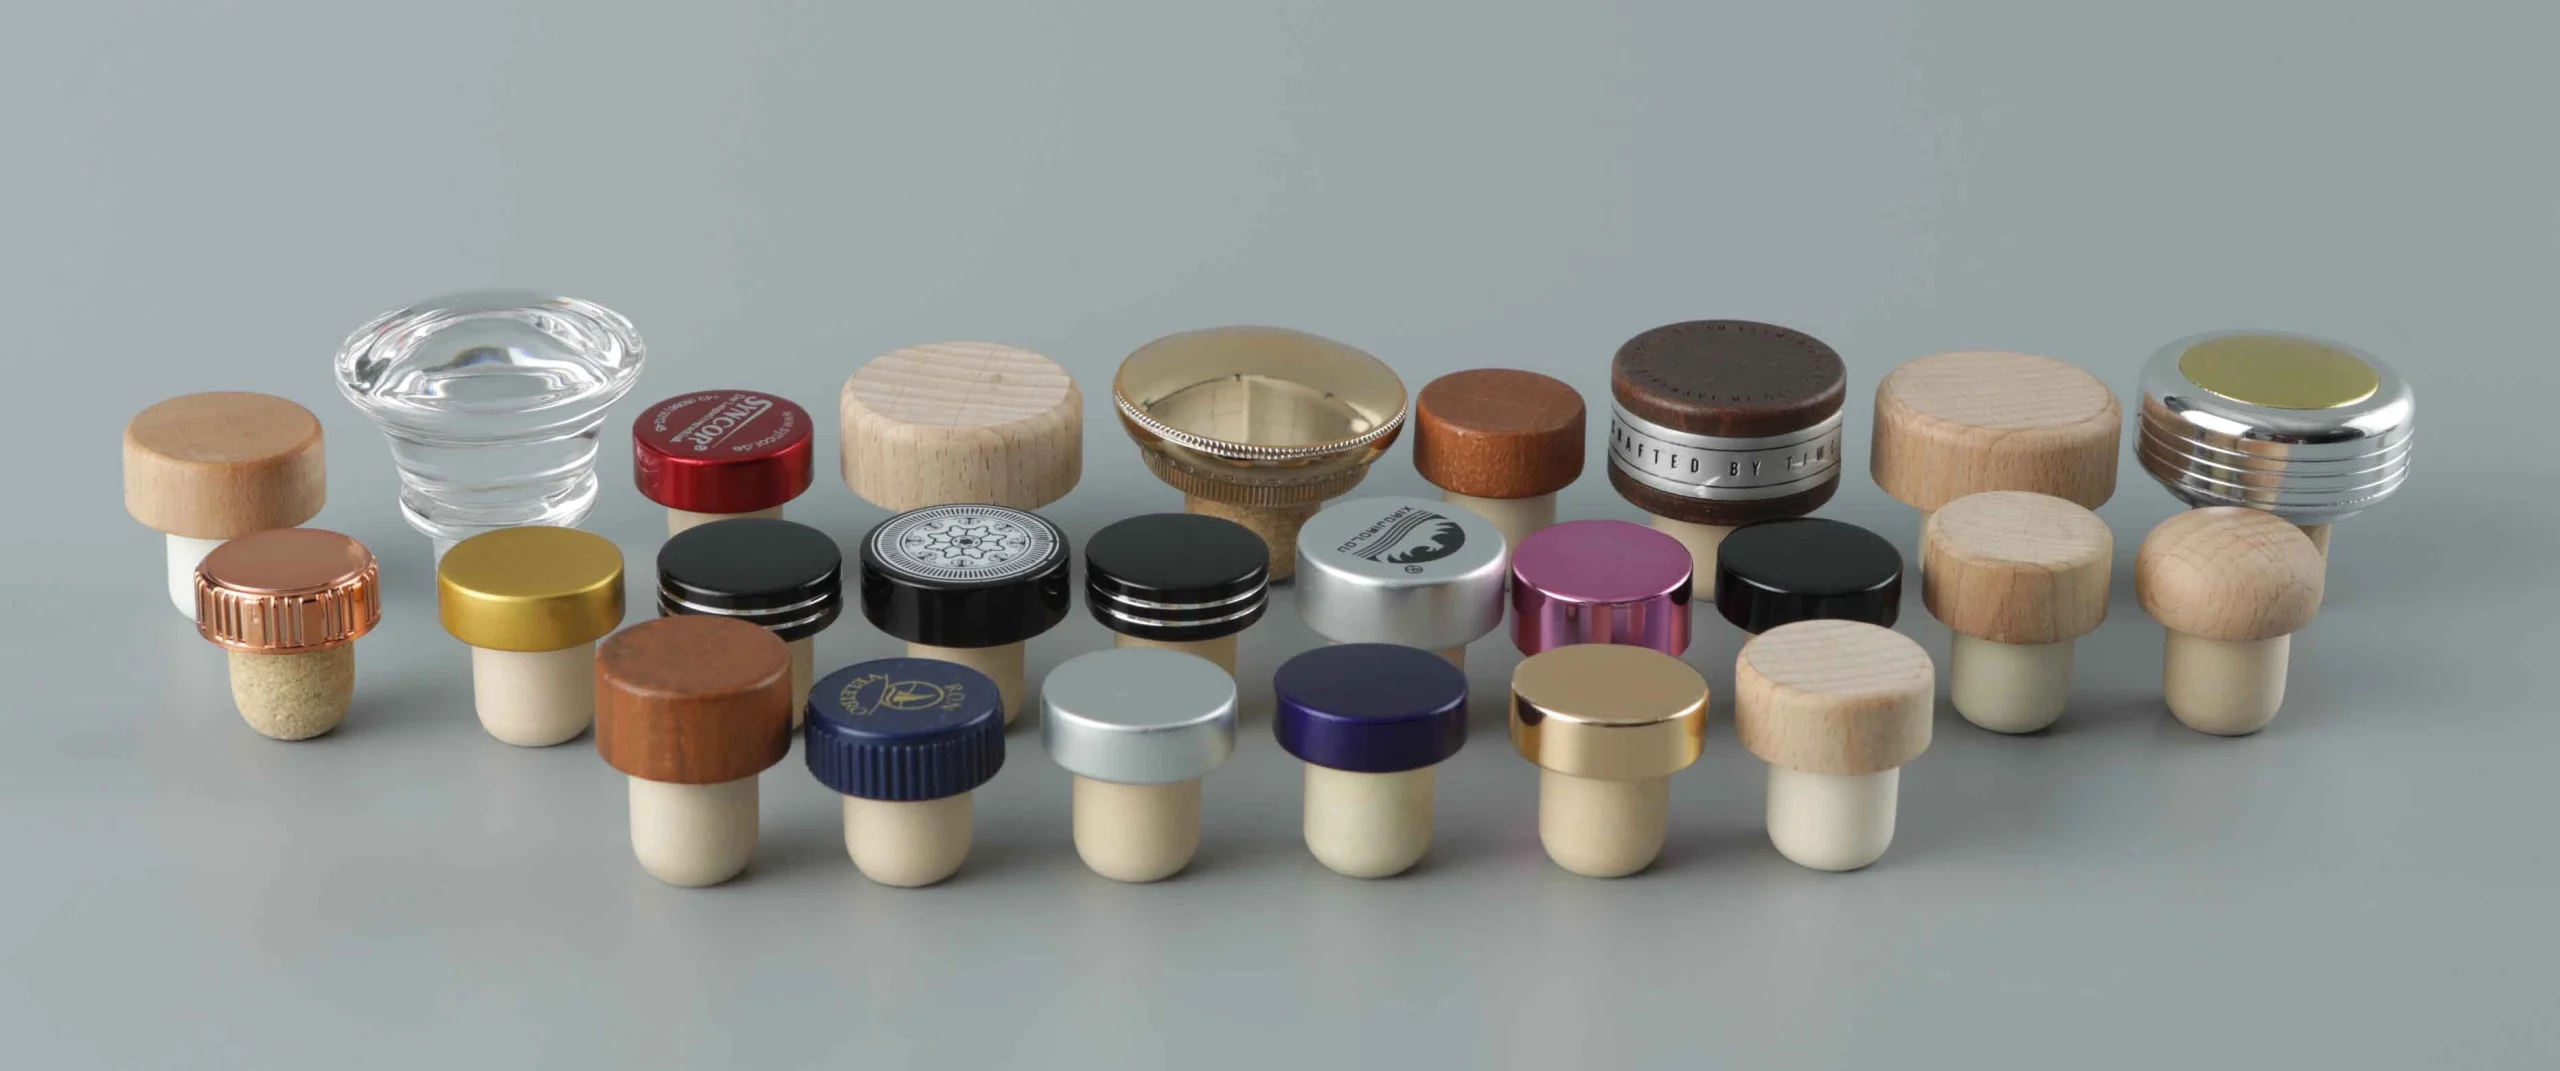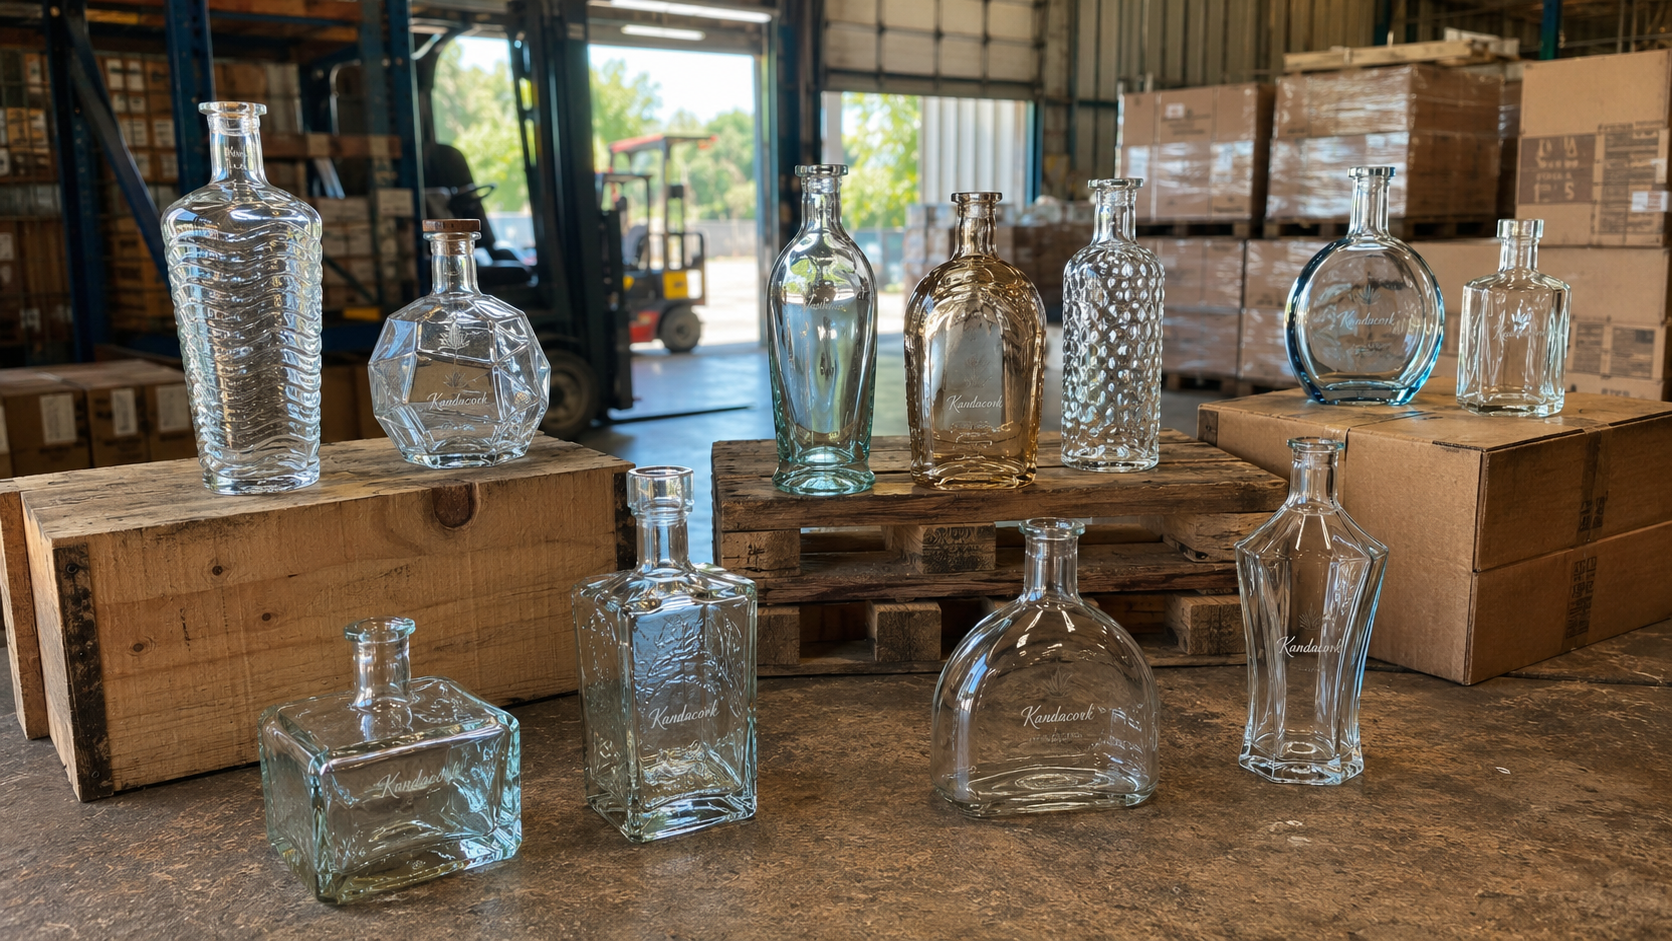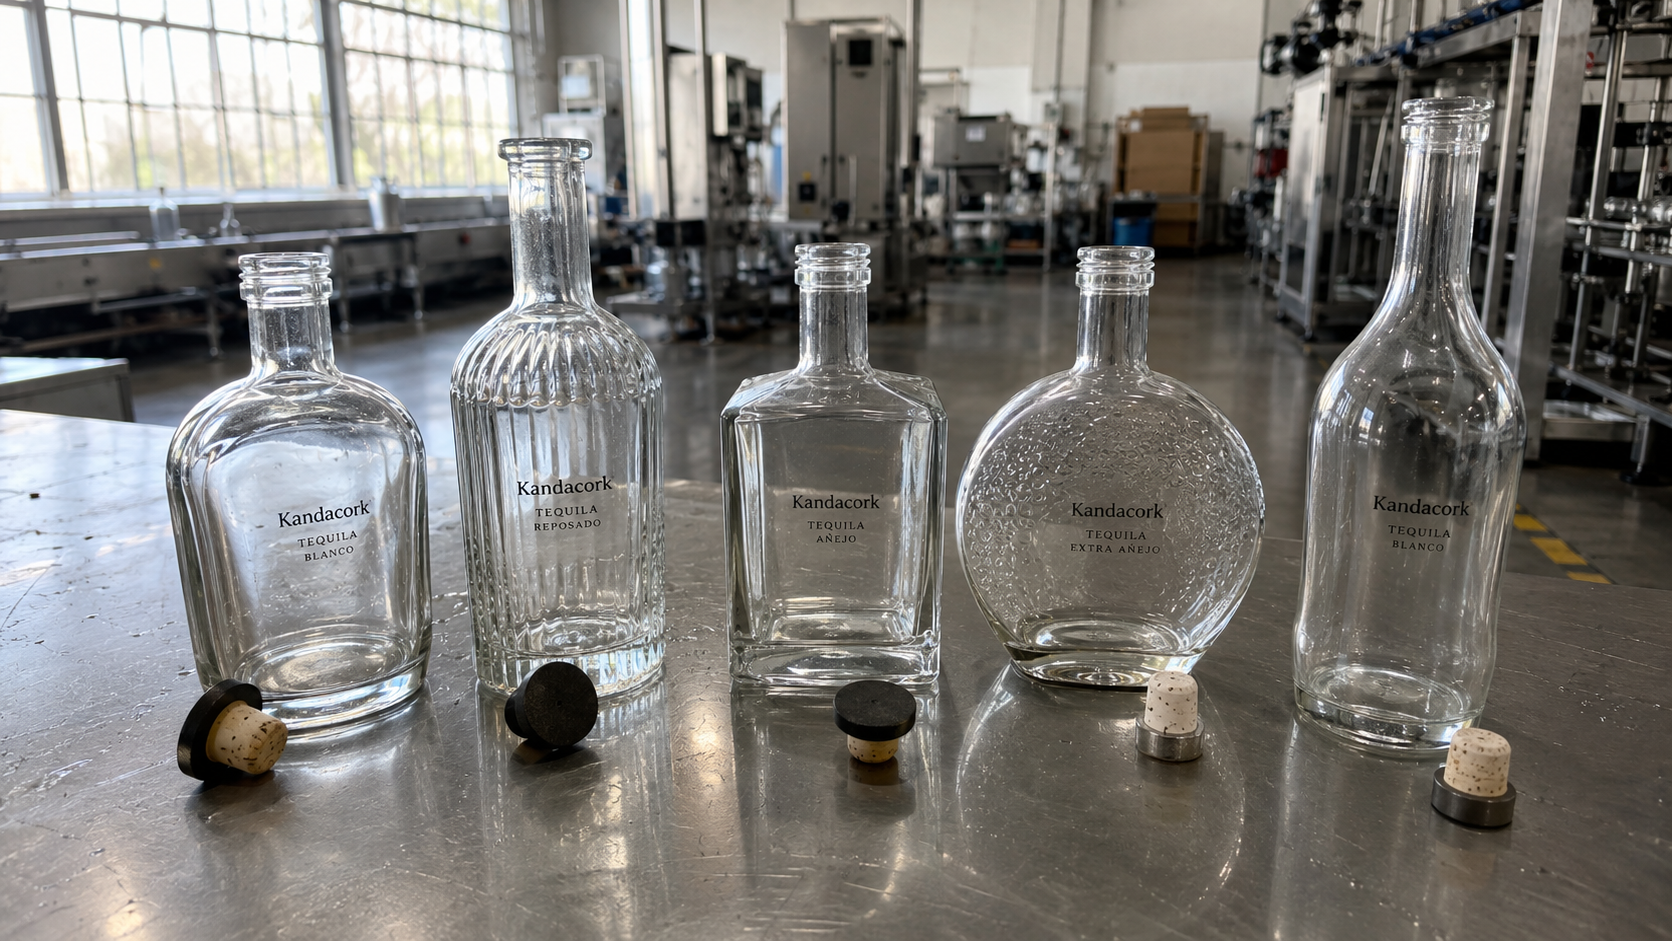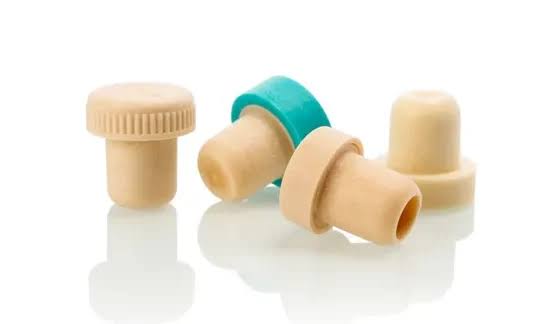
A bottle closure can appear to fit correctly and still leak, loosen, cross-thread, lift, or fail during transportation.
For spirits brands, distilleries, bottlers, importers, private-label buyers, and packaging QA teams, visual fit is not proof of compatibility. The bottle neck, closure, sealing element, spirit, capping equipment, and distribution conditions must be evaluated as one packaging system.
Quick Answer
Spirits bottle cap and neck compatibility testing confirms that a specific bottle and closure can be assembled consistently, maintain an effective seal, open as intended, survive distribution, and remain stable across production lots.
Before bulk ordering, QA teams should review controlled drawings, inspect representative samples, measure critical dimensions, test filled bottles, complete a production-line trial, and document final approval.
Teams that do not yet have a confirmed closure specification can submit drawings, neck-finish information, photographs, or physical bottles through Kandacork’s cap and neck compatibility review service before requesting production samples.
Before Testing, Confirm These Five Items
Formal testing should not begin until the project has:
- A controlled bottle drawing or neck-finish specification
- A closure drawing and confirmed material structure
- Representative bottle and closure samples
- The actual spirit or a technically justified test liquid
- Access to the intended or representative capping equipment
Missing information should be recorded as an open risk rather than replaced with assumptions.
Closure Test Matrix
| Closure system | Critical interface | Main QA risk | Required tests |
|---|---|---|---|
| Bar-top stopper | Bottle bore and stopper shank | Loose fit, excessive extraction force, stopper lift | Dimensional inspection, insertion and extraction force, leakage, reclosure |
| Continuous-thread cap | Bottle thread, cap thread, liner, and sealing land | Cross-threading, torque loss, weak liner contact | Application torque, removal torque, torque retention, leakage |
| ROPP closure | Roll-on finish, cap skirt, liner, and pilfer bead | Poor thread formation, skirt damage, bridge failure | Forming trial, removal torque, tamper evidence, leakage |
| Non-refillable closure | Bottle bore, bead, insert, and valve | Insert movement, irregular flow, ineffective tamper evidence | Assembly force, retention, flow, valve, leakage |
| Pourer insert | Internal bore and retention profile | Loose insert, dripping, inconsistent flow | Assembly force, pull-out resistance, flow and drip testing |
Information Required Before Testing
All parties should work from one controlled information package.
| Area | Minimum information required |
|---|---|
| Bottle | Part number, drawing revision, finish designation, bore or thread dimensions, tolerances, sealing land, mould identification |
| Closure | Part number, drawing revision, materials, liner or shank, insert, tamper evidence, application method |
| Product | Spirit category, alcohol by volume, fill temperature, fill level, headspace |
| Production | Capping equipment, line speed, target torque, insertion depth, or forming settings |
| Distribution | Storage orientation, target markets, transport route, expected temperature range |
A physical bottle should not replace a controlled drawing. One sample represents only one point within the manufacturing distribution.
Where a closure contains several components, the complete structure should be controlled. A change to the liner, stopper shank, adhesive, valve, or insert can affect performance even when the outer cap remains unchanged.
Projects that are still comparing bar-top, continuous-thread, and ROPP formats can use this spirits bottle neck finish guide to understand how the bottle design affects the wider glass-and-closure packaging system.
Critical Neck Dimensions and Tolerance Stacking
Nominal closure diameter is only one part of the compatibility decision.
For many threaded bottle finishes, QA teams should review the following dimensions.
| Dimension | What it generally controls | Possible failure when mismatched |
|---|---|---|
| T | Outside diameter across the bottle threads | Cap too tight, too loose, or unable to engage |
| E | Outside diameter below the thread | Closure skirt or tamper-band interference |
| I | Internal bottle diameter or bore | Stopper, pourer, insert, or filling-tube fit |
| S | Distance from the finish top to the first thread | Early or late thread engagement |
| H | Overall neck-finish height | Incorrect cap seating or capping-head clearance |
| Sealing land | Surface contacted by the liner | Uneven compression or leakage |
| Thread profile | Mechanical engagement between bottle and cap | Cross-threading, spinning, or torque variation |
| Bore ovality | Uniform stopper or insert interference | Loose fit on one axis and excessive force on another |
| Pilfer bead | Tamper-band retention and separation | Uneven band position or weak first-opening evidence |
Exact definitions and dimensional limits must come from the applicable controlled drawing or finish standard.
The CETIE finish data sheets define dimensions, profiles, and tolerances for a range of glass and PET bottle finishes. They provide a shared technical reference for packaging manufacturers, closure producers, and bottlers, helping teams evaluate component compatibility using more than nominal size alone.
Why Tolerance Stacking Causes Failures
Tolerance stacking occurs when individually acceptable component variations combine in an unfavorable direction.
Consider a threaded system in which:
- The bottle thread is near its maximum permitted diameter.
- The cap thread is near its minimum internal diameter.
- The liner is near its maximum thickness.
- The sealing surface is near its maximum height.
Every component may pass its individual inspection. When assembled, however, the closure may require excessive application torque or bottom out before creating the intended seal.
The opposite combination may cause:
- Weak thread engagement
- Insufficient liner compression
- Closure back-off
- Low removal torque
- Loose stopper fit
- Poor insert retention
- Leakage
Compatibility approval should therefore consider realistic worst-case combinations, not only average measurements.
Production variation also matters. Glass mould wear, closure-cavity differences, cork density, resin batches, coating thickness, decoration buildup, and tooling condition can all change package performance.
Seven-Step Bottle–Closure Compatibility Validation Process
Step 1: Confirm Specifications and Responsibility
Identify:
- Bottle and closure part numbers
- Supplier names
- Drawing revisions
- Materials
- Intended product and market
- Person responsible for the test plan
- Person authorized to approve the final combination
The QA function should control acceptance criteria and final approval. The bottler should lead production-line trials, while bottle and closure suppliers should provide drawings, technical data, samples, and investigation support.
Do not begin formal approval with unidentified samples or uncontrolled specifications.
Step 2: Inspect Representative Samples
Samples should represent the materials and manufacturing conditions intended for production.
Depending on project risk, include:
- More than one bottle mould
- More than one closure cavity
- Representative production lots
- Production-grade liners or stoppers
- Final coatings and decoration
- Production-grade inserts or valves
Record visible defects before testing, including:
- Chipped or checked glass
- Uneven sealing lands
- Damaged threads
- Distorted cap skirts
- Displaced liners
- Rough bottle bores
- Damaged stopper shanks
Each sample should receive a traceable identification code linked to its supplier, lot, mould, or cavity where that information is available.
Step 3: Measure Critical Dimensions
Use measuring equipment suitable for the characteristic being inspected.
Typical equipment includes:
- Calipers
- Height gauges
- Bore gauges
- Thread or profile gauges
- Torque meters
- Force gauges
- Leak-test equipment
Every test record should identify:
- Equipment used
- Calibration status
- Operator
- Sample identification
- Conditioning period
- Test speed
- Units
- Acceptance limits
Measurements without a defined method are difficult to reproduce and should not be used as the sole basis for approval.
Step 4: Complete Dry-Fit and Application Checks
Apply the closure using the intended or a technically representative method.
Inspect:
- Thread engagement
- Stopper alignment
- Final closure height
- Skirt clearance
- Tamper-band position
- Visible gaps
- Cross-threading
- Bottoming
- Cap spinning
- Stopper damage
- Insert movement
Dry fitting is useful for early screening. It does not prove long-term sealing performance.
Step 5: Test the Filled Package
Use the actual spirit whenever practical.
Water may support preliminary leakage testing, but it may not reproduce the effects of ethanol, flavour compounds, sugar, colourants, botanicals, or other formulation ingredients.
Evaluate:
- Leakage
- Removal torque
- Extraction force
- Stopper movement
- Stopper lift
- Insert retention
- Material swelling or shrinkage
- Liner recovery
- Odour or appearance changes
- Reclosure performance
- Product loss or evaporation
Condition samples in the temperatures and storage orientations expected in the commercial supply chain.
Step 6: Validate on Production Equipment
A laboratory result does not automatically prove filling-line compatibility.
Performance can be affected by:
- Cap feeding
- Bottle handling
- Chuck alignment
- Stopper-head pressure
- ROPP roller settings
- Fill temperature
- Wet or dry bottle finishes
- Line speed
- Operator setup
Record the machine, head or roller settings, production speed, reject rate, application and removal torque, insertion depth, extraction force, tamper evidence, leakage, and visible damage.
The objective is to establish a stable operating window—not merely to produce one acceptable sample.
Step 7: Approve and Control the Final System
The approval record should include:
- Bottle and closure part numbers
- Supplier names
- Drawing revisions
- Materials
- Sample lots
- Relevant bottle moulds and closure cavities
- Test methods
- Conditioning parameters
- Acceptance criteria
- Results and photographs
- Approved deviations
- Pilot-line settings
- Approval signatures
Retain signed golden samples as references for incoming inspection, production setup, supplier communication, and future failure investigations.
Revalidation may be required after changes to:
- Bottle supplier or mould
- Neck finish
- Closure dimensions
- Liner or stopper material
- Insert or valve
- Tooling
- Production site
- Filling conditions
- Capping equipment
- Spirit formulation
- Distribution route
The scope of revalidation should be risk-based and documented.
Tests Required by Closure System
Published test methods provide recognized frameworks, but the responsible QA team must still define project-specific sampling, conditioning, equipment settings, and acceptance limits.
The collection of ASTM packaging standards includes methods relevant to torque-meter use, continuous-thread torque retention, shipping-unit performance, and pressure-differential exposure. Standards such as ASTM D3474, D2063/D2063M, D4169, and D6653/D6653M may support a validation plan when applicable to the package and supply chain.
Continuous-Thread Cap Torque Testing
For screw caps, establish an application-torque range and measure removal torque after controlled intervals.
Useful checkpoints may include:
- Immediately after application
- After 24 hours
- After temperature conditioning
- After transport simulation
- After accelerated aging
There is no universal torque value for all spirits bottles. Acceptance limits depend on cap diameter, bottle finish, liner construction, closure material, application equipment, conditioning period, and consumer-opening requirements.
A high initial torque does not prove a reliable seal. Results should always be interpreted with leakage, liner contact, and timed torque retention.
Bar-Top Stopper Testing
Measure the bottle bore, stopper shank, insertion depth, insertion force, and extraction force before and after conditioning.
Also inspect the stopper for:
- Scoring
- Tearing
- Permanent deformation
- Excessive compression
- Separation from the decorative top
Confirm leakage and reclosure performance with the intended spirit.
The acceptable fit should be secure enough to seal and resist unintended movement, but not so tight that opening becomes difficult.
For a more focused explanation of bore measurement, shank compression, insertion depth, pull-out force, and resealing performance, review the Kandacork guide to how bar-top stoppers fit spirits bottle necks.
ROPP Forming Tests
Apply ROPP closures using representative capping equipment.
Inspect:
- Thread formation
- Cap alignment
- Skirt condition
- Pilfer bridge integrity
- Liner compression
- Removal torque
- First-opening behavior
- Leakage
Wrinkles, incomplete threads, broken bridges, or cap tilt may result from bottle-finish variation, unsuitable cap geometry, roller misadjustment, or capping-head misalignment.
The ROPP torque, pilfer-band, and neck-finish guide explains how the aluminium shell, liner, bottle finish, pilfer band, and application equipment interact during forming and opening.
Brands moving from testing into sourcing can also evaluate Kandacork’s custom ROPP closures for spirits bottles, including closure sizing, liner requirements, decoration, sample approval, and bulk-production preparation.
Non-Refillable Closure and Pourer Testing
Evaluate the complete insert and valve system rather than only the outer cap.
Tests may include:
- Assembly force
- Pull-out resistance
- Insert rotation
- Flow consistency
- Drip control
- Valve operation
- Leakage
- Tamper evidence
- Performance after transport testing
A secure outer cap does not prove that the internal pourer or valve is properly retained.
Leakage, Aging, and Distribution Testing
A risk-based program may include:
- Upright storage
- Side storage
- Inverted storage where appropriate
- Low- and high-temperature conditioning
- Thermal cycling
- Vibration
- Impact
- Pressure-differential exposure
- Post-test torque or extraction testing
After environmental or distribution testing, recheck leakage, closure position, removal torque, extraction force, tamper evidence, bottle damage, and carton staining.
Common Compatibility Failures and Corrective Actions
| Symptom | Possible bottle cause | Possible closure cause | Possible process cause | Recommended action |
|---|---|---|---|---|
| Cross-threading | Damaged or incorrect thread lead | Incorrect internal thread profile | Poor cap presentation or alignment | Compare drawings and inspect thread starts |
| High removal torque | Oversized finish or rough thread | Small cap or high-friction liner | Excessive application torque | Verify dimensions, calibration, and settings |
| Low removal torque | Undersized finish | Weak liner recovery or oversized cap | Low application torque | Measure timed torque retention |
| Leakage | Uneven sealing land or finish damage | Unsuitable or displaced liner | Incorrect application | Inspect sealing surface and liner impression |
| Stopper too loose | Large or oval bottle bore | Small shank or weak recovery | Insufficient insertion depth | Map bore and shank distributions |
| Stopper lift | High bore interference | Shank expansion | High fill temperature or unsuitable headspace | Review dimensions and filling conditions |
| Wrinkled ROPP skirt | Finish-profile variation | Incorrect cap geometry | Roller pressure or alignment error | Conduct a controlled forming trial |
| Loose pourer insert | Large or irregular bore | Insufficient retention feature | Incorrect assembly force | Measure retention before and after transport |
Root-cause analysis should separate bottle variation, closure variation, material interaction, machine settings, and measurement error.
A failure should not automatically be assigned to one supplier.
How to Qualify a Closure Supplier
A capable supplier should provide more than confirmation that the nominal closure diameter matches the bottle.
| Evaluation category | Suggested weight | Evidence required |
|---|---|---|
| Drawing and tolerance review | 20% | Controlled drawing and documented compatibility review |
| Physical sample testing | 20% | Sample test support or compatibility report |
| Material documentation | 15% | Material, liner, stopper, insert, and product-contact information |
| Traceability | 15% | Lot and relevant mould or cavity records |
| Filling-line support | 10% | Pilot-trial or application support |
| Change control | 10% | Written change-notification procedure |
| Commercial capability | 10% | MOQ, capacity, lead time, and export packing information |
Supplier Red Flags
Exercise caution when a supplier:
- Recommends a closure using nominal diameter alone
- Cannot provide controlled specifications
- Cannot trace production lots
- Has no formal change-notification process
Advance notice should be required before changes to resin, cork source, synthetic material, liner, adhesive, coating, tooling, production site, subcontractor, or critical process settings.
Sample and Quotation Request Checklist
To receive representative samples and an accurate quotation, provide the following information.
Bottle
- Controlled bottle drawing
- Neck-finish designation
- Bore or thread dimensions
- Dimensional tolerances
- Bottle supplier
- Mould information
- Clear neck photographs
- Physical samples where available
Closure
- Required closure family
- Preferred material
- Liner or stopper type
- Pourer or non-refillable requirements
- Tamper-evident requirements
- Colour and surface finish
- Logo, embossing, or decoration
Product and Process
- Spirit category
- Alcohol by volume
- Fill temperature
- Fill level and headspace
- Capping equipment
- Intended line speed
- Target torque, insertion depth, or forming settings
- Storage orientation
- Target markets and transport route
Commercial Requirements
- Required sample quantity
- Initial order quantity
- Estimated annual volume
- Target launch date
- Required documentation
- Delivery destination
- Export packing requirements
At minimum, buyers should provide the bottle drawing, clear neck photographs, intended closure style, spirit category, filling method, and estimated order volume.
Physical bottles should be supplied before final approval whenever possible.
Frequently Asked Questions
Why can a closure pass dry-fit testing but leak after filling?
Dry fitting does not reproduce liner relaxation, alcohol exposure, temperature changes, pressure differences, transport vibration, or production-line application.
Filled-package testing is required to confirm sealing performance under realistic conditions.
How many samples should QA teams test?
There is no universal sample quantity.
The sampling plan should reflect production volume, bottle moulds, closure cavities, supplier history, component variation, and the severity of a possible failure. Higher-risk launches should include multiple manufacturing lots.
Can water replace the actual spirit during testing?
Water can support preliminary leakage testing, but it may not reproduce material interactions caused by ethanol, flavour compounds, sugar, colourants, or botanicals.
Final approval should use the actual spirit or a technically justified simulant.
When is revalidation required?
Revalidation may be required whenever a critical bottle, closure, material, supplier, tooling, filling-process, product, or distribution variable changes.
The QA team should document the change, assess the risk, and define whether dimensional checks, laboratory testing, line trials, or full requalification are necessary.