Bar-top stopper pull-out force testing measures the axial load required to remove a closure from a bottle neck after insertion.
Before approving a closure for production, spirits brands, distilleries, bottlers, importers, distributors, and private-label buyers should test the actual bottle-and-stopper combination. Buyers evaluating custom bar-top stoppers for spirits bottles should consider extraction force, insertion behavior, release torque, leakage, repeated reclosure, and top-to-shank bond strength.
The objective is not to create the highest possible pull-out force. It is to establish a controlled operating range that balances stopper retention, bottling-line performance, and consumer opening.
Which Bar-Top Stopper Tests Are Required?
| Packaging question | Recommended test |
|---|---|
| Will the stopper remain secure during transport? | Axial pull-out force and distribution testing |
| Will consumers find the closure difficult to open? | Pull-out force and representative opening evaluation |
| Is the stopper normally twisted before removal? | Release-torque or combined twist-and-pull testing |
| Can the decorative top separate from the shank? | Top-to-shank tensile or torque testing |
| Can liquid escape during storage or shipping? | Leakage and liquid-tightness testing |
| Will the closure reseal after opening? | Repeated opening and reclosure testing |
| Can the stopper be applied consistently? | Insertion-force and seating-height testing |
A stopper should be approved only when the relevant mechanical and functional tests produce consistent results across representative bottles and closures.
What Does Pull-Out Force Measure?
Pull-out force is the axial load required to extract the sealing shank from the bottle neck. Results are normally reported in newtons, although some cork-related specifications use decanewtons.
A useful test record may include:
- Initial breakaway force.
- Peak extraction force.
- Force-displacement curve.
- Release torque, where applicable.
- Minimum, maximum, and average results.
- Variation between samples.
- Failure mode.
- Results after repeated opening.
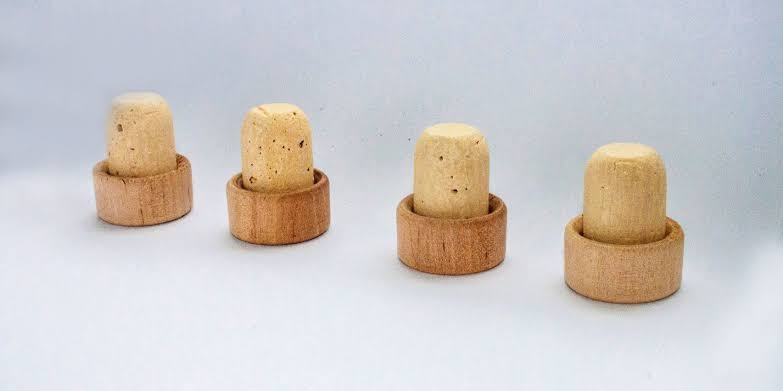
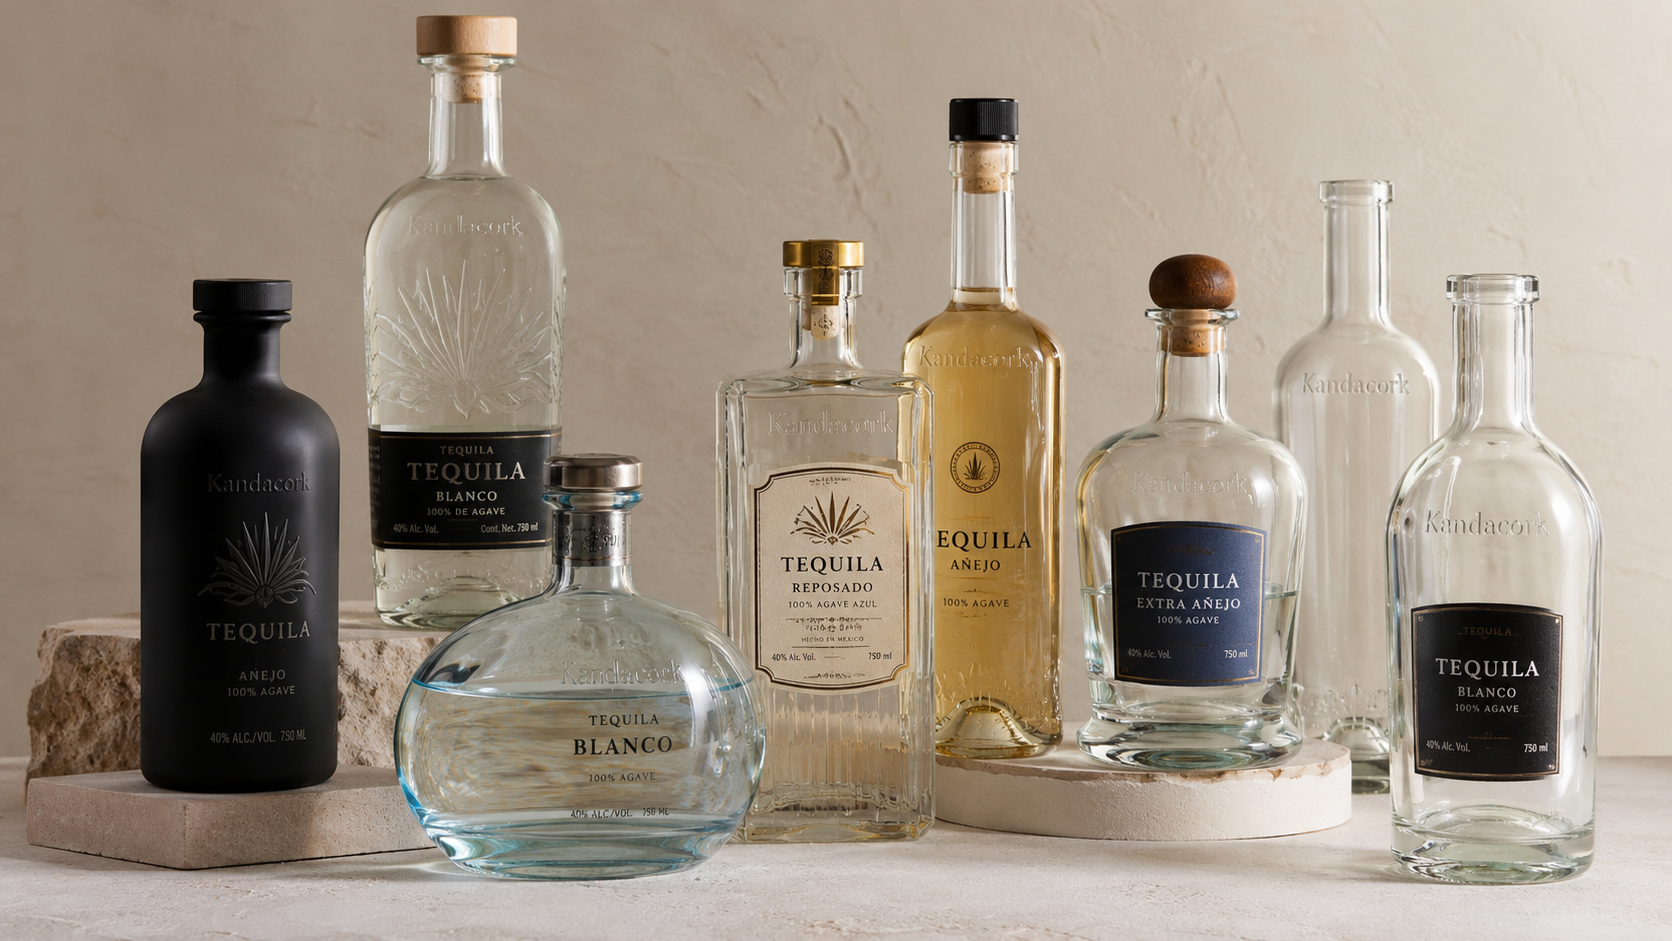
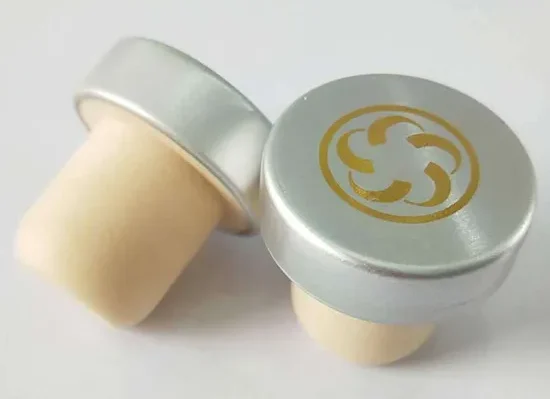
A bar-top stopper, also called a T-top stopper or bartop closure, combines a visible decorative head with an inserted sealing shank.
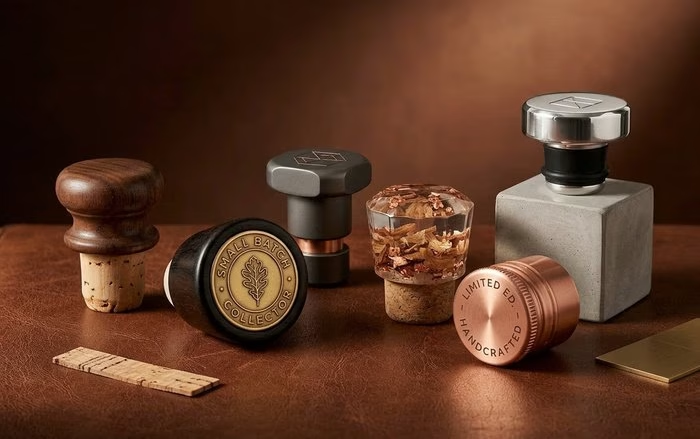
The head may use wood, metal, glass, ceramic, or molded polymer. The shank may use natural cork, micro-agglomerated cork, synthetic material, or another engineered sealing compound.
Because the consumer applies force through the decorative head, the complete assembled closure must be evaluated. An acceptable shank extraction result does not prove that the connection between the head and shank is sufficiently strong.
Buyers who need a broader explanation of opening feel, insertion behavior, and dimensional fit can review the bar-top stopper fit and pull-force guide.
Retention during distribution
The stopper must remain secure during carton handling, road transport, container shipping, vibration, storage, and temperature changes.
A consistently low extraction result may indicate insufficient interference, friction, or material recovery. Pull-out force alone, however, does not prove liquid tightness. Leakage and distribution testing are still required.
Consumer opening
A closure that releases too easily may feel loose or poorly matched to the bottle. A stopper that requires excessive force may frustrate consumers, cause product spillage, or place unnecessary stress on the decorative head.
A premium opening feel should therefore be converted into a measurable range rather than approved only through a subjective hand test.
Bottling-line application
Strong retention after insertion does not guarantee reliable production performance.
Excessive interference between the shank and bottle bore can cause:
- High insertion force.
- Incomplete seating.
- Tilted closures.
- Shank damage.
- Variable finished height.
- Reduced line speed.
- Higher rejection rates.
Insertion force and pull-out force are related, but they measure different stages of closure performance.
Assembly integrity
The adhesive or mechanical connection between the decorative top and sealing shank must withstand the opening load.
This is particularly important for heavy glass, metal, or ceramic tops. When the joint is weaker than the extraction load, the top may separate while the shank remains inside the bottle.
Pull-Out Force vs Torque, Insertion, and Bond Testing
| Test | What it measures | Primary purpose |
|---|---|---|
| Insertion-force test | Force required to seat the closure | Evaluate filling-line application |
| Axial pull-out test | Straight force required to remove the stopper | Evaluate retention and opening resistance |
| Release-torque test | Rotational resistance before movement | Evaluate twist-to-open behavior |
| Combined twist-and-pull test | Torque and axial force during one opening action | Simulate realistic consumer use |
| Top-to-shank tensile test | Force required to separate the assembled components | Evaluate bonded-joint strength |
| Top-to-shank torque test | Rotational load required to damage the joint | Evaluate resistance to twisting |
| Leakage test | Ability to prevent liquid escape | Verify functional sealing |
| Reclosure test | Performance after repeated opening | Verify continued consumer use |
A straight axial pull may be suitable for closures that consumers remove without rotation. A stopper that is normally twisted before removal should also undergo release-torque or combined-motion testing.
A controlled combined-motion setup can apply rotational and vertical movement while recording torque and axial force. This approach may represent whisky and spirits opening behavior more accurately than a straight pull alone.
Does ISO 9727-5 Apply to Bar-Top Stoppers?
ISO 9727-5 can provide a reference for axial extraction-force testing, but its stated scope applies to cylindrical cork stoppers intended to be completely inserted into a bottle neck. A bar-top closure may require additional torque, bond-strength, leakage, and reclosure tests.
ISO 9727-5:2007 specifies a method for determining the maximum force required to extract ready-to-use cylindrical cork stoppers from bottle necks.
A bar-top stopper is different from a completely inserted straight cork because it may include:
- An exposed decorative head.
- A relatively short sealing shank.
- A bonded multi-material assembly.
- A twist-and-pull opening movement.
- Repeated consumer reclosure.
- A heavy or unusually shaped top.
For that reason, a supplier should not simply state that a closure is “ISO tested.”
A technically useful report should identify:
- The standard or internal method used.
- Equipment and sensor range.
- Fixture and gripping method.
- Test direction.
- Test speed.
- Sample conditioning.
- Insertion procedure.
- Seating depth.
- Dwell time.
- Sample quantity.
- Bottle and stopper lots.
- Individual results.
- Observed failure modes.
The current edition and status of an ISO standard should always be checked before it is referenced in a purchasing contract, compliance document, or formal quality specification.
What Changes Bar-Top Stopper Pull-Out Force?
Nominal bottle and shank dimensions can help identify candidate samples, but they cannot approve production performance.
| Variable | Effect on test results |
|---|---|
| Neck bore, taper, and ovality | Change shank compression and bottle-to-bottle variation |
| Shank diameter and contact length | Change interference, friction, and insertion behavior |
| Material and compression recovery | Change force over time and after repeated opening |
| Surface treatment and environment | Change friction and response to conditioning |
| Decorative-head weight and bond | Change the load transferred through the assembly |
Bottle-neck geometry
The internal bore controls how much the shank is compressed.
A smaller bore generally increases interference. A larger bore may reduce retention. The relevant measurement is not always the diameter at the bottle mouth because the internal profile may taper or narrow below the opening.
Neck ovality can also produce uneven compression. Test results may change depending on the orientation of the bottle or stopper.
Representative validation should therefore include bottles from normal production and, where relevant, samples from different molds or cavities. The guide to how bar-top stoppers fit spirits bottle necks explains how bore diameter, internal taper, insertion depth, and physical bottle samples affect closure matching.
Shank dimensions
Shank diameter, length, and seating depth determine the interference and contact area inside the neck.
Increasing the diameter or contact length may increase extraction force, but it can also raise insertion force, prevent complete seating, or damage the shank.
Dimensions should not be changed until the source of the problem has been identified.
Material and compression recovery
Natural cork, micro-agglomerated cork, and synthetic shanks do not behave identically under compression.
Published material research has identified measurable differences between cork and synthetic closure constructions. For micro-agglomerated materials, density, formulation, binder system, and production control may all affect performance.
Two shanks with the same nominal diameter and length can therefore produce different extraction results. Buyers comparing available structures can use the bar-top stopper materials guide to review how cork, synthetic shanks, wood, plastic, aluminium, glass, and metal affect the wider closure specification.
Surface and environmental conditions
Surface treatments and lubricants affect friction between the shank and glass.
Variations in treatment level may cause inconsistent results even when dimensions remain within tolerance. Performance can also change with:
- Time after insertion.
- Temperature.
- Relative humidity.
- Alcohol exposure.
- Filled-bottle storage.
- Storage orientation.
- Temperature cycling.
The approved test conditions should reflect the intended filling, storage, and distribution environment.
Decorative-head construction
Top material, weight, shape, and bonding area influence how opening loads are transferred to the sealing shank.
A heavy glass or metal head may place greater stress on the assembly than a lightweight wooden or molded-polymer top. Bond strength should be evaluated separately when separation presents a significant packaging risk.
Equipment and Test Conditions
A controlled bar-top stopper extraction test normally requires:
| Equipment | Purpose |
|---|---|
| Calibrated force gauge or test stand | Measure axial extraction force |
| Suitable load cell | Capture the expected force range accurately |
| Rigid bottle fixture | Prevent lifting or unintended rotation |
| Stopper-head grip | Apply force without slipping or damaging the top |
| Torque sensor, where required | Measure rotational resistance |
| Data software or test record | Document results, curves, and failure modes |
Motorized equipment generally improves control of test speed, alignment, repeatability, and data collection.
The following conditions should also be documented:
| Test condition | Information to record |
|---|---|
| Bottle identification | Supplier, production lot, mold, and cavity |
| Stopper identification | Material, dimensions, surface treatment, and lot |
| Conditioning | Temperature, humidity, and duration |
| Insertion method | Manual, pneumatic, or production equipment |
| Seating depth | Measured and recorded |
| Dwell time | Interval between insertion and extraction |
| Test movement | Axial pull or combined twist-and-pull |
| Test speed | Fixed and reported |
| Results | Force, torque, curve, and failure mode |
| Functional outcome | Leakage and reclosure status |
The pulling axis should align with the bottle neck. The stopper grip must not slip, crush the decorative head, or introduce an unintended preload.
Seven-Step Bar-Top Stopper Pull-Out Force Test
Step 1: Define the objective and approval criteria
State why the test is being performed.
Common objectives include:
- Comparing shank materials.
- Selecting between candidate dimensions.
- Validating a new bottle.
- Qualifying a closure supplier.
- Approving pilot production.
- Investigating leakage or opening complaints.
- Verifying a production lot.
Before testing begins, define which results will be evaluated. These may include extraction force, torque, insertion force, leakage, reclosure, seating height, or bond strength.
Step 2: Select representative samples
Use physical bottles and stoppers from identifiable production lots.
The test plan should cover:
- Multiple bottles and closures.
- Normal glass tolerances.
- Different molds or cavities where relevant.
- Each proposed shank material.
- Each candidate shank size.
- An approved reference sample, where available.
One carefully selected bottle-and-stopper pair is not sufficient for commercial approval.
Step 3: Record bottle and stopper specifications
Document:
- Bottle drawing number.
- Bottle supplier and production lot.
- Neck bore at the defined contact depth.
- Neck taper or ovality, where relevant.
- Shank material.
- Shank diameter and length.
- Surface treatment.
- Decorative-head material and weight.
- Bonding method.
- Intended seating depth.
This traceability helps determine whether variation comes from the bottle, closure, assembly process, or test setup.
Step 4: Condition, insert, and hold the samples
Keep comparison samples under the same controlled conditions.
Record temperature, humidity, conditioning time, filled or empty status, product exposure, and storage orientation.
Insert the stoppers using the proposed production method wherever possible. Confirm seating depth and reject visibly damaged or incorrectly seated samples.
Apply a defined dwell period before extraction. Results from samples tested immediately after insertion should not be combined with samples tested after extended storage unless dwell time is an intentional test variable.
Step 5: Mount and align the bottle
Secure the bottle so that it cannot lift or rotate unintentionally.
Confirm that:
- The pulling direction follows the bottle-neck axis.
- The stopper grip does not slip.
- The decorative top is not crushed.
- No unintended preload is applied.
- The fixture does not damage the glass.
Incorrect alignment can create tearing, bending, artificial friction, or invalid measurements.
Step 6: Perform the extraction
Apply the documented test speed and opening movement.
Record:
- Initial breakaway force.
- Peak extraction force.
- Force-displacement curve, when available.
- Release torque, where applicable.
- Extraction distance.
- Visible damage.
- Failure mode.
For a twist-and-pull closure, also record the direction and speed of rotation and the relationship between rotational and axial movement.
Step 7: Repeat under use and distribution conditions
Initial extraction force does not show how the closure will perform throughout its full lifecycle.
Final validation may include:
- Repeated opening and reclosure.
- Filled-bottle storage.
- Temperature cycling.
- Vibration.
- Horizontal or angled storage.
- Product-contact exposure.
- Post-aging extraction.
- Leakage testing.
These tests help determine whether retention and opening performance remain stable after distribution and consumer use.
How to Read a Pull-Out Force Curve
A single peak value does not always describe the complete opening experience.
High initial breakaway peak
A high initial peak followed by lower resistance indicates strong resistance at the start of movement.
This can create a firm opening feel, but an excessive breakaway peak may also increase the risk of sudden release, product spillage, or top-to-shank stress.
Smooth controlled extraction
A gradual curve with relatively consistent resistance indicates controlled movement between the shank and bottle neck.
This pattern can provide a more predictable opening experience than a sharp peak followed by immediate release.
Sudden release
A steep peak followed by a rapid drop indicates abrupt breakaway.
The maximum value may remain within the numerical specification, but the closure should still be reviewed for opening control and potential spillage.
Irregular or repeated peaks
Multiple peaks may indicate:
- Neck taper or surface variation.
- Uneven shank compression.
- Shank damage.
- Fixture movement.
- Grip slippage.
- Stick-slip behavior between the shank and glass.
The curve should be reviewed together with the physical sample, fixture, and failure mode before the result is accepted.
How to Set Pull-Out Force QC Limits
There is no universal pull-out-force limit for every bar-top stopper. Minimum, target, and maximum limits should be established using the actual bottle, closure material, insertion process, distribution conditions, and intended opening action.
A value published for a straight wine cork, another bottle finish, or a different shank material should not automatically become the specification for a spirits closure.
Minimum acceptable force
The lower limit should provide adequate retention under expected storage and transport conditions.
Samples near the lower limit must still pass applicable leakage, movement, and reclosure tests.
Target operating range
The target range should balance:
- Secure retention.
- Controlled consumer opening.
- Consistent insertion.
- Stable seating height.
- Reclosure performance.
- Top-to-shank safety.
The range can be established by comparing laboratory results with an approved reference package, pilot bottling trials, and representative opening evaluations.
Maximum acceptable force
The upper limit should protect against:
- Difficult opening.
- Excessive insertion resistance.
- Incomplete seating.
- Product spillage.
- Shank damage.
- Top-to-shank separation.
A closure should not be approved merely because a strong operator can remove it.
Evaluate variation, not only the average
Two production lots may have similar average extraction-force results but very different levels of control.
One lot may remain within a narrow range, while another includes both loose and excessively tight closures. The second lot creates greater commercial risk even when its average appears acceptable.
A useful test report should include:
- Individual results.
- Sample quantity.
- Mean or median.
- Minimum and maximum.
- Standard deviation.
- Coefficient of variation, where appropriate.
- Outliers.
- Failure-mode counts.
- Bottle and stopper lot information.
The final specification should combine numerical limits with requirements for leakage, insertion, seating, appearance, reclosure, and bond strength.
How to Classify Results and Failures
| Observation | What it may indicate | Valid test? | Recommended action |
|---|---|---|---|
| Clean extraction within the target range | Controlled closure performance | Yes | Compare with all functional requirements |
| Force consistently below the lower limit | Large bore, small shank, low friction, or limited recovery | Yes | Review dimensions, material, and surface treatment |
| Force consistently above the upper limit | Excessive interference or high friction | Yes | Review insertion, seating, and consumer opening |
| Wide variation between samples | Bottle ovality, stopper variation, coating variation, or inconsistent insertion | Yes | Separate results by bottle and closure lot |
| Decorative top separates | Insufficient adhesive or mechanical bond strength | Yes | Review assembly design and bonding process |
| Shank tears during extraction | Excessive interference or insufficient material strength | Usually | Inspect the failure and review material and dimensions |
| Grip slips on the decorative top | Incorrect grip or fixture design | No | Correct the fixture and repeat |
| Bottle moves in the fixture | Insufficient restraint | No | Reposition the bottle and repeat |
| Off-axis tearing occurs | Misalignment or unintended bending | Usually no | Correct alignment and repeat |
| Force passes but leakage occurs | Incomplete contact, channels, glass defects, or unsuitable sealing geometry | Yes | Investigate the sealing interface |
Invalid tests should not be included in statistical acceptance calculations.
What Should Buyers Request Before Production?
A capable closure supplier should provide evidence of both test capability and production control.
Supplier test evidence
Request:
- A written test method.
- Equipment and calibration information.
- Sensor range.
- Fixture and gripping details.
- Test speed and movement.
- Conditioning and dwell time.
- Bottle and closure identification.
- Individual force and torque values.
- Summary statistics.
- Test curves, when available.
- Failure-mode records.
- Leakage and reclosure results.
- A clear pass, adjust, or retest conclusion.
A single average value without individual data or test conditions provides limited evidence of process consistency.
Sample approval process
A practical approval workflow should include:
- Bottle drawing review.
- Physical bottle matching.
- Candidate stopper development.
- Functional testing.
- Pilot bottling trial.
- Golden-sample approval.
- Production verification.
Projects that need neck-fit review, material matching, branded sample development, and production preparation can use Kandacork’s bar-top stopper development and fit-testing service.
The approved reference should define the bottle, shank material, dimensions, surface treatment, decorative head, seating height, opening performance, test method, and acceptance limits.
Information to include in an RFQ
To receive suitable samples and an accurate quotation, provide Kandacork Closures & Stoppers with:
- Bottle drawing.
- Representative physical bottles.
- Neck-bore dimensions and tolerances.
- Product type and alcohol concentration.
- Fill temperature.
- Storage and transport conditions.
- Preferred shank material.
- Decorative-head material, dimensions, and weight.
- Intended opening action.
- Existing test requirements.
- Estimated order quantity.
- Destination market.
- Target production date.
- Required quality documentation.
Where the bottle, closure, and decoration are still being developed together, integrated spirits bottle and closure support can help buyers coordinate the complete packaging system rather than evaluating the stopper in isolation.
Complete project information reduces unnecessary sampling rounds and supports a more reliable starting specification.
Frequently Asked Questions
What is a good pull-out force for a bar-top stopper?
A good pull-out force is a project-specific range that provides secure retention without making the bottle unreasonably difficult to open. It should be validated using the actual bottle, stopper, insertion process, storage conditions, and intended opening action.
Is higher pull-out force always better?
No. Excessive force can create difficult opening, high insertion resistance, incomplete seating, shank damage, product spillage, or separation between the decorative head and sealing shank.
Should testing use a straight pull or a twisting movement?
The test should represent actual consumer behavior. Some closures can be evaluated with a straight axial pull, while stoppers normally opened by twisting should also undergo release-torque or combined twist-and-pull testing.
When should pull-out force testing be repeated?
Repeat testing after changes to the bottle, mold, supplier, shank material, dimensions, surface treatment, adhesive, decorative head, insertion process, or production location. Testing should also be repeated when investigating leakage or opening complaints.