Bottle capsules usually do not fit because their dimensions fail to match the widest part of the assembled bottle and closure, the glass neck varies in diameter or roundness, or the application process uses incorrect positioning, heat, speed, or tooling.
The stage at which the defect appears provides the first clue:
- A capsule that cannot slide over the closure usually has insufficient internal clearance.
- A capsule that remains loose after shrinking may be oversized, under-heated, or outside the material’s practical shrink range.
- Wrinkles, lifting, and off-center finishes often indicate bottle variation, poor placement, or uneven heat.
- A capsule that passes a manual test but fails on an automatic line usually requires process or equipment investigation.
For accurate diagnosis, evaluate the bottle, closure, capsule or shrink sleeve, and application line as one packaging system.
Quick Capsule Fit Diagnostic Table
| Symptom | Most likely causes | First check |
|---|---|---|
| Capsule cannot slide over the closure | Internal diameter too small, closure too wide, capsule deformed | Maximum assembled outside diameter |
| Capsule remains loose after shrinking | Starting diameter too large, insufficient shrink range, inadequate heat | Capsule specification and application settings |
| Capsule develops vertical wrinkles | Excess material, tapered or oval neck, uneven heat | Capsule diameter, neck profile, and heat distribution |
| Capsule tears or splits | Insufficient clearance, excessive heat, sharp closure edge | Capsule-to-closure clearance |
| Capsule rises during heating | Trapped air, tapered neck, poor seating, incorrect heating sequence | Initial position and heat direction |
| Capsule finishes off-center or uneven | Bottle eccentricity, poor placement, applicator misalignment | Neck concentricity and equipment alignment |
| Manual samples pass but production fails | Line speed, feeding, tooling, or tunnel inconsistency | Full-speed production conditions |
Several problems can produce the same visible defect. Do not approve a dimensional change from appearance alone. Confirm the cause through measurement and controlled testing.
Need help identifying whether the defect originates in the bottle, closure, capsule, or application line? Submit the current drawings and physical samples for a bottle and closure compatibility review.
Before Changing the Capsule Size
Changing capsule diameter is not always the correct first response.
Before requesting a new size, confirm:
- The test uses the final production bottle and closure.
- The defect occurs on every bottle or only on selected samples.
- Manual and automatic application produce the same result.
- The defect appears randomly or repeatedly on the same side.
- The bottle, closure, capsule material, supplier, or machine settings have recently changed.
If only selected bottles fail, investigate glass or closure variation. If every bottle fails in the same way, review the capsule specification. If manual tests pass but automatic-line tests fail, inspect the process before changing dimensions.
Five Measurements That Control Capsule Fit
The capsule must fit over the widest external point of the assembled package—not simply the bottle opening.
1. Maximum Closure Outside Diameter
Measure the closure after it has been fitted to the bottle.
The widest point may be:
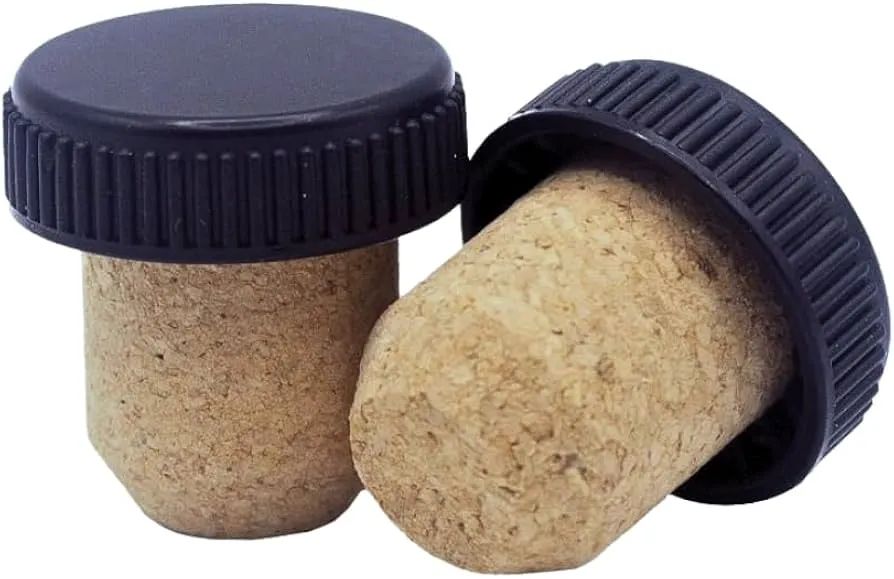
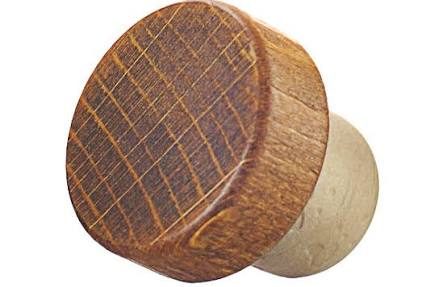
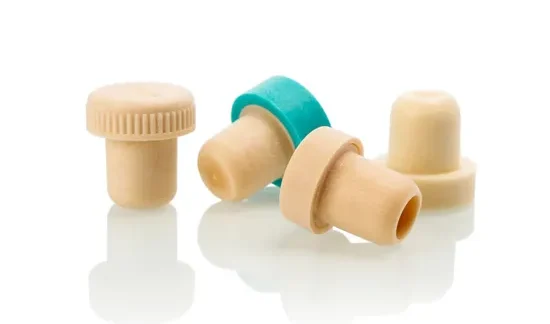
- A wooden or synthetic bar-top stopper head
- A weighted decorative top
- A screw-cap skirt
- A tamper-evident ring
- A non-refillable closure component
- An embossed or irregular feature
Using the glass-neck diameter alone can result in a capsule that cannot pass over the completed closure.
2. Maximum Bottle-Neck Diameter
Measure the neck at several heights rather than taking one reading from the narrowest cylindrical section.
Include any:
- Neck bead
- Transfer ring
- Decorative ridge
- Abrupt change in diameter
- Shoulder transition covered by the capsule
The widest bottle feature may sit below the closure and still affect capsule application.
3. Capsule Internal Diameter
The usable internal diameter may differ from the nominal size shown in a quotation or catalog.
Wall thickness, seams, forming methods, storage pressure, and transport deformation can reduce actual clearance. When defects are intermittent, measure several capsules from different positions in the carton.
The specification should clearly state whether the listed diameter is internal or external.
4. Capsule Height
Capsule height affects appearance, neck coverage, perforation position, and opening performance.
Confirm:
- Closure coverage
- Required neck coverage
- Shoulder clearance
- Neck-label clearance
- Fill-line coverage
- Tear-tab position
- Perforation position
- Tamper-evident presentation
A short capsule may expose part of the closure. A long capsule may wrinkle at the shoulder, overlap a label, or cover bottle decoration.
5. Neck Ovality and Concentricity
Measure the bottle neck across at least two perpendicular axes.
A neck can meet its nominal diameter while still being oval. It may also be tilted or positioned off-center relative to the bottle body. This can make one side of the capsule tight while leaving excess material on the opposite side.
The CETIE finish data sheets provide dimensional references for glass finishes, bar-top stoppers, and overcaps used in spirits packaging. Physical samples must still be measured because production components operate within manufacturing tolerances.
What Is Tolerance Stacking?
Tolerance stacking occurs when several individually acceptable dimensional variations combine into an unacceptable assembly.
For example:
- The bottle neck is near its maximum permitted diameter.
- The closure is near its maximum outside diameter.
- The capsule is near its minimum internal diameter.
- The applicator places the capsule slightly off-center.
Each component may pass inspection independently, while the completed package still fails.
Compatibility should therefore be checked against maximum and minimum dimensions—not average measurements alone.
Recommended visual: Add an original diagram showing capsule internal diameter, maximum closure outside diameter, neck-bead diameter, capsule height, shoulder clearance, and label clearance.
Ten Reasons Capsules Do Not Fit Bottle Necks
Dimensional Fit Problems
1. Capsule Internal Diameter Is Too Small
An undersized capsule may catch on the stopper head, cap skirt, bottle bead, or decorative feature before reaching its intended position.
Forcing it downward can stretch or deform the material before application. This may cause splitting, pinholes, uneven lower edges, or feeding problems.
Check: Compare the minimum usable capsule internal diameter with the maximum assembled closure diameter.
Fix: Increase the available clearance or revise the closure-and-capsule combination. Additional heat cannot solve a pre-application clearance problem.
2. Capsule Diameter Is Too Large
An oversized heat-shrink capsule may remain loose because the material cannot contract enough to reach the bottle surface.
Excess material can also create vertical wrinkles or folds.
Check: Confirm the starting diameter and validated shrink capability of the material.
Fix: Test a smaller starting diameter or a structure with suitable shrink behavior. More heat will not correct a capsule that exceeds the material’s practical shrink range.
3. Capsule Height Is Incorrect
A capsule that is too short may expose part of the closure or fail to cover the intended tamper-evident area.
A capsule that is too long may contact the shoulder, overlap a neck label, hide decoration, or wrinkle at the lower edge.
Check: Mark the intended upper and lower positions on a fully assembled bottle.
Fix: Adjust the height and reconfirm the locations of perforations, tear tabs, seams, and printed graphics.
4. Closure Is Wider Than Expected
A standard glass finish may be combined with a wide decorative closure.
This is common with wooden bar-top stoppers, weighted tops, oversized synthetic heads, extended screw-cap skirts, and multi-component non-refillable closures. Packaging buyers working with these systems should also review how bar-top stoppers fit spirits bottle necks, because the stopper head, shank, and external bottle profile can affect different parts of the completed closure system.
Check: Measure the final closure after assembly.
Fix: Approve the capsule using the actual production bottle and closure rather than an empty bottle, reference photograph, or nominal finish size.
Bottle and Component Variation
5. Bottle Neck Is Oval, Crooked, or Eccentric
Glass bottles are produced within dimensional tolerances and are not perfectly identical.
Variation may include:
- Neck ovality
- Poor concentricity
- Crooked necks
- Irregular beads
- Differences between mold cavities
- Variation between production lots
When only some bottles fail, glass variation should be investigated early.
Check: Compare acceptable and defective bottles across two axes. Record the glass-production lot or mold cavity when that information is available.
Fix: Determine whether the bottle variation exceeds the approved range or whether the capsule system must accommodate a wider validated tolerance.
6. Component Tolerances Were Reviewed Separately
A capsule may appear compatible when the bottle, closure, and capsule are evaluated independently.
Failure occurs when the largest bottle, largest closure, and smallest capsule appear in the same assembly.
Check: Create a minimum-and-maximum dimensional table for the complete package.
Fix: Define acceptable ranges for neck diameter, closure outside diameter, capsule internal diameter, capsule height, material thickness, ovality, and placement.
7. Capsule Material Does Not Match the Neck Profile
Different capsule structures respond differently to bottle taper, heat, pressure, sharp edges, and forming equipment.
| Material | Main fit risk |
|---|---|
| PVC | Excess diameter, uneven heat, and vertical wrinkles |
| PET or PET-G | Shrink distortion and demanding heat control |
| Polylaminate | Tooling misalignment and bottle roundness |
| Aluminum | Dents, gauge variation, and forming pressure |
A material that performs well on a straight cylindrical neck may fail on a strongly tapered neck, irregular glass profile, or wide decorative closure. Buyers deciding between formats can compare the practical differences between capsules and shrink sleeves before approving material, coverage, and application requirements.
Check: Compare the material’s shrink or forming behavior with the actual package geometry and production equipment.
Fix: Test an alternative material when repeated dimensional changes do not resolve the defect.
Application and Handling Problems
8. Heat, Steam, or Initial Placement Is Inconsistent
If one side of a heat-shrink capsule contracts first, it can pull the capsule off-center and lock wrinkles into the surface.
Related causes include:
- Blocked air or steam outlets
- Incorrect heater position
- Poor bottle rotation
- Inconsistent initial seating
- Trapped air
- Wet or contaminated bottle necks
- Excessive localized heat
If the lower section closes before air can escape, the capsule may rise or balloon.
Check: Observe placement before heating and follow the capsule through the application zone. Compare conditions around the full circumference.
Fix: Standardize seating depth, keep the neck clean and dry, balance the heat or steam system, and operate within the supplier’s validated processing window.
9. Line Speed, Dwell Time, or Equipment Is Incorrect
A capsule may pass a slow manual test but fail at normal production speed.
If the line moves too quickly, the material may receive insufficient energy. If it moves too slowly, the capsule may thin, split, discolor, or distort.
Other possible causes include:
- Worn spin-down heads
- Damaged rollers
- Misaligned conveyor guides
- Inconsistent capsule feeders
- Incorrect machine changeover settings
Check: Record conveyor speed, bottle spacing, application conditions, equipment settings, and reject rate.
Fix: Validate the package at the intended bottles-per-minute rate, including start-up, temporary stops, and restarts.
10. Capsules Were Deformed During Storage or Transport
Capsules may become ovalized, crushed, blocked together, or damaged before reaching the production line.
Typical signs include:
- Bent lower edges
- Distorted top disks
- Damaged perforations
- Compression marks
- Feeding inconsistency
Check: Compare different cartons, pallet positions, and warehouse conditions.
Fix: Improve packing, stacking, transport protection, and storage controls. Retain defective samples for supplier analysis.
Five-Step Capsule Validation Process
1. Review Current Drawings
Collect the latest versions of the:
- Bottle drawing
- Neck-finish drawing
- Closure drawing
- Capsule specification
- Artwork file
- Application-equipment information
Confirm revision numbers. An obsolete drawing can result in a capsule that matches a previous package but not the current production components.
2. Measure Multiple Samples
Do not approve dimensions from a single bottle or closure.
Measure several components and record:
- Minimum value
- Maximum value
- Average value
- Neck ovality
- Visible glass variation
- Supplier lot or mold-cavity information
For slide-on compatibility, the maximum assembled outside diameter is usually more important than the average.
3. Check Pre-Application Fit
Before approving print or bulk production, confirm that the capsule:
- Passes over the widest closure point
- Seats without excessive force
- Reaches the intended depth
- Remains centered
- Clears the shoulder and neck label
- Can be handled by the intended feeder
4. Test on the Intended Production Line
Use the actual application method and target production speed.
Inspect:
- Wrinkles
- Splits and pinholes
- Top-disk position
- Lower-edge alignment
- Print registration
- Seam position
- Perforation alignment
- Opening behavior
- Tamper-evident coverage
Record the number and type of rejected units. Pay particular attention to machine start-up, temporary stops, and restarts.
A handheld test is useful for initial screening, but it does not reproduce the thermal distribution, feeding conditions, or speed of a steam tunnel, dry-heat tunnel, spin-down head, or crimping station.
5. Approve a Reference Standard
Retain:
- An approved assembled bottle
- An approved capsule
- Signed dimensional drawings
- Material specification
- Artwork and color reference
- Perforation details
- Packing requirements
- Validated machine settings
This creates a shared acceptance standard for the spirits brand, bottle supplier, capsule manufacturer, and bottler. Projects that also require a new bottle, coordinated decoration, and matched closure can be managed as a complete spirits packaging system rather than as separate components from unrelated suppliers.
What to Send for a Capsule Fit Review or Quotation
A capable supplier should review the complete package before confirming the capsule specification.
Provide:
- Current bottle drawing
- Physical bottle samples
- Closure drawing or sample
- Maximum assembled outside diameter
- Required capsule height and coverage
- Material and decoration requirements
- Application equipment and production speed
- Expected order quantity
- Delivery destination
The supplier should be able to review drawings, measure physical samples, recommend materials, develop custom dimensions, conduct fit testing, and control dimensional quality during production.
A quotation that lists only a nominal diameter and height may not provide enough information for repeatable manufacturing. Confirm whether the quoted diameter is internal or external and request the applicable tolerances.
Six Capsule Purchasing Mistakes to Avoid
- Measuring the bottle but not the fitted closure
- Selecting a capsule from nominal bottle or closure size alone
- Testing only one physical bottle
- Printing bulk capsules before fit approval
- Changing the bottle or closure supplier without retesting
- Skipping a full-speed production trial
Compatibility testing normally costs much less than printed-material waste, bottling-line downtime, repacking, or a delayed product launch.
Frequently Asked Questions
How Much Larger Should a Capsule Be Than the Closure?
There is no universal clearance for every bottle and capsule.
The correct allowance depends on maximum closure diameter, material thickness, shrink or forming behavior, bottle profile, seating depth, equipment, and production speed.
Use the capsule supplier’s validated specification and confirm it with physical samples.
Can One Capsule Fit Several Bottle Designs?
Yes, but only when the relevant closure dimensions, bottle-neck profiles, capsule heights, and application conditions fall within a tested working range.
Separate approval is recommended for bottles from different suppliers or packages using different closures.
Will More Heat Fix a Loose Capsule?
Not necessarily.
Additional heat may help an under-shrunk capsule, but it cannot correct an oversized starting diameter or a material with insufficient shrink capability.
Excessive heat may cause splitting, thinning, discoloration, or print distortion.
Is a Physical Bottle Sample Necessary?
Physical samples are strongly recommended for custom glass bottles, decorative closures, irregular necks, printed sleeves, metallic capsules, automatic lines, and multi-supplier packaging projects.
Drawings show nominal dimensions. Physical samples reveal actual tolerances and production behavior.