An olive oil bottle may appear securely sealed on the filling line and still leak after horizontal storage, truck vibration, temperature changes, or reduced air pressure.
Even a small leak can stain labels, weaken corrugated cartons, contaminate adjacent bottles, destabilize pallets, and result in distributor claims or rejected shipments.
An effective olive oil closure leakage test must therefore evaluate the complete filled package—not only the cap. Bottle-neck tolerances, liner performance, pourer fit, closure application, secondary packaging, and distribution conditions can all affect leakage resistance.
How Should Olive Oil Closures Be Tested Before Shipment?
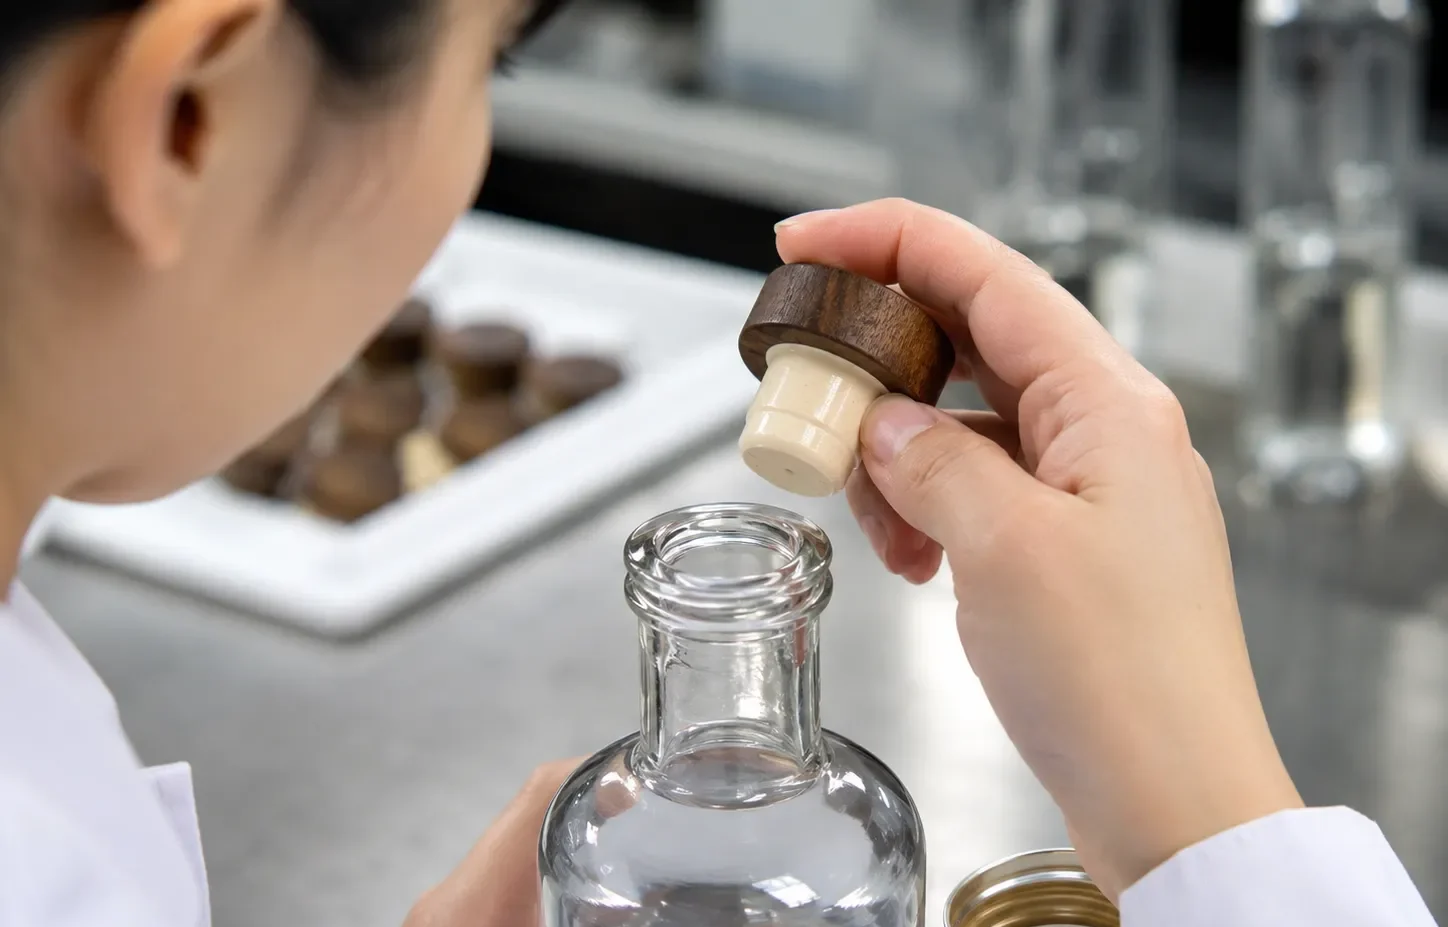
Use bottles selected from the actual production run. Confirm that the approved bottle, closure, liner, and pourer were used; verify closure application; and test representative samples upright, inverted, and horizontally.
Add vibration, temperature, or reduced-pressure conditioning when the shipping route creates those risks. Release the lot only when the samples meet documented requirements for leakage, torque, component retention, tamper evidence, and pouring performance.
Quick pre-shipment test sequence
- Confirm the approved package configuration.
- Select representative samples across the production run.
- Inspect the bottle neck, cap, liner, pourer, and tamper band.
- Verify application torque, ROPP formation, or insert seating.
- Test bottles upright, inverted, and horizontally.
- Apply transport conditioning when required.
- Inspect and function-test the conditioned samples.
- Release, hold, or retest the lot against written criteria.
A satisfactory torque reading does not prove that a bottle is leak-free. A package can remain within its torque range and still leak because of bottle-mouth variation, liner failure, oil contamination, or poor pourer-to-bore fit.
Minimum Lot Checks vs Risk-Based Testing
Not every shipment needs a full laboratory distribution study.
Routine pre-shipment inspection should confirm that an already approved package has been reproduced correctly. Additional testing is appropriate when a component, process, supplier, filling condition, or shipping route changes.
| Minimum checks for each production lot | Additional risk-based tests |
|---|---|
| Component and lot verification | Extended side-storage testing |
| Bottle and closure visual inspection | Transport vibration |
| Torque, ROPP, or insert-application check | Temperature cycling |
| Orientation leakage testing | Reduced-pressure testing |
| Pourer and tamper-function check | Vacuum or pressure-decay testing |
| Inspection-record review | Full package revalidation |
Additional tests may also be required after a field complaint, unexplained torque variation, capping-line adjustment, bottle change, or material substitution.
Testing by project stage
| Testing stage | Purpose | Typical timing |
|---|---|---|
| Package development validation | Confirm compatibility among the bottle, closure, liner, pourer, and application process | New package or major component change |
| Production-line verification | Confirm that application settings remain controlled | Start-up, changeover, restart, and defined production intervals |
| Pre-shipment lot release | Confirm that the completed production lot meets approved requirements | Before shipment authorization |
| Periodic revalidation | Confirm continued performance after a significant change | New material, tooling, equipment, supplier, or distribution route |
Select Tests for the Closure System
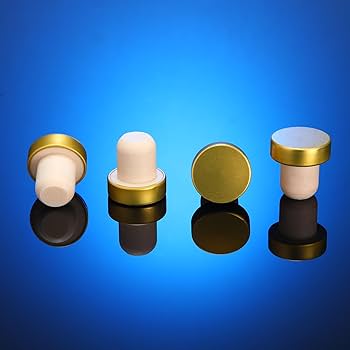
Different olive oil closure systems have different failure points. Buyers can review Kandacork’s range of olive oil closures and pourer caps when comparing screw caps, ROPP closures, tamper-evident pourers, and non-refillable systems.
| Closure system | Main risks | Priority checks |
|---|---|---|
| Continuous-thread screw cap | Low torque, cross-threading, inadequate liner compression | Torque retention, side storage, vibration |
| ROPP aluminum closure | Incorrect roll-on profile, liner failure, tamper-band damage | Roll-on inspection, opening characteristics, orientation testing |
| Induction-lined cap | Incomplete foil bond, contaminated bottle lip, unsuitable sealing layer | Seal inspection, side storage, pressure conditioning |
| Tamper-evident pourer closure | Insert-to-bore leakage, insert movement, outer-cap leakage | Insert retention, horizontal storage, pouring test |
| Non-refillable closure | Leakage across several assembled interfaces | Component retention, leakage, tamper, and flow testing |
| Cork or bar-top closure | Bore variation, insufficient compression, material relaxation | Side storage, extraction force, temperature conditioning |
A result from one bottle design should not automatically be transferred to another bottle with a similar nominal neck finish. Small differences in bottle-mouth flatness, glass distribution, thread position, or internal bore diameter may change sealing performance.
Why Olive Oil Bottles Leak During Shipment
Most failures originate from four areas.
1. Bottle and neck-finish variation
A closure cannot compensate for an incompatible or poorly controlled bottle finish.
Important variables include:
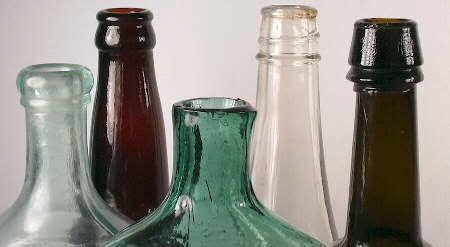
- Thread profile
- Bottle-mouth flatness
- Sealing-land width
- Neck ovality
- Internal bore diameter
- Tamper-bead position
This risk increases when the bottle and closure come from different suppliers. Both components may meet their individual drawings but fail when assembled.
Closure qualification should therefore use physical production bottles rather than relying only on a nominal neck-finish description.
2. Incorrect closure application
Insufficient torque can produce inadequate thread engagement or liner compression. Excessive torque may deform a cap, damage the liner, overstress a glass finish, or interfere with tamper evidence.
Other process-related causes include:
- Cross-threaded or tilted caps
- Incorrect ROPP roll-on settings
- Variation between capping heads
- Oil on the bottle sealing land
- Inconsistent pourer insertion depth
- Application at an unsuitable product temperature
Torque remains a process-control measurement and should not be used as the only evidence of seal integrity.
Scope note: Continuous-thread torque methods apply to threaded container-and-closure systems. ROPP closures, press-fit pourers, and other constructions require application and retention checks appropriate to their designs.
3. Liner or sealing-element failure
The liner must maintain stable contact with the bottle sealing land and remain suitable for the oil, filling conditions, and intended shelf life.
Potential defects include:
- Off-center placement
- Wrinkles, cuts, or folds
- Inadequate compression
- Thickness variation
- Material incompatibility
- Incomplete induction sealing
Food-contact compliance and leakage performance are separate requirements. A compliant liner does not automatically guarantee that the assembled package will remain leak-free.
4. Pourer or insert mismatch
A tamper-evident or non-refillable closure may leak around the pourer even when the outer cap remains tight.
Common causes include:
- Incorrect insert diameter
- Excessive bottle-bore variation
- Damaged sealing ribs
- Tilted installation
- Inconsistent insertion depth
- Insert movement after vibration
- Material deformation after temperature exposure
Testing should include external leak inspection, insert-retention checks, and a controlled pouring test. For deeper guidance on component compatibility, see the article on olive oil pourer and liner leak testing.
Eight-Step Pre-Shipment Leakage-Test Procedure
Step 1: Confirm the Approved Package
Before selecting test samples, verify that the production lot matches the approved configuration.
Confirm:
- Bottle supplier and bottle code
- Neck-finish specification
- Closure design
- Liner or sealing element
- Pourer or non-refillable insert
- Decoration or coating
- Capping method
- Approved torque or ROPP settings
- Final carton configuration
If any component differs from the approved specification or signed production sample, hold the lot until the change has been reviewed.
A closure should not be approved simply because it can be applied to the bottle. The complete package must perform under the intended filling and distribution conditions.
Step 2: Select Representative Samples
Do not take every test bottle from one carton, pallet, or capping head.
Samples should represent:
- The beginning, middle, and end of production
- Different capping heads
- Multiple bottle pallets
- Multiple finished cartons
- Line restarts or changeovers where relevant
The sample quantity should reflect shipment size, package risk, supplier history, and the buyer’s quality plan.
Each bottle should be traceable to its:
- Bottle lot
- Closure lot
- Liner or pourer lot
- Filling date and time
- Capping head
- Carton or pallet
- Test date
Sampling across the run helps distinguish a package-design failure from localized component or production variation. Bottlers comparing application methods and supplier responsibilities may also review this closure selection guide for bottling operations.
Step 3: Inspect Bottles and Closures
Inspect each sample before conditioning or opening it.
Look for:
- Chipped or cracked bottle necks
- Damaged threads
- Uneven sealing lands
- Deformed closures
- Missing or displaced liners
- Tilted pourer inserts
- Defective tamper bands
- Visible oil around the sealing area
Photograph any defect before cleaning or disassembling the package. The first visible oil location may help identify the leakage path.
Step 4: Verify Closure Application
Samples should be filled and closed using normal production equipment, line speed, fill level, headspace, and product temperature.
Screw caps
Measure removal torque using a calibrated torque meter and a consistent bottle-holding method.
Review:
- Minimum and maximum readings
- Sample-to-sample variation
- Differences between capping heads
- Results outside the approved window
- Torque changes after conditioning
Do not rely only on the average. An acceptable average may conceal one capping head that is under- or over-applying closures.
ROPP closures
Inspect:
- Thread formation
- Skirt contact
- Bridge integrity
- Pilfer-proof band position
- Liner compression
- Opening behavior
The ROPP closure buyer guide explains how top pressure, liner compression, and roller forming interact during application.
Press-fit pourers
Check:
- Insertion depth
- Seating position
- Orientation
- Visible retention
- Condition of the sealing ribs
Hand-applied samples may support early development, but production approval should use the intended commercial process.
Step 5: Perform Orientation Testing
Orientation testing is the core of a pre-shipment olive oil bottle leak test.
Divide samples into upright, inverted, and horizontal groups according to the approved procedure.
Upright storage
Upright bottles provide a control condition and may reveal obvious component or application defects.
Inspect the closure skirt, threads, tamper band, bottle neck, label, and carton-contact areas.
Inverted storage
Store bottles closure-down so the oil remains in continuous contact with the sealing system.
This can expose:
- Inadequate liner compression
- Poor thread engagement
- Bottle-mouth defects
- Closure distortion
- Oil contamination on the sealing surface
Horizontal storage
Place bottles on their sides over clean absorbent material.
Horizontal testing is important because bottles may lie on their sides during parcel delivery, pallet movement, repacking, or warehouse handling.
At each inspection interval, check for:
- Oil on the closure
- Wet threads
- Oil between the cap and neck
- Leakage around the pourer
- Stained labels or cartons
- Unexplained bottle-weight loss
- Closure or insert movement
The official ASTM D5094/D5094M gross leakage test addresses applicable liquid-filled containers with threaded or lug-style closures and includes upright, inverted, and side orientations.
The storage duration should be defined in the buyer-approved procedure. There is no universal test period suitable for every olive oil package.
Step 6: Apply Distribution Conditioning When Required
The conditioning program should reflect the actual route rather than applying every laboratory test to every shipment.
| Condition | When it may be needed | What to recheck |
|---|---|---|
| Vibration | Truck, parcel, or long-distance transport | Torque, closure movement, insert retention, visible oil |
| Temperature | Hot or cold warehouses, trucks, or containers | Liner relaxation, closure distortion, pourer fit |
| Reduced pressure | Air freight or high-altitude routes | Leakage, closure movement, seal performance |
| Vacuum or pressure decay | When a validated nondestructive method is required | Pressure change against an approved limit |
Vibration
A package may pass static side storage and leak after transport vibration.
Vibration can reduce retained torque, cause a cap to back off, move a pourer insert, damage a tamper band, or expose a marginal liner seal.
Test bottles in their intended shipping configuration, including dividers, trays, shrink film, and outer cartons.
Temperature
Temperature changes may affect polymer dimensions, liner resilience, closure torque, and the interference fit between a bottle bore and pourer.
Use conditions based on the real supply chain, including filling, warehousing, container loading, road transport, and retail storage.
Reduced pressure
Reduced-pressure testing may be relevant when shipments travel by air or cross high-altitude routes.
Pressure and duration should reflect the route, bottle headspace, and package design. One vacuum setting should not be treated as a universal requirement.
After conditioning, repeat the applicable orientation, torque, and functional checks.
Step 7: Inspect and Function-Test the Samples
Examine conditioned samples externally before opening them.
Record:
- Visible oil traces
- Stained absorbent material
- Label or carton contamination
- Closure movement
- Tamper-band damage
- Bottle-weight change
- Post-conditioning torque, where applicable
Then remove the closure and inspect:
- Liner contact pattern
- Bottle sealing land
- Oil beneath or behind the liner
- Thread damage
- Closure distortion
- Pourer sealing-rib marks
- Insert deformation
- Induction-seal bond pattern
Finally, conduct a controlled pouring test.
Oil should flow through the intended outlet without escaping between the pourer and bottle bore. Tamper-evident and non-refillable functions should operate as specified.
Step 8: Complete the Report
Record the sample identity, test method, conditioning, results, and final lot status.
A complete report should identify:
- Component lot numbers
- Sample count
- Test method
- Orientation and duration
- Conditioning profile
- Inspection equipment
- Acceptance limits
- Individual results
- Leakage location
- Corrective action
- Release, hold, or retest decision
Acceptance criteria must be approved before testing. Do not create new limits after reviewing the results.
Release, Hold, or Retest?
| Inspection item | Example release requirement |
|---|---|
| External leakage | No visible oil outside the closed package |
| Absorbent material | No oil stain near the closure |
| Carton and dividers | No oil contamination |
| Bottle weight | No unexplained loss beyond the approved tolerance |
| Closure position | No lifting, tilting, cross-threading, or backing off |
| Pourer insert | No movement, deformation, or loss of retention |
| Torque | Within the approved package-specific window |
| Tamper evidence | Intact and functional |
| Bottle neck | No chips, cracks, or stress damage |
| Pouring performance | Controlled flow without leakage around the insert |
| Documentation | Complete and traceable to the production lot |
Release the shipment when:
- Required tests are complete
- Results meet approved limits
- No confirmed leakage is found
- Closure application remains controlled
- Pourer and tamper functions remain acceptable
- The components match the approved specification
- Inspection records are complete
Hold the lot when:
- Confirmed leakage is found
- Results fall outside approved limits
- Traceability is incomplete
- An unapproved component change is identified
- One capping head shows abnormal variation
- A pourer has moved or deformed
- The cause of a failure is unknown
- Corrective action has not been verified
Retest only when:
- The failure cause has been identified
- Corrective action has been documented
- Replacement samples are representative
- The buyer has approved the retest plan
- Retesting will not conceal an ongoing process problem
“Leak-proof” is not a complete acceptance specification. A meaningful requirement must define the test method, package condition, sample basis, limits, and decision rules.
How to Diagnose Common Closure Failures
| Observed failure | Likely causes | Recommended investigation |
|---|---|---|
| Oil around cap threads | Low torque, cross-threading, liner failure, damaged threads | Review torque results, capper alignment, liner pattern, and neck dimensions |
| Oil around the bottle lip | Uneven sealing land, contamination, unsuitable liner | Inspect mouth flatness, surface cleanliness, and liner construction |
| Oil around the pourer | Incorrect bore fit, tilted insert, damaged sealing ribs | Measure bottle-bore and insert dimensions; verify insertion depth |
| Leakage after vibration | Torque loss, cap backing off, insert movement | Compare pre- and post-vibration results; trace by capping head |
| Leakage after temperature or pressure change | Material relaxation, dimensional change, marginal seal | Review materials, headspace, test conditions, and shipping route |
| Random failures | Component or process variation | Trace bottle mold, closure cavity, capping head, shift, and material batch |
Do not clean a leaking bottle before recording where the first oil trace appeared. Cleaning may remove evidence needed for root-cause analysis.
Example Pre-Shipment Test Report
The following is a reporting template, not actual test data.
| Sample ID | Bottle lot | Closure lot | Capping head | Initial torque | Conditioning | Leakage result | Decision |
|---|---|---|---|---|---|---|---|
| A01 | Record lot | Record lot | Head 1 | Record value | Horizontal storage | Pass/Fail | Release/Hold |
| A02 | Record lot | Record lot | Head 2 | Record value | Vibration and side storage | Pass/Fail | Release/Hold |
| A03 | Record lot | Record lot | Head 3 | Record value | Temperature cycle | Pass/Fail | Release/Hold |
The completed report may also include photographs, post-conditioning torque, bottle-weight change, leakage location, pourer-retention observations, and corrective-action references.
Prepare for Supplier Testing and Quotation
A capable closure supplier should evaluate the complete bottle-and-closure system rather than recommend a cap based only on its nominal diameter.
Kandacork’s closure leakage and torque testing support covers bottle-neck compatibility, liner fit, cap torque, stopper retention, and leakage-risk review before bulk production or export shipment.
Evidence buyers should request
Depending on the project risk, request:
- Bottle and closure drawings
- Neck-finish and bore specifications
- Material and food-contact declarations
- Dimensional inspection results
- Torque or ROPP application records
- Leakage-test results
- Equipment calibration status
- Lot traceability and change-control records
Passing a leak test does not automatically demonstrate food-contact compliance. Likewise, compliant materials do not guarantee that the assembled bottle will remain leak-free.
Supplier capabilities to evaluate
Ask whether the supplier can:
- Review bottle and neck drawings
- Measure neck and bore tolerances
- Recommend compatible liners and pourers
- Support screw-cap or ROPP trials
- Supply production-representative samples
- Maintain lot traceability
- Control material and design changes
- Investigate test or field failures
A technically responsible supplier should also request detailed project information. A quotation based only on a photograph or general cap diameter may overlook critical sealing risks.
For projects that also require custom glass bottles, neck development, decoration coordination, or complete export packaging, Kandacork Glass can help align the bottle and closure as one packaging system.
Information to send with an inquiry
Provide:
- Bottle drawing and physical samples
- Bottle material and capacity
- Neck-finish and bore dimensions
- Required closure and pourer type
- Olive oil and filling temperature
- Capping method and line speed
- Target market and shipping route
- Air-freight or high-altitude exposure
- Order quantity and annual forecast
- Required inspection documents
This information allows the supplier to assess dimensional fit, sealing method, pourer compatibility, decoration requirements, sampling needs, and production pricing.
Frequently Asked Questions
Can visual inspection confirm that an olive oil bottle is leak-free?
No. A bottle may remain dry while upright and leak only after being inverted, stored horizontally, vibrated, heated, cooled, or exposed to reduced pressure. Visual inspection should be combined with orientation and route-relevant testing.
Is a torque test the same as a leakage test?
No. Torque testing evaluates closure application or torque retention. Leakage testing determines whether oil escapes from the assembled package. Both are useful, but neither should replace the other.
Does applying more cap torque always prevent leakage?
No. Insufficient torque may produce poor sealing, while excessive torque can deform the cap or liner, damage the bottle finish, or interfere with tamper evidence. The correct range must be validated for the actual package.
Should testing use water or actual olive oil?
Final package validation should normally use the intended olive oil whenever practical. Oil may behave differently from water when it contacts liners, polymers, threads, and sealing surfaces. A substitute should be used only when its suitability has been established.
When should a production lot be placed on hold?
Hold the lot when leakage is observed, results exceed approved limits, traceability is incomplete, an unapproved component change is found, or the cause of a failure has not been identified and corrected.